Table of Contents
Advertisement
Quick Links
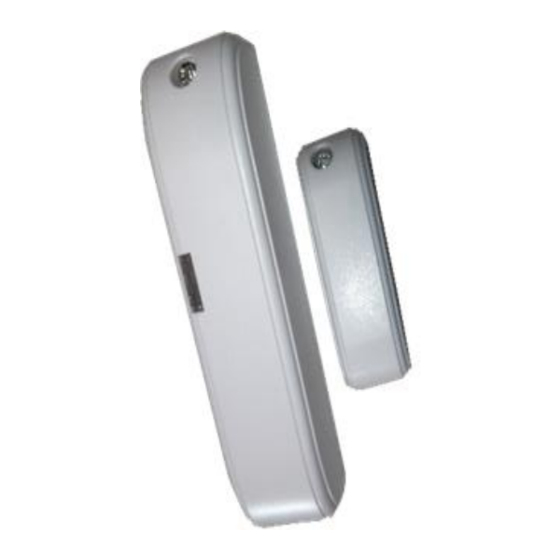
OneGateWL
Perimetral active sensor, multifunctioning, via radio
Bidirectional FM 868
Magnetic contact for openings,
seismic for detection of broken
windows or for antirip.
Available in white and mahogany
CHARACTERISTICS
✓ Magnetic sensor with Hall effect
✓ Seismic detector
✓ Anti-rip circuit
✓ Roller pulse-counter input
✓ Antitampering circuit
✓ You can position the magnets on both sides
✓ Alarms displaying
✓ Power supply: 3,6v- 1,2 Ah lithium battery 1/2AA
ER14250
✓ 3 years of autonomy (at standard use).
✓ Radio Freq. 868MHz-FM.
✓ NC ausiliary input
1 Installation guide
Warning: Before every trial, connect the
!
sensor to the receiver
The sensor can be installed on window frames as a magnetic or
seismic contact, and on windows as a seismic as an alarm for
broken windows. Remove the circuit and secure the bottom
with screws or glue.
1.1 Magnetic contact installation
want to check on.
Align the magnet poistioning at a maximum distance of 1 cm.
To balance the eventual difference between the sensor and the
magnet, open the magnet-holder and position the magnet in
one of the three positions shown.
1.2 Seismic installation
When this function isn't needed, skip this paragraph.
DeTech1OneGateWL REV.D 10/04/19
If the magnetic contact isn't
requested, skip this paragraph.
Position the magnet on the right
and/or on the left, like shown in
the picture, on the door you
DIP 2 in Pos ON Activated seismic alarm
The sensor is able to identify strong vibrations hitting the surface
you need to protect. Useful for windows, fixtures and grates
protection.
2.BATTERY POSITIONING
Secure the battery in its housing.
3SENSOR ASSOCIATION
This can take place in the system, generating a Tamper
alarm(r leasing the Tamper button) or inserting the battery
in the acquisition phase.
4. RADIO COVERAGE TEST
When the battery is disconnected, push the Tamper and
insert the battery. When the GREEN LED will blink release
the Tamper. If the GREEN LED blinks, it reports a good radio
signal, when the RED and GREEN LEDs blink, it means you have a
radio signal that is not adequate. In case of no blinking, you have
no signal.To end the test, push the Tamper or wait for 4 minutes.
5. INITIALIZATION
Once the sensor is linked and the radio coverage is verified, start
the initialization. Remove the battery and set up the operative
mode, close the eventual door with the magnet and insert the
battery. The sensor will start an autonomous acquisition for 2
minutes. The LEDs will blink alternately If there is a magnet, the
blinking will increase after 20 secs. Do not change the operative
conditions, (the door must be closed and the sensor mustn't be
subjected to vibrations Wait until the GREEN and RED LEDs will
switch on, then push the Tamper and wait for the switching off
of the LEDs. This will assure the exit from the acquisition mode.
N.B. Everytime, with opened Tamper, the sensor will be
powered up, the sensor enters a magnet acquisition mode.
verify the correct functioning through LED reports.
The sensor is set
up
with the antirip
technology
disabled, with the
seismic sensitivity
calibrated, with
roller sensitivity
set on 15 impulses
and displaying ON.
When a variation
of these
configurations is
requested, check
the paragraph on
programming (n.6)
Otherwise, secure
the upper lid and
Advertisement
Table of Contents

Related Manuals for Detech OneGateWL


Summary of Contents for Detech OneGateWL
- Page 1 DIP 2 in Pos ON Activated seismic alarm OneGateWL The sensor is able to identify strong vibrations hitting the surface you need to protect. Useful for windows, fixtures and grates protection. 2.BATTERY POSITIONING Perimetral active sensor, multifunctioning, via radio Secure the battery in its housing.
- Page 2 To replace the battery position the alarm system in MAINTENANCE mode, 6 Programming and calibrations open the sensor, remove the battery, push the tamper button repeatedly and DIP 1 Pos ON LED Off disabled insert the new battery and close back the lid and the eventual door with the displaying magnet.
Need help?
Do you have a question about the OneGateWL and is the answer not in the manual?
Questions and answers