Advertisement
Easy Setup
Guide
The
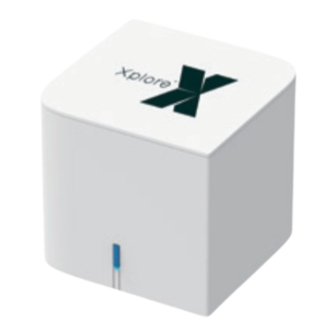
Xplore Whole Home Wi-Fi
in bigger homes by deploying one or more Whole Home Wi-Fi Units in distant
locations to extend your Wi-Fi signal.
Connecting your Whole Home Wi-Fi Units to the Wi-Fi Hub:
If you already have Xplore Whole Home Wi-Fi Units in use, you will need to
perform a factory reset first using the Reset button on the back (hold for 10
seconds, wait 3 mins for it to power on fully). Repeat for all units.
1
Plug the Whole Home Wi-Fi Unit into a power outlet near the area you want
to cover with Wi-Fi. Wait 3 minutes for it to start up. LED Light at the front of the
device would be solid Red while it is booting up.
2
Press the WPS button on the back of the Xplore Hub unit, and then the blue
WPS button on the front of the Whole Home Wi-Fi Unit. The light on the Whole
Home Wi-Fi Unit will turn blue, once it has synchronized. If it does not turn solid
blue but shows flashing blue instead, the unit may need to be placed closer
to the Hub.
3
Repeat for the other Whole Home Wi-Fi Units if applicable. If the LED light of
the Whole Home Wi-Fi Unit flashes in red, this indicates failure to sync with the
Hub. Repeat steps 1-3 again.
Your Wi-Fi name and password will still remain the same in all areas covered by
the Whole Home Wi-Fi Units.
For instructions on how to install your Wi-Fi Hub, please refer to the Hub 5 easy setup guide.
Modems may vary
in appearance
Xplore
Hub 5
network enables superior coverage in every room
What's in the Box
Whole Home
Power Cable
Wi-Fi Unit
Whole Home
Wi-Fi Unit
Modem
AC Power Adapter
Yellow Cable
RJ-45 LAN Network Cable
Red Cable
RJ-45 WAN Network Cable
Ifany parts are missing, pleasecontactXplornetSupport
By Email: support@xplornet.com
By Phone: 1-866-841-6001
Advertisement
Table of Contents

Related Manuals for Xplore Whole Home Wi-Fi


Summary of Contents for Xplore Whole Home Wi-Fi
- Page 1 Press the WPS button on the back of the Xplore Hub unit, and then the blue WPS button on the front of the Whole Home Wi-Fi Unit. The light on the Whole Home Wi-Fi Unit will turn blue, once it has synchronized. If it does not turn solid blue but shows flashing blue instead, the unit may need to be placed closer to the Hub.
- Page 2 Computer If you do not have an Xplore Wi-Fi Hub: In this case, your first Whole Home Wi-Fi Unit will play the role of the Wi-Fi Hub and connect directly to the modem. Disconnect your computer or existing router from the Xplore Modem.
Need help?
Do you have a question about the Whole Home Wi-Fi and is the answer not in the manual?
Questions and answers