Advertisement
- 1 Caring For Your MOMAN Product
- 2 Package List
- 3 Product Introduction
- 4 Operation
- 5 Installation
- 6 Specifications
- 7 Notes
- 8 Contacts
- 9 Documents / Resources
Caring For Your MOMAN Product
- Please keep the product in a dry, clean, dust-free environment.
- Keep corrosive chemicals, liquids and heat source away from the product to prevent mechanics damage.
- Use only a soft and dry cloth for cleaning the product.
- Malfunction may be caused by dropping, impact of external force.
- Do not attempt to disassemble the product. Doing so voids warranty.
- Please have the product checked or repaired by authorized technicians if any malfunctions happened.
- Failure to follow all the instructions may result in mechanics damage.
- Warranty does not apply to human errors.
Package List

- Intercom x1
- Velcro Clip x1
- Back Clip x1
- Hook and Loop Fasteners x1
- 1 Pair of Speakers with Microphone x1
- Manual x1
- USB Cable x1
- Screw Driver x1
- Headphone Velcro x4
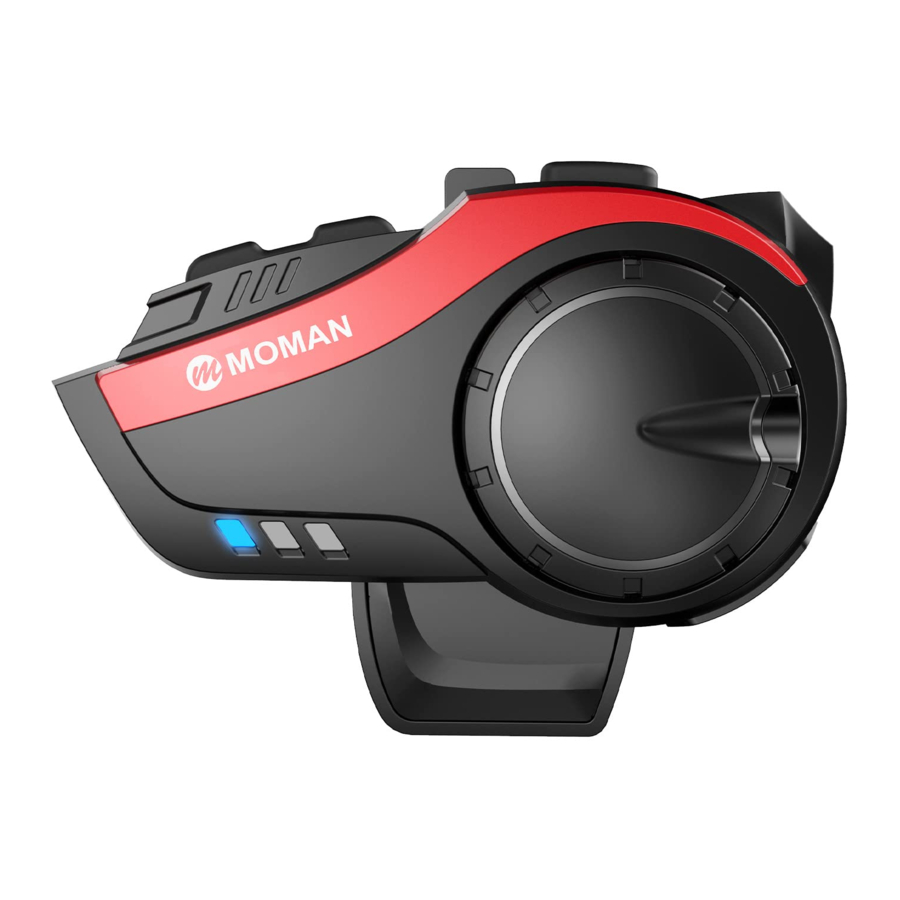
Product Introduction

- BT Key
- M Key
- On/Off Key
- Knob
- Function Key
- Charging Interface
- Headset Interface
- Indicator Light
- Speaker
- Headset Plug
- Butterfly Sticker
- Hard Microphone
- Soft Microphone
Operation
Power On/Off

ON: Press the On/Off Key for 4 seconds. When you hear voice prompt, the blue indicator flashes twice.
OFF: Press the On/Off Key for 4 seconds. When you hear voice prompt, the red indicator flashes twice.
Pairing
Pairing with Mobile Phone
Method 1

- In power-off state, long press the On/Off Key for 6 seconds until the red and blue indicator flashes alternatively.
- Turn on Bluetooth function in the phone and search the signal. Choose "MOMAN H3" and connect. The voice prompts when it is connected successfully.
- The distance between intercom and mobile phone should be within 1 meter.
- If the intercom has pairing record with the mobile phone, they will be connected after power on, provided that the Bluetooth is turned on.
Method 2

After power on, long press the Function Key and On/Off Key at the same time for 4 seconds until the red and blue indicator flashes alternatively. Search Bluetooth signal in the phone and choose to connect.
- Method 2 works for group intercom connection or music sharing.
Pairing Between Two or More Intercoms
Between two intercoms (within 1 meter):
")
- Long press the On/Off Keys of intercom A & B for 4 seconds and the blue indicators flash slowly. Long press the BT Keys of intercom A & B for 4 seconds until the blue indicators flash quickly.
- Short press the BT Key of intercom A. When intercom A searches B signal, the blue indicators flash slowly and you hear "Du". After one second, the blue indicator of intercom B flashes quickly to search the next device, and flashes slowly to stop searching. Short press the BT Key of intercom to send the order and build the network. When your hear "Du", it means the network is built. Press the BT Key to start intercom. (When intercom B is searching the next device, pressing the BT Key of intercom A can stop searching.)
- When two intercoms are connected successfully, no need to pair repeatedly. After poweron, pressing BT Key can enter intercom mode.
- When two intercoms are connected successfully, pressing the Function Key and On/Off Key can connect phone by Bluetooth. Press the BT Key of any intercom to intercom.
- During intercom, there is automatic reconnect within 10 minutes after disconnection. Also you can short press the BT Key to manually connect.
- During intercom, press the BT Key to disconnect.
Between More Intercoms (within 1 meter):
- Long press the On/Off Keys of all intercoms for 4 seconds and the blue indicators flash slowly. Long press the BT Keys of all intercoms for 4 seconds until the blue indicators flash quickly.
- Short press the BT Key of one intercom (define as NO. 1). NO.1 enters auto-pairing mode. When it is connected with the other intercom (define as NO. 2), the blue indicators of NO. 1 and NO. 2 flash slowly, which means the connection are successful. After one second, the blue indicator of NO. 2 flashes quickly, searching the next intercom. When it connects to NO. 3 intercom, the blue indicators of NO. 2 and NO. 3 flash slowly, which means the connection are successful.
- Press the BT Keys of all intercoms (firstly press NO. 1) to create group network. Press the BT Keys again to begin to intercom.
Notes: After group network is completed, short pressing the On/Off Key will report "The equipment is No. ※ ".
※ Due to using environment and exterior interference, it is recommended to create intercom group network of 4 users to the most within 1000 meter.
")
End/Restart:
Press the BT Keys to end the intercom. It's recommended to restore the factory settings for each machine before pairing. Clear method: In the power on state, press and hold the M Key and On/Off Key for 6 seconds at the same time.
Pairing with Headphone of Other Brands
- Long press the On/Off Key for 4 seconds and the blue indicator flashes slowly. In standby mode, long press the Function Key and the On/Off Key for 4 seconds until the red and blue indicator flashes alternatively. Turn on your headphone and make it enter pairing mode. Short press the Functional Key and On/Off key of H3, and connect them until you hear voice prompt.
- When you hear "beep", the blue indicator flashes slowly, which means the connection is successful. Press the BT Key again and start to intercom.
Music Sharing
Turn on: Restore factory settings of two intercoms. After pairing intercom A and intercom B successfully, connect intercom A with phone Bluetooth. Short press the BT Key and play music. Long press the Function Key for 2 seconds to enter music sharing pairing, with blue indicator flashing quickly. The intercom B prompts and means sharing is successful.
Turn off: Randomly long press the Functional Key of intercom A or B.

EQ Audio Mode Switching:
During music playing, press the M Key and switch EQ Audio mode: "Pop", "Rock", "Jazz", "Classic" and "Country".
Music Control

- Under Bluetooth connection mode, press the Function Key to play/pause music.
- Next Music: turn the Knob clockwise.
- Previous Music: turn the Knob counterclockwise.
Phone Control

Answer the call: press the Function Key
Automatic answer: When the phone calls and there is no operation after 8 seconds, it will answer the call automatically.
Reject the call: press and hole the Function Key for 2 seconds.
End the call: press the Function Key.
Redial: In standby mode, press the On/Off Key twice to dial the last call number.
Volume Adjustment

- Decrease: continuously turn the Knob clockwise.
- Increase: continuously turn the Knob counterclockwise.
- There is voice alarm for two high or two low volume.
FM Radio

- Turn on: under standby mode, press the Function Key twice to switch to the FM radio.
- Select Channels: quickly rotate the Knob and release to adjust and select channels. Continuously rotate the Knob to select different channels. Rotate the Knob continuously to enter volume adjustment.
- Turn off: press the Function Key twice to get back to the previous mode.
- If the signal is weak indoor, you could try to turn on the FM radio near window or in the open area.
- When FM radio is turned on and there is a phone calling, the machine will cut off FM radio automatically and connect to the mobile phone. It gets back to the FM radio when the call ends.
Function Priority
Level 1: Mobile Phone
Level 2: Intercom
Level 3: Music/FM Radio
Language

There are 8 languages for choice.
When it is on, press the M Key and rotate the Knob at the same time to change the language of voice prompt.
Voice Wake up
In standby state, long press the M Key for 4 seconds to enter Voice Wake up Function.
Restore Factory Settings
In power-on state, long press the On/Off key + M Key for 6 seconds until the red indicator is on. Power off and the memory is clear.
Battery Announcement
In standby state, long press the M Key for 6 seconds and the voice announces battery, divided into 3 levels.
Installation
Method 1: Install with Back Clip
- Use the screwdriver to loosen the screws of the back clip so that it can open to a proper extent.

- Open the helmet liner, insert the clip into the right position on the left side of the helmet and tighten the screw.

- Slide the intercom into the back clip slot to make sure it locks firmly.

- Open the helmet liner (ear position), clean the EPS surface of the helmet, and stick a piece of horn Velcro on the left and right sides of the helmet.

- Stick the speaker on the fixed Velcro surface and the speaker with short line should be installed close to the machine. Fix the microphone and arrange the helmet lining and cable.

- Insert the headset into the jack of the intercom and tie up the headset cable.


Method 2: Install with Velcro Clip

Separate the hook and loop fasteners. First stick the hook onto the Velcro clip; choose the right installation position on the helmet and stick the loop to the position. Install the intercom onto the Velcro clip.
The installation of speakers can refer to the description above.
How to Remove the Intercom from Helmet

First unplug the headset, then press the fixed buckle in the middle of the back clip with one finger (push towards the side of the helmet), so that the back clip hook is detached from the intercom, and push the intercom upwards to let it slide out of the back clip smoothly to complete the disassembly.
Charging
- Before using the Bluetooth intercom, please use the attached charging cable to charge the intercom. The small type-C interface on the charging line is connected to the USB charging interface of the Bluetooth intercom, and the large USB connector on the charging cable is connected to the following charging interface for power supply:
- USB interface of computer;
- A mobile power supply with DC 5V output;
- A USB power adapter with DC 5V output.
- When charging, the red LED is always on, and when fully charged, the red light goes out slowly. It takes up to 2.5 hours to fully charge the unit.
Specifications
| Transmission Range | 2000m |
| Connection Distance with Mobile | 20m |
| Bluetooth Version | 5.0 |
| Bluetooth Protocol | A2DP, AVRCP |
| Charging Port | Type-C |
| Standby Time | up to 500H |
| Working Time | 30H |
| Battery | 1000mA |
| Charging Time | 2H |
| Charging Voltage | 5V |
| Speaker Diameter | 40mm |
| Frequency Range | 2.4GHz |
| Temperature Range | -20~50℃ |
Notes
- If you do not use intercom for up to one month or more, please charge the intercom once every two months in order to protect the lithium battery;
- The storage temperature of this product is -20 ℃ to 50 ℃, and do not store in the environment with too high or low temperature, otherwise, the service life of the product will be affected;
- Do not expose this product to fire to avoid explosion;
- Do not open other screws to the intercom to avoid short circuit of main board or battery damage.
- USB emergency shutdown: during working state, the Bluetooth intercom will power off if insert USB charging, which will not save any data.
Contacts
 Unit 25 Basepoint Business Centre, Aviation Park, West Christchurch, United Kingdom BH23 6NX
 www.momanx.com
 @MomanGlobal
 https://moman.co/youtube

Documents / Resources
References
Download manual
Here you can download full pdf version of manual, it may contain additional safety instructions, warranty information, FCC rules, etc.
Download MOMAN H3 - Headset Helmet Intercom Single Pack Manual
Advertisement

Need help?
Do you have a question about the H3 and is the answer not in the manual?
Questions and answers