Table of Contents
Advertisement
Advertisement
Table of Contents

Summary of Contents for DARTWOOD WH-RV140M
- Page 1 Smart Robot Vacuum Cleaner and Mop User Manual...
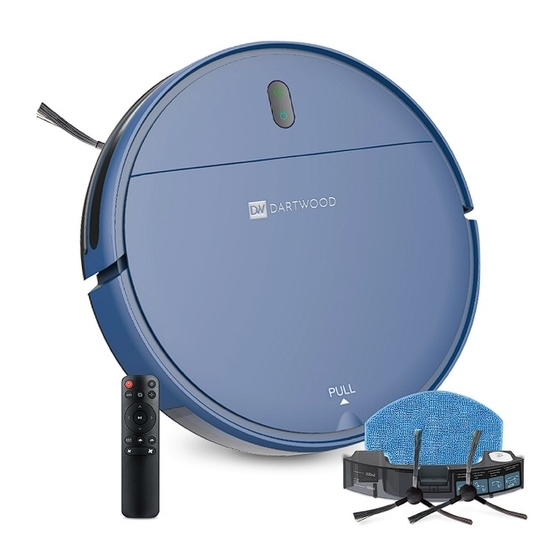
- Page 2 In the Box 1 x robot vacuum 1 x charging base 2 x AAA batteries 1 x remote control 1 x adapter 1 x mop board 1 x water tank 2 x mop cloths 1 x dust box / filter 1 x cleaning brush 4 x side brushes 4 x water tank filters...
- Page 3 Warning Make sure power cords and small items on the floor will not jam the vacuum. Please follow the instructions in this the manual to use the product. Only use product accessories recommended or sold by the manufacturer. Make sure that the power supply voltage matches the voltage marked on the charging stand.
- Page 4 Back of the vacuum Anti-drop sensors 2 side brushes 2 drive wheels Charging contacts Universal wheel Machine battery Remote control Edge cleaning Pause/sleeping button Recharge button Automatic cleaning Spot cleaning button Pause/start button Direction control button Water output Zig-zag cleaning adjustment Suction adjustment button Page 3...
-
Page 5: Installing The Brushes
Charging base Signal indicator Power adapter plug 2 charging contacts Dust box 2 charging contacts 2 charging contacts 2 charging contacts Installing the Brushes Flip the vacuum over and locate the two square pegs labeled L and R. Page 4... - Page 6 Place the brush labeled L on the peg labeled L and push down until it clicks into place. Repeat for the other side. Installing the Charging Base Place the charging base on the flat ground against the wall (make sure there is 20 inches of open space on both sides and 60 inches in front).
- Page 7 Remove the water tank from the vacuum. Remove the mop board. Press the power button on the vacuum to begin charging. Page 6...
-
Page 8: Installing The Water Tank
Installing the Water Tank Open the water tank plug and fill with clean water. Place the water tank back into the vacuum. Installing the Mop Board Dampen the mop cloth. Page 7... - Page 9 Hook the inside edge of the mop board to the ‘pocket’ at the back of the mop cloth. Locate the velcro at the back of the mop board. Press down firmly. Place the two round pegs on the back of the mop board into the holes at the bottom of the vacuum.
-
Page 10: How To Use
How to Use To power ON/OFF place and hold the power button for 2 - 3 seconds. Insert two AAA batteries into your remote control. Make sure the vacuum is in standby mode and select your preferred cleaning mode. Page 9... -
Page 11: Cleaning Mode
Cleaning Mode Automatic cleaning Cleans randomly for 90 minutes, automatically recharges after the cleaning is complete. Setting method: In standby mode, press the start/pause button, or the AUTO button on the remote control. Spot cleaning Cleans in a clockwise spiral from the inside to the outside, with a maximum radius of 24 inches. - Page 12 Edge cleaning Cleans along the perimeter of a room. Setting method: In standby mode, press on the remote control. Zig-zag cleaning Cleans in a long straight line, with a distance of 197 inches, and zig zags back and forth. Setting method: In standby mode, press on the remote control.
- Page 13 Cleaning / Maintenance of Parts Open the compartment at the top of the vacuum. Press the tab to remove the dust box. Open the dust box lid. Dump the contents into the trash bin. Page 12...
- Page 14 Remove the filter. Wipe the dust box clean. Rinse the filter with clean water. Make sure the dust box and filter are completely dry before putting back together. Page 13...
- Page 15 Replacing the Water Tank Filters Pull the water tank out of the vacuum. Turn it upside down. Pull out the two plugs on each side. Page 14...
- Page 16 Squeeze the top and bottomtogether until the old filter pops out. Press the new filter in. Place the plug back into the watertank and place the water tank back into the vacuum. Page 15...
-
Page 17: Light Indicator
Light Indicator Definition of light Item Contents Power Recharging Color Status Three color Status Lights always Power on Green Lights off Power off Lights off Lights off Lights always Cleaning Green Lights off Lights always Lights always Recharging Green Yellow Low battery Lights always Lights always... -
Page 18: Troubleshooting
Troubleshooting Fault tone Fault Fault content Fault handling method Bass Treble (beep) (beep) Bumper placed Check whether the bumper can incorrectly rebound normally. Anti-drop Clean the anti-drop sensor or change sensors error the location and start again. Bad charging / Only use the original adapter to charge. -
Page 19: Specifications
Specifications Model: WH-RV140M Control: Via remote or app Diameter: 11.8 in Height: 2.9 in Unit weight: 5.5 lb Battery Capacity: 2500 mAh rechargeable lithium battery Dust box capacity: 0.8 oz Cleaning mode: Auto / spot / edge / zigzag cleaning...
Need help?
Do you have a question about the WH-RV140M and is the answer not in the manual?
Questions and answers