Table of Contents
Advertisement
Quick Links
™
WIRELESS LIGHTNING
ADD-ON SENSOR
USER GUIDE
LOWSA100LW
Thank you for purchasing the Logia Wireless Lightning Add-On Sensor. This User Guide
is intended to provide you with guidelines to ensure that operation of this product is safe
and does not pose risk to the user. Any use that does not conform to the guidelines
described in this User Guide may void the limited warranty.
Please read all directions before using the product and retain this guide for reference.
This product is intended for household use only. It is not intended for commercial use.
This product is covered by a limited one-year warranty. Coverage is subject to limits and
exclusions. See warranty for details.
SAFETY PRECAUTIONS
WARNING! Please read all safety precautions and instructions carefully before
using this product. Failure to properly follow the guidelines established here could
result in serious injury or damage to the product.
• Do not cover the ventilation holes with any items such as newspapers, curtains, etc.
• Do not clean the unit with abrasive or corrosive materials.
• Do not tamper, alter, or modify the device.
• Only use fresh new batteries in the product. Do not mix new and old batteries.
• This product is not a toy. Keep out of the reach of children.
• This product is designed for use in the home only as indication of air quality. This product is
not to be used for medical purposes or for public information.
• Do not place the device near open flames or heat sources. Fire, electric shock, product
damage, or injury might occur.
• Only use attachments or accessories with this product specified by the manufacturer.
• Do not submerge the unit in water. Dry the product with a soft cloth if liquid spills on it.
• Do not subject the unit to excessive force, shock, duct, extreme temperature, or humidity.
• This product is only suitable for mounting at height less than 6.6 ft. (2 m).
• Do not tamper with the unit's internal components. Tampering with the product will void
the warranty.
• This product should not be placed in direct sunlight, rain, snow, or other weather conditions.
• When inserting the batteries, make sure that the positive and negative polarities match with
the markings in the compartment.
• Do not mix standard, alkaline, and rechargeable batteries together.
• Dispose of old batteries responsibly and in accordance with local regulations.
• Do not subject your battery to high or low extreme temperatures or low air pressure at high
altitude during use, storage, or transportation.
• Replacement of an old battery with an incorrect type of battery can result in damage to
the product, leakage of flammable liquid or gas, or an explosion. Make sure to follow
guidelines listed in the manual to properly replace the battery.
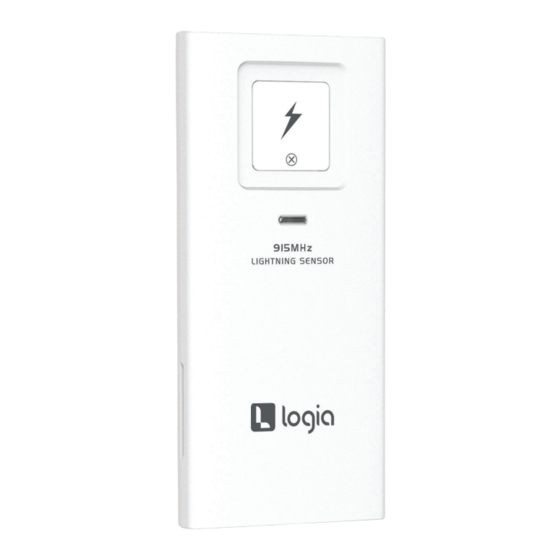
PRODUCT OVERVIEW
1
2
3
868MHz
LIGHTNING SENSOR
1. Lightning indicator
2. Noise indicator
3. Transmission status LED
4. Wall mounting holder
OPERATION
INSTALLING THE BATTERIES
1. Remove the battery door.
2. Use the sensitivity slider to choose a sensitive mode.
3. Insert two (2) AA batteries (not included) into the battery compartment.
4. Place the battery door back on the compartment.
NOTE: Once the sensitivity mode is assigned, it can only be changed by taking out the
batteries and resetting the unit.
LIGHTNING INDICATOR DISPLAY
To fully understand the alerts of the Logia Wireless Lightning Add-On Sensor, review the
chart below.
NOTE: The default (DF) sensitivity mode ranges from mid to high levels. If the sensor missed
a lightning detection, raise the sensitivity to high (HI). If the sensor picks up a lot of false
lightning strikes, then lower the sensitivity to mid (MI) or low (LO). Make sure your sensor is
placed outdoors away from loud household appliances to not make false lightning detections.
Flashing mode
Description
Lightning strike was detected.
Loud noise was detected. Letting users know that
there is extremely loud noise within the area
PAIRING THE SENSOR TO MAIN DISPLAY CONSOLE
• After the sensor is powered on, it will enter pairing mode for 10 minutes.
• Make sure the display console (not included) is also on, and the two devices should
automatically connect.
• Once connection is successful, the signal strength indicator and weather information will
appear on the display console.
NOTE: The transmission status LED will flash once for every transmission reading.
RESETTING THE SENSOR
• In case of malfunction, use a pin to press the RESET button to restart the sensor.
PLACING THE SENSOR
• Place the sensor in a location outside your home that is shielded from direct sunlight and
wet conditions.
• Place the sensor on a flat surface or hang it up on a wall using the wall mounting holder.
• Make sure the sensor is within 300' (91.4 m) of the display console for a
clear transmission.
4
5
6
7
5. Sensitivity slider (High/Mid/Low/Default)
6. RESET button
7. Battery compartment
Advertisement
Table of Contents

Related Manuals for Logia LOWSA100LW


Summary of Contents for Logia LOWSA100LW
- Page 1 Any use that does not conform to the guidelines To fully understand the alerts of the Logia Wireless Lightning Add-On Sensor, review the described in this User Guide may void the limited warranty.
- Page 2 QUESTIONS OR PROBLEMS? CONTACT US! LOGIA is a trademark of C&A IP Holdings LLC in the US, Canada, China, and the EU. All other products, brand names, company names, and logos are trademarks of their respective owners, used merely to identify their respective products, and are not meant to connote any sponsorship, endorsement, or approval.
Need help?
Do you have a question about the LOWSA100LW and is the answer not in the manual?
Questions and answers