Table of Contents
Advertisement
Quick Links
Advertisement
Table of Contents

Subscribe to Our Youtube Channel
Summary of Contents for Vulcan-Hart FC-500VC
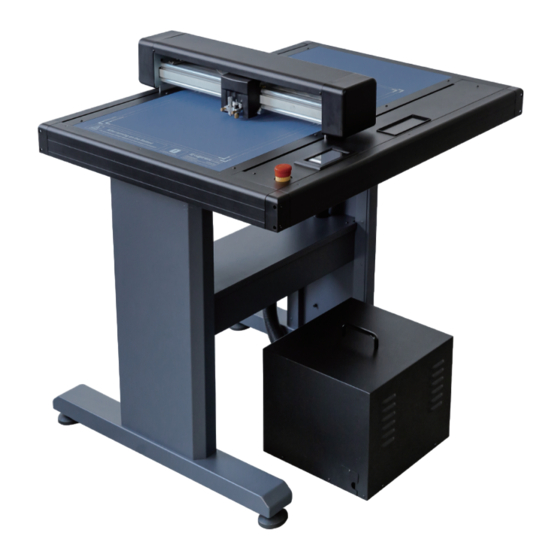
- Page 1 A PRECISION FOCUS QUICK SETUP GUIDE FC-500VC...
- Page 2 Accessories list Accessories for flatbed cutting plotter Ethernet cable x 1pc Power cable x 1pc USB cable x 1pc Creasing tool x 1pc Blade holder x 1pc Pen calibration tool x 2pcs Creasing head x 1pc Pen x 5pcs Blade x 1pc Accessories for air pump Transfer tube x 1set Silencer x 1pc...
- Page 3 1:Stand installation Left Right M4 Phillip screws M6 Hex screws Beam cover Beams Stand legs (each for left and right) Phillip Screwdriver Hex Key (1) First,install beams to stand legs, hex screws(8) and hex key be used. (2) Second,install beam cover onto beams, phillip screws(4) and phillip screwdriver be used. (3) Finally, Put machine on floor stand, hex screws(4) and hex key be used.
- Page 4 3:Blade holder installation When pushing the tool holder with your fingers,the blade tip may be protruding. Take care not to cut your fingers. caution blade blade holder cap blade holder (1) First,unscrew the blade holder cap,as shown. (2) Second,place the blade (as shown) into the slot of the blade seat. * There are two types of blade: ordinary blade and circlip blade.
- Page 5 5: Replace the creasing head (1) Step1,unscrew old creasing head. (2) Step2,Install new creasing head into creasing tool. 6: Attaching a tool (1) First,Loosen the tool holder screw.Release tool cover. (2) Second,while pushing up the tool holder, push the tool into the holder until the flange of tool completely touches the upper part of the holder (3) Finally, make sure that the tool bracket is engaged on the tool's flange, and then tighten the screw.
- Page 6 Setting.........Machine calibration and system information. Speed/Force ..... To set speed/force of tool1/tool2. Vacuum........To toggle of vacuum suction, ON - fast/stable hold, OFF - easy replacement of next item. Test cut........To cut one square and one triangle for testing force of tool1/tool2. Pause........To pause the cutting job when we find anything wrong.


Need help?
Do you have a question about the FC-500VC and is the answer not in the manual?
Questions and answers