Table of Contents
Advertisement
Quick Links
Advertisement
Table of Contents

Related Manuals for IMOU DB60


Summary of Contents for IMOU DB60
- Page 1 Video Doorbell Quick Start Guide V1.0.0 https://en.imoulife.com...
- Page 2 Welcome Thank you for choosing IMOU. We are devoted to providing you easy smart home products. If you have problems using the product, please contact our service team at service.global@imoulife.com. Device Safety Precautions Read this guide carefully and keep it for future reference.
-
Page 3: Battery Safety Precautions
All batteries can explode, catch re, and cause burns if it has been cut, crushed, disassembled, punctured, incinerated, short-circuited, or exposed to water, re or high temperatures. Safely and responsibly install, use, and dispose of batteries. Battery Safety Precautions Only use batteries provided. Do not replace batteries by yourself. Do not remove the battery from the doorbell. -
Page 4: Package Contents
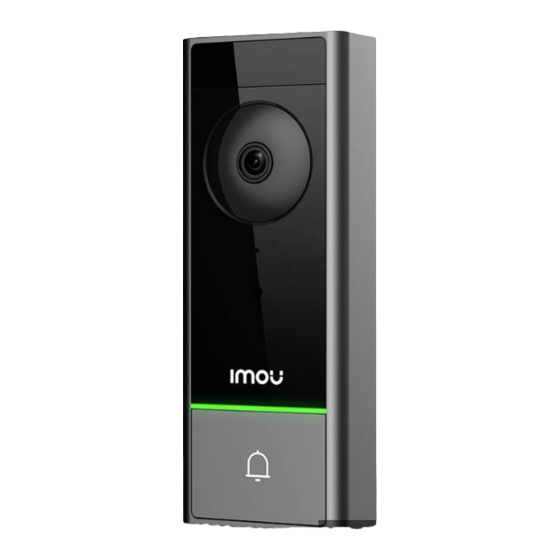
Package Contents Doorbell Mounting Bracket Angled Bracket ×1 Angled Bracket ×1 Extension Wires ×1 ×1 (15° horizontally) (5° vertically) ×2 Mounting Screws Wire Nuts Mounting Screws Wall Anchors Terminal Screws ×4 ×3 ×4 ×4 ×2 Tools Required Philips-head 15/64" Drill Bit Charging Cable Quick Start Guide Drill... - Page 5 Updating rmware and red Call Button Power o Bottom View Function of the QR code Scan the QR code with Imou Life App to add the Spotlight/Night Light device to your account. Please keep it well for Speaker future use.
-
Page 6: Set Up The Device
Set Up the Device Scan the QR code below, search for "Imou Life" in the app store, or navigate to Support > Download Center in our o cial website to download and install the app. Imou Life If you already use the app, make sure that you are using the latest version. - Page 7 The app will guide you through the setup process. Add Device Setup Setup SSID XXXXXX Password Rear Side Next Done Reset the device: Press and hold the reset button located on the back of the device for 5 s until the LED turns red.
- Page 8 Install the Video Doorbell (Battery Powered) Step 1 Mark Mounting Holes Place the mounting bracket on the mounting surface and then use it to mark the screw holes. Be sure to follow the "UP" direction. How to use angled bracket Attach one of the angled mounting wedges to the mounting bracket if you want to adjust the angle of your doorbell for a better view.
- Page 9 Step 2 (Optional) Install Wall Anchors If installing on stucco, brick, or concrete, use the provided drill bit to drill holes where marked, and then insert the included wall anchors. For wood, drywall or soft surface, skip this step. Step 3 Secure the Bracket Secure the bracket to the mounting surface with a Philips-head screwdriver and supplied mounting screws.
- Page 10 Step 4 Mount the Doorbell Place the doorbell on the top tab of the mounting bracket, and then push it into the bottom tab, until you hear it click into place. How to detach the doorbell from the mounting bracket Insert the supplied pin into the hole at the bottom of the bracket and push it slightly harder until the doorbell is released.
- Page 11 Install the Video Doorbell (Wire Powered) Before getting started, turn o the power at the breaker, and make sure that no power is going to your doorbell system. Step 1 Mark Mounting Holes Place the mounting bracket to t your existing doorbell wiring and then use it to mark the screw holes.
- Page 12 Step 2 (Optional) Install Wall Anchors If installing on stucco, brick, or concrete, use the provided drill bit to drill holes where marked, and then insert the included wall anchors. For wood, drywall or soft surface, skip this step. Step 3 Secure the Bracket Lead the doorbell wires through the hole on the bracket, and then secure the bracket to the mounting surface with a Philips-head screwdriver and supplied mounting screws.
- Page 13 Step 4 Connect Wires 1. Partially tighten the terminal screws into the power port. 2. Loop your existing wires underneath the screws. Either wire can connect to either screw. 3. Tighten the screws to secure the power wires. Step 5 (Optional) Apply Extension Wires 1.
- Page 14 Step 6 Mount the Doorbell Place the doorbell on the top tab of the mounting bracket, and then push it into the bottom tab, until you hear it click into place. Your doorbell is now ready to use. Restore the power at the breaker. How to detach the doorbell from the mounting bracket Insert the supplied pin into the hole at the bottom of the bracket and push it slightly harder until the doorbell is released.
- Page 15 (Optional) Install the Chime Kit The chime kit, not provided, is used to regulate power to your existing chime so that your doorbell will function properly. Before getting started, turn o the power at the breaker, and make sure that no power is going to your doorbell system.
- Page 16 Step 3 Connect the wire harness to the chime kit. Step 4 Connect either one of wires from the chime kit to the "FRONT" terminal and the other one to the "TRANS", and then tighten the screws. Be sure the existing wires are attached. Step 5 It is recommended that you attach the chime kit to the inside of your chime with adhesive.
-
Page 17: Troubleshooting
Troubleshooting Q: Failed to set up the device? Ensure your smart phone and the device are within range of your Wi-Fi router (recommended to be no more than 5 m (16 ft). If the location where the video doorbell is installed has a weak signal, consider adding a Wi-Fi extender between your router and the doorbell. - Page 18 Q: How to update the rmware? You can update the rmware through the "Imou Life" app in Devices Settings > Firmware. It shows a red dot when an update is available. The doorbell will restart automatically when it nishes update.
- Page 19 Q: How to connect wires between the chime and the doorbell? Connect the positive wire from the power source of the chime to the positive one of the doorbell, and then the negative wire to the negative. Reversing the polarity in a circuit may cause danger. Q: The doorbell’s chime is not working? Make sure the chime is correctly linked to the doorbell in the app.
- Page 20 https://en.imoulife.com...
Need help?
Do you have a question about the DB60 and is the answer not in the manual?
Questions and answers