Advertisement
Quick Links
Advertisement

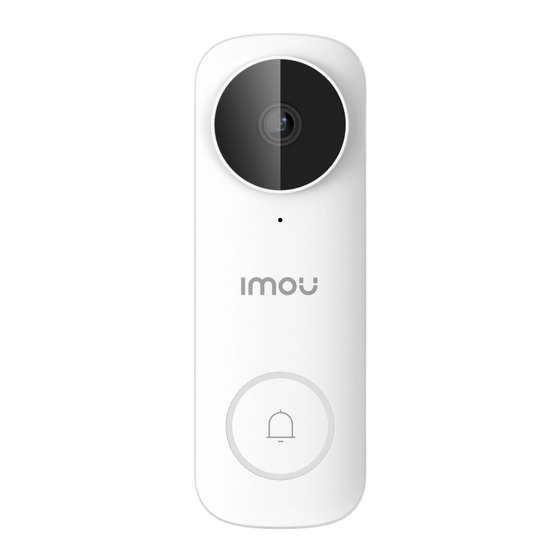
Summary of Contents for IMOU DB61i
- Page 1 Video Doorbell Quick Start Guide V1.1.0...
- Page 3 Welcome Thank you for choosing IMOU. We are devoted to providing you easy smart home products. If you have problems using the product, please contact our service team at service.global@imoulife.com. Device Safety Precautions Read this guide carefully and keep it for future reference.
-
Page 4: Package Contents
Package Contents Doorbell Mounting Bracket Angled Bracket ×1 Angled Bracket ×1 Chime Kit ×1 ×1 (15° horizontally) (5° vertically) ×1 Wire Nuts Wire Harness Extension Wires Wall Anchors Mounting Screws ×2 ×2 ×2 ×2 ×2 Tools Required Pin ×1 15/64" Drill Bit ×1 Philips-head Drill Screwdriver... - Page 5 Call Button Flashing green Updating rmware and red Bottom View Function of the QR code Scan the QR code with Imou Life App to add the device to Spotlight/Night Light your account. Please keep it well for future use. Speaker...
- Page 6 Install the Video Doorbell Before getting started, turn o the power at the breaker, and make sure that no power is going to your doorbell system. Step 1 Mark Mounting Holes Place the mounting bracket to t your existing doorbell wiring and then use it to mark the screw holes.
- Page 7 Step 3 (Optional) Install Wall Anchors If installing on stucco, brick, or concrete, use the provided drill bit to drill holes where marked, and then insert the included wall anchors. For wood, drywall or soft surface, skip this step. Step 4 Secure the Mounting Bracket Lead the doorbell wires through the hole on the mounting bracket, and then secure the bracket to the mounting surface with a Philips-head screwdriver and supplied mounting screws.
- Page 8 Step 5 Connect Wires 1. Loosen the power port screws of the doorbell. 2. Loop your existing wires underneath the screws. Either wire can connect to either screw. 3. Tighten the screws to secure the power wires. Step 6 (Optional) Apply Extension Wires 1.
- Page 9 Step 7 Mount the Doorbell Push the wiring back into the wall, place the doorbell onto the two tabs of the mounting bracket, and then slide it down to secure it. A click sound will indicate that it is locked in. How to detach the doorbell from the mounting bracket Insert the supplied pin into the hole at the bottom of the bracket until the inner buckle is reached.
- Page 10 Install the Chime Kit The chime kit is used to regulate power to your existing chime so that your doorbell will function properly. Before getting started, turn o the power at the breaker, and make sure that no power is going to your doorbell system.
- Page 11 Step 3 Connect the wire harness to the chime kit. Step 4 Connect either one of wires from the chime kit to the "FRONT" terminal and the other one to the "TRANS", and then tighten the screws. Be sure the existing wires are attached. Step 5 It is recommended that you attach the chime kit to the inside of your chime with the adhesive provided.
-
Page 12: Set Up The Device
Set Up the Device or navigate to Support > Download Center in our Scan the QR code below, search for "Imou Life" in the app store, o cial website to download and install the app. Imou Life If you already use the app, make sure that you are using the latest version. - Page 13 The app will guide you through the setup process. Add Device Setup Setup SSID XXXXXX Password Next Done Where is the device QR code: On label that was attached to the box or on the back of the device. Reset the device: Press the reset hole located on the back of the device for 10 s with the included pin until the LED turns solid red.
-
Page 14: Troubleshooting
Q: How to update the rmware? You can update the rmware through the "Imou Life" app in Devices Settings > Firmware. It shows a red dot when an update is available. The doorbell will restart automatically when it nishes update. - Page 15 Q: Failed to set up the device? Ensure your smart phone and the device are within range of your Wi-Fi router (recommended to be no more than 5 m (16 ft). If the location where the video doorbell is installed has a weak signal, consider adding a Wi-Fi extender between your router and the doorbell.


Need help?
Do you have a question about the DB61i and is the answer not in the manual?
Questions and answers