Advertisement
PRINT INSTRUCTIONS: REFERENCE SHEET V-DW21R-345 P/N 77-000003-001 REV C |
INK: BLACK | MATERIAL: 20 LB MEAD BOND | SIZE: 5.50" X 8.50" SCALE 1:1 |
FOLDS: TRI-FOLD VERTICAL, TRI-FOLD HORIZONTAL (TO FIT IN BOX)
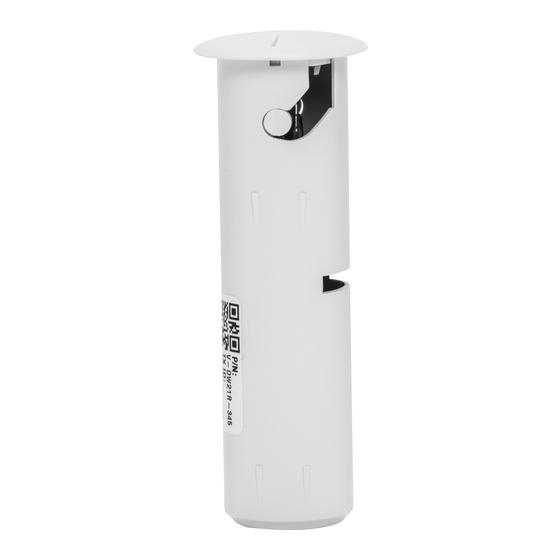
Recessed Door Contact
(V-DW21R-345)
Quick Reference
The Vivint Recessed Door Contact (DW21R) is ideal for
inconspicuously monitoring the opened and closed state of a door.
The DW21R sensor includes white and brown plastics to help it
blend in with most doorframes.
The innovative design allows a user to easily remove the sensor to
change batteries when necessary.
Programming Instructions
For more details, go to the product support page at:
Loop 1 (default)
Installation Instructions
Mounting tools:
Power drill
¾" drill bit
NOTE: It is important, to ensure the magnet and sensor line up properly, that the hole for the senor and the
hole for the magnet be directly across from each other.
If the brown caps would look better once installed, remove the white (default) caps and replace them with the
supplied brown ones. Insert the battery into the sensor while observing the correct polarity. With the battery
installed, slide the board and battery into the sensor tube by passing the extended sides through the guide
holes. The tube should twist clockwise, securely into place.
Installing the sensor:
1. Use a ¾" drill bit and slowly drill a hole into the door or doorframe for the
sensor. The hole should be approximately 2.75" deep.
2. Insert the sensor so that the lip of the sensor becomes flush against the door
or doorframe.
3. Verify that the sensor is held tightly in place. If it is not, remove the sensor
cap and replace it with one of the included flanged caps and secure it with
the supplied screws.
Installing the magnet:
1. Use a ¾" drill bit and slowly drill a hole in the door or doorframe directly
opposite of the sensor. The hole should be approximately ½" deep.
2. Remove the sticker back from the inside lip of the magnet.
IMPORTANT: Before inserting the magnet into the drilled hole, clean the
excess dust from around the hole to ensure the glue is most effective.
3. Insert the magnet into the drilled hole and hold it firmly in place for a few
seconds to ensure it is securely held in place.
Installer Test
Once installed, open and/or close the door for which the DW21R is installed so
that the sensor will transmit to the Vivint Control Panel while the panel is in
installer test mode.
User Test
Open and/or close the door for which the DW21R is installed to ensure the sensor is
transmitting correctly to the panel. The panel should recognize the state change of
the door that is being monitored.
Vivint.com
Advertisement
Table of Contents

Subscribe to Our Youtube Channel
Related Manuals for Vivint V-DW21R-345


Summary of Contents for Vivint V-DW21R-345
- Page 1 Installer Test Once installed, open and/or close the door for which the DW21R is installed so that the sensor will transmit to the Vivint Control Panel while the panel is in installer test mode. User Test Open and/or close the door for which the DW21R is installed to ensure the sensor is transmitting correctly to the panel.
- Page 2 Wireless signals may be blocked by radio signals that occur on or near the wireless operating frequencies. *For more compliance and warranty information, visit: www.vivint.com © 2014 Vivint Inc. All Rights Reserved. | www.vivint.com | 1-800-216-5232 | 77-000003-001 Rev. C...
Need help?
Do you have a question about the V-DW21R-345 and is the answer not in the manual?
Questions and answers