Table of Contents
Advertisement
Quick Links
Advertisement
Table of Contents

Subscribe to Our Youtube Channel
Related Manuals for Kenwood UBZ-LJ8


Summary of Contents for Kenwood UBZ-LJ8
- Page 1 FM TRANSCEIVER UBZ-LJ8 INSTRUCTION MANUAL...
-
Page 2: Table Of Contents
OPTIONAL ACCESSORIES ..........24 SMC-34 SPEAKER-MICROPHONE ........25 ................25 ONITOR ............25 DDITIONAL UNCTIONS SPECIFICATIONS ..............26 ..........26 RANSCEIVER PECIFICATIONS ..........26 HANNEL REQUENCY HART ............27 ROUP UMBERS TK-3101 / UBZ-LJ8 C ........27 OMPATIBILITIES TROUBLESHOOTING GUIDE ..........28... -
Page 3: Introduction
NTRODUCTION Thank you for purchasing this KENWOOD Private Mobile Radio 446 (PMR446). This KENWOOD product is a precision device. Treat it with care, and you will enjoy years of reliable operation. PMR446 refers to personal short range Private Mobile Radios for family and friends to keep in touch without the need for a licence, radio knowledge, or monthly charges. -
Page 4: Precautions
• Do not operate your transceiver or charge your battery pack in an explosive atmosphere (gases, dust, fumes, etc.). • If an abnormal odor or smoke is detected coming from the transceiver, immediately switch OFF the power and remove the batteries. Contact your KENWOOD dealer. -
Page 5: Orientation
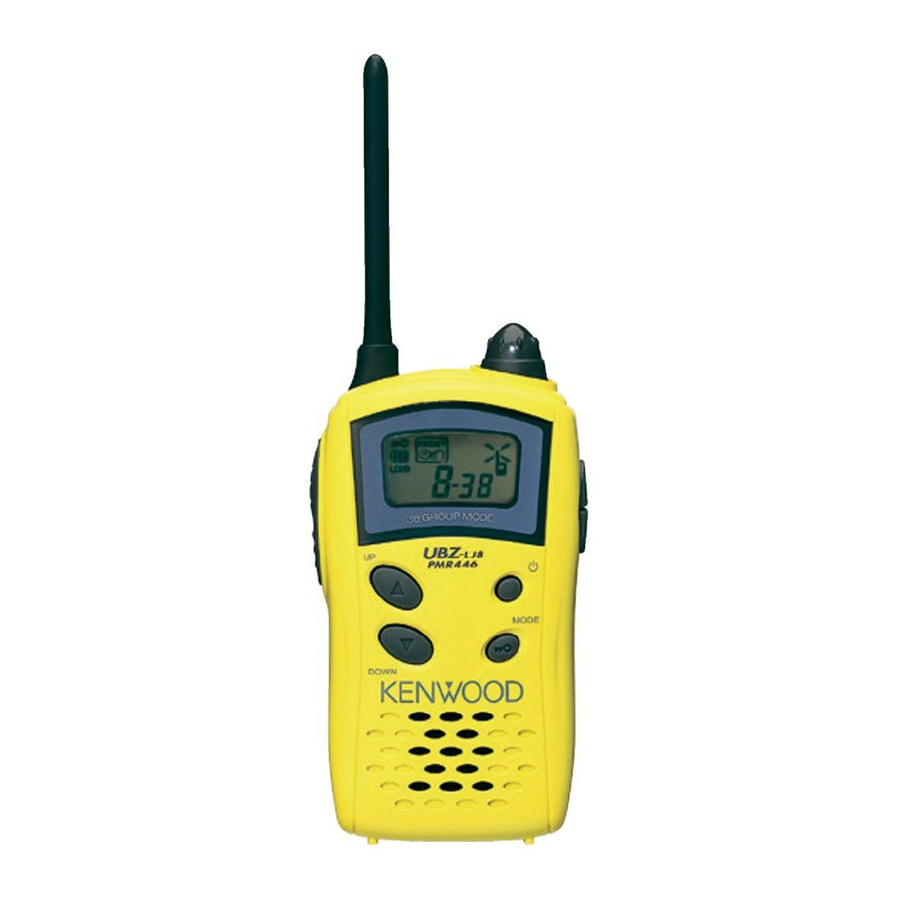
ORIENTATION Antenna VOL control Display SP/MIC jacks PTT switch ▲ key Power switch ▼ key Microphone Speaker ONTROL UNCTIONS PTT (Push-to Talk) switch: Press this switch then speak into the microphone to make a call. Release the switch to receive. ▲... -
Page 6: Display
ISPLAY v i t n i l v i t e l i e l i o i t e l i t t i e l i e l i v i t i f i l v i t e l i “... -
Page 7: Preparation
PREPARATION NSTALLING EMOVING ATTERIES This transceiver requires 3 LR6 (AA) batteries. Use high quality alkaline batteries to enjoy longer periods of battery life. You can also use an optional UPB-1 NiCd battery pack. When using an optional battery pack, be sure to set the battery indicator type to battery pack, from its default setting of alkaline batteries. -
Page 8: Setting The Antenna
Battery installation Battery pack installation Label Contacts Ribbon 3 Align the battery cover tabs with the slots on the transceiver, hold the cover in place, then latch it with the battery cover lock. Note: ◆ Do not mix old and new batteries or batteries of different types. ◆... -
Page 9: Installing / Removing The Belt Clip
NSTALLING EMOVING THE 1 To install the belt clip, align the clip with the guides on the rear of the transceiver, then slide the belt clip up until it latches in place. 2 To remove the belt clip, press the locking latch in then slide the belt clip down before pulling it away from the transceiver. -
Page 10: Optional Accessories
NSTALLING EMOVING PTIONAL CCESSORIES Note: Always switch OFF the transceiver power when installing or removing the optional accessories. The following accessories can be used with this transceiver: • EMC-3 Clip Microphone and Earphone • HMC-3 VOX/PTT Headset • KHS-21 Headset •...
Need help?
Do you have a question about the UBZ-LJ8 and is the answer not in the manual?
Questions and answers