Bohle GlassBuddy Plus Manual
Hide thumbs
Also See for GlassBuddy Plus:
- Manual (20 pages) ,
- Operating instructions manual (35 pages)
Table of Contents
Advertisement
Quick Links
Advertisement
Table of Contents

Subscribe to Our Youtube Channel
Related Manuals for Bohle GlassBuddy Plus


Summary of Contents for Bohle GlassBuddy Plus
- Page 1 GlassBuddy Plus®...
-
Page 2: Table Of Contents
Contents of the Box Features of the GlassBuddy Plus The Keypad The Display First Steps – Basic Information about Working with the GlassBuddy Plus Analysing Glass with the GlassBuddy Plus Reading the Measurement Results Error and Warning Messages Charging the Battery... - Page 3 Please arrange the professional disposal of the GlassBuddy Plus and its accessories at the end of their service lives. You can send the parts back to Bohle AG for proper disposal. Please contact your dealer. WEEE Reg. No. DE33122269...
- Page 4 Declaration of Conformity Bohle AG, Dieselstr. 10, D-42781 Haan Authorised Representative for the Compilation of Technical Documentation: Edgar Höhn, Bohle AG, Dieselstraße 10, D-42781 Haan, Germany We hereby declare that the delivered models of the following products: GlassBuddy BO 5164755...
- Page 5 EG Declaration of Conformity Bohle AG, Dieselstr. 10, D-42781 Haan Authorised Representative for the Compilation of Technical Documentation: Edgar Höhn, Bohle AG, Dieselstraße 10, D-42781 Haan, Germany We hereby declare that the delivered models of the following products: GlassBuddy BO 5164755...
-
Page 6: Contents Of The Box
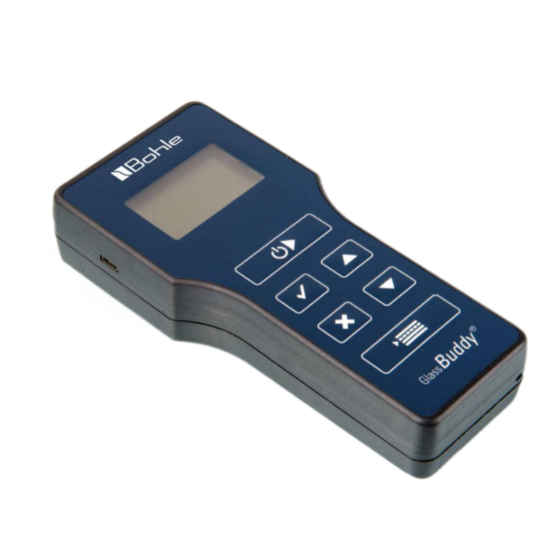
This chapter explains the functions of the individual 1 x USB-C connection cable keys. Press 02 Features of the GlassBuddy Plus to switch the GlassBuddy Plus on Destruction-free analysis of glass, even when to start measuring installed Measuring monolithic glass with a thickness between 2.6 mm and 19 mm... -
Page 7: The Display
Press and hold for approximately 2 seconds laminated safety glass (lam and lam-safety) to switch the GlassBuddy Plus on. Choose the – for the analysis of monolithic multi-laminated glass type you wish to analyse on the four-line illu- glass (multi-lam), with the exception of fire minated display (see also sub-item “GLASS TYPE”). - Page 8 The selected glass type setting is displayed in the menu. Note: If you measure other glass types with this Note: The GlassBuddy Plus will automatically setting, this can lead to erroneous measuring return to the default settings once the device is results.
- Page 9 To prevent accidental, permanent adjustment Note: out one by one by repeatedly pressing of the unit, the GlassBuddy Plus will revert to the sorted alphabetically. After completing 2 to 19 previously set unit when it is switched on again. To...
-
Page 10: Analysing Glass With The Glassbuddy Plus
GlassBuddy Plus from the glass. In the first row, the GlassBuddy Plus shows the position under which the measuring result is saved The measurement result is shown on the display. -
Page 11: Error And Warning Messages
– This message appears if the GlassBuddy Plus is able to measure the total thickness but can- Please make sure that the GlassBuddy Plus is able not determine any further details about the to measure correctly. The GlassBuddy Plus uses configuration of panes. -
Page 12: Charging The Battery
The measurement ximately 120 minutes to charge it to 100% again might be successful from the rear side of (if the GlassBuddy Plus remains switched on during the glass. charging, the charging time is longer). The GlassBuddy Plus will indicate when the charging process is over. -
Page 13: Installation And Operation Of The Glassbuddy Plus Software
This programme allows you to transfer data from the Connected memory of the GlassBuddy Plus to your computer. This field is dark green if the GlassBuddy Plus is To do this, the device needs to be connected to your not connected to the programme and light green if PC via the supplied USB cable. - Page 14 USB cable. Use USB-C port on the GlassBuddy Plus and a free USB slot on your PC. Switch the GlassBuddy Plus on. The display of the GlassBuddy Plus will show “PC connection” and “Battery charging” or “Battery charged”.
- Page 15 Glass Buddys Plus. Only one GlassBuddy Plus can the measurement with any comments and any commu nicate with the programme at a time.
- Page 16 In the “Language” menu you can choose between With this menu item, you can send a license file to English and German. your GlassBuddy Plus in order to carry out an upgrade (involving costs) of Basic to Plus. Please contact us if you are interested.
-
Page 17: Glass Types And Measuring Ranges
Transfer Languages With this menu item, the graphical languages (Russian, Corean, Chinese) are transferred from the PC or laptop to the GlassBuddy Plus. The corre- sponding language file must previously be requested from Bohle and saved to your computer or laptop. -
Page 18: Firmware Update
Please connect your GlassBuddy Plus to your PC or on at least 4 spots distributed over the whole sur- laptop and connect the device to the PC software face of the glass pane. -
Page 19: Technical Data
64 x 128 pixels sure that all the four feet rest firmly on the surface Dimensions 180 x 83 x 42 mm to be measured and that the GlassBuddy Plus is not Weight 350 g moved while performing the measurement. Working temperature + 5° C to + 40° C The GlassBuddy Plus is supplied readily calibrated. - Page 20 Bohle Worldwide Germany Austria | Hungary Benelux China Slovenia Bohle AG – Head Office Bohle GmbH Bohle Benelux B.V. Bohle Trading Co., Ltd 42781 Haan 1230 Wien 3905 LX Veenendaal Tianhe District, Guangzhou T +49 2129 5568-100 T +43 1 804 4853-0...
Need help?
Do you have a question about the GlassBuddy Plus and is the answer not in the manual?
Questions and answers