
Related Manuals for Coby MPC951


Summary of Contents for Coby MPC951
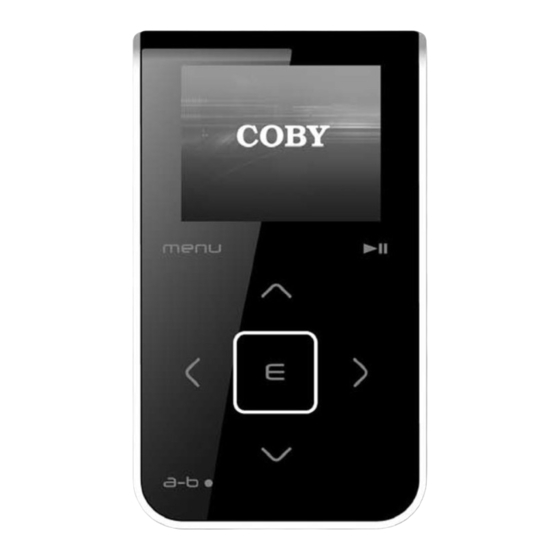
- Page 1 COBY MPC951 Setup Guide Thank you for choosing a COBY MP3 player!
-
Page 2: Audio Transfer
If your computer does not have Windows Media Player installed, please download the latest version of Windows Media Player (WMP) from Microsoft’s website www.microsoft.com/windows/windowsmedia/player/download/download.aspx AUDIO TRANSFER Transfer your Music CD’s into your COBY MP3 player 1) Launch the WMP11 program. 1b. Click “All Programs” 1a. Click “Start Menu”... - Page 3 2) Put an audio CD into the CD-ROM drive of your computer. ª If your computer has an internet connection, WMP will automatically retrieve and display the album information. “Rip” Click the tab and select which “Title” to rip. To rip the entire album, check the top check box.
- Page 4 3) Set the Rip Options (optional). “Rip” Click the button to set the Rip options. The recommended Rip settings are: ² Select “Format > mp3” ² Select “Bit Rate > 128 Kbps” Select “More Options” to change the directory where WMP saves ª...
- Page 5 4) Start ripping the CD. “Rip” Click the CD to MP3/WMA The ripping process will take a few minutes to complete. WMP will ª save the converted music files in your “My Documents > My Music” default folder. button and select “Rip” to start converting the audio...
- Page 6 * Connect your MP3 player to the computer. * The MP3 player will appear under “MY Computer” as a “LOCAL DISK”.
-
Page 7: Getting Started
VIDEO TRANSFER Converting your VIDEO files and transferring it into your player. Install the Xvid 1. Insert the driver CD 2. Go into the “Xvid” folder. 3. Double click on the “XviD-1.1.0-30122005” file. 4. This will install the Xvid encoder. Install the Audio Codec Go back into the root directory of the driver CD. - Page 8 AS AVI”. 10. Name the soon to be converted file and select where the converted file should be saved. When the conversion is completed, Copy and Paste or Drag and Drop the converted files to your MP3 player “MOVIE” folder. Done!!
-
Page 9: Common Troubleshooting
*Problem lies with the ribbon cable connected to the hard drive. Ribbon cable is loose. If you are still having difficulties with your MP3 player, please contact Customer Care, Hours of operation, Monday-Friday 8:00 AM – 8:30:00 PM EST, Saturday and Sunday 9:00 AM –...
Need help?
Do you have a question about the MPC951 and is the answer not in the manual?
Questions and answers