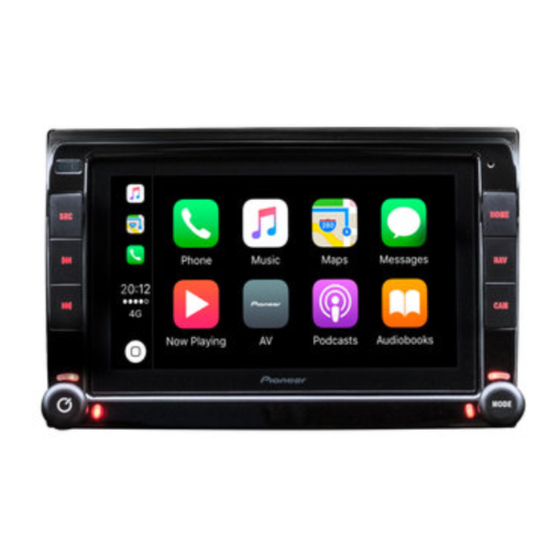
Pioneer AVIC-EVO1-DT2-C-GR Installation Manual
Hide thumbs
Also See for AVIC-EVO1-DT2-C-GR:
- Quick start manual (16 pages) ,
- Quick start manual (16 pages)
Summary of Contents for Pioneer AVIC-EVO1-DT2-C-GR
- Page 1 INSTALLATION MANUAL BEFORE Cut as shown in the pictures 2-3-4. AFTER BEFORE AFTER ATTENTION! If necessary cut (20mm) as shown in the 20mm picture 6. If the dashboard does not have plastic flaps, then no cutting is needed.
- Page 2 Insert the brackets as shown in the pictures 7-8-9. 12 A 12 B Before tightening the screws, put the installation jig in place, as shown. Insert the jig in the indicated square holes. Fix the two screws for each bracket as shown in the pictures 12A and 12B.
- Page 3 Insert the radio unit in the dashboard tunnel Before inserting the radio unit in the and fit it with the two screws for each side as dashboard put the keys connectors in the shown in the pictures 14-15. position as shown. Connect the connectors of picture 13 to the facia plate and insert it.
- Page 4 Attention! To install the vehicle adapter, please follow the shown steps: Find the two indicated connectors in the fuse box near the steering wheel column. Open the green connector as shown; the supplied Violet/White wire must be connected to PIN n°4. If other wires are already occupying this PIN, they must be spliced with the supplied Violet/White wire.


Need help?
Do you have a question about the AVIC-EVO1-DT2-C-GR and is the answer not in the manual?
Questions and answers