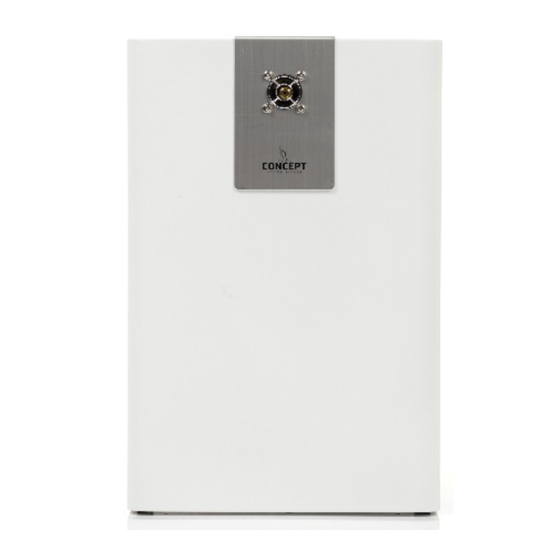
Concept Smoke Screen SENTINEL S70 Installation And Operation Manual
Hide thumbs
Also See for SENTINEL S70:
- Installation and operation manual (24 pages) ,
- Installation and operation manual (36 pages)
Summary of Contents for Concept Smoke Screen SENTINEL S70
- Page 1 SENTINEL S70 INSTALLATION AND OPERATION MANUAL (Version 16 December 2013) CAN’T SEE IT? CAN’T STEAL IT! Page 1 of 16...
-
Page 2: How Does Your Smoke Screen Work
Smoke Screen. If you have any questions that remain unanswered, please call our experts at Concept Smoke Screen and we will help. Once again, thank you for your decision; we hope that it's one that never needs to be tested. -
Page 3: Table Of Contents
CONTENTS Subject Page How does your Smoke Screen work? Introduction Overview Standard installation Positioning Installation procedure Access Mounting Nozzle changing Controlling the smoke Circuit board layout Generic connection diagram Energy saving mode Service mode Turbo smoke mode Tamper Fluid management Battery management Programming Operation... -
Page 4: Introduction
INTRODUCTION Before commencing installation of the Smoke Screen ensure that you have all of the following equipment supplied in the box: 1 x Smoke Screen 1 x Wall Mounting Bracket 1 x Smoke Fluid Bag (Boxed) 2 x 12v Batteries. 1 x Literature Pack &... -
Page 5: Positioning
POSITIONING The Smoke Screen should ideally be sited in a covert position away from prying eyes and thereby reducing the possibility of tamper or an attack. The ideal place for the Smoke Screen is above a ceiling from where the smoke plume is used to its best effect, bursting on the ground and spreading outwards and upwards through 360°. -
Page 6: Access
ACCESS To access the PCB connections and programming panel (battery and fluid bag access covered in the relevant sections) remove the front cover by unscrewing the 2 set screws on either side and unhooking it from the top of the case; refitting is the reverse process. Installation cable entry is through the serrated grommet on the left back of the case. -
Page 7: Nozzle Changing
Suspension mounting Suspending the Smoke Screen range is achieved using the ‘Suspension Kit’ comprising a length of Uni-strut, two sections of threaded bar and fixings (1). Prepare the Smoke Screen by fitting the angle brackets as described above. Fix the required length of M8 threaded bar to the wall bracket using 4 x nuts and 4 x 25mm washers (5). -
Page 8: Circuit Board Layout
CIRCUIT BOARD LAYOUT See below for Dip switch settings. Dip switch 3 to “On” for Service Mode. Activation test button “PB1”. Label Function Delivery setting Select to “On” to run fan permanently at a speed dependent on the ambient F-CON temperature. -
Page 9: Energy Saving Mode
ENERGY SAVING MODE (ESM) When ESM is set and the Alarm Panel input to the Smoke Screen is “Unset” the Smoke Screen lowers its running temperature to a standby level to reduce power consumption and cost. When the Smoke Screen receives an ‘Alarm Set’ input it automatically heats to its normal operating temperature. -
Page 10: Battery Management
(see section under “Programming”). The Smoke Screen is supplied with a set of batteries but they are not fitted on delivery. Replacement batteries may be obtained from your Smoke Screen installer or Concept Smoke Screen. Removal and replacement. To remove the batteries, open the access panel on the left side of the Smoke Screen. -
Page 11: Programming
Capacity Setting is “1000ml”. Setting Temperature. This is preset at manufacture and should only be altered by Concept Smoke Screen. Setting Smoke Mode. In the “Setting Smoke Mode” display press to show the current smoke mode set. Use the ▲ and ▼ buttons to move up and down to select “Turbo Mode”... -
Page 12: Operation
Invert Trigger Mode. In the “Invert Trigger Mode” display press to show the current trigger mode set. Use the ▲ and ▼ buttons to move up and down to select “N/O Mode” or “N/C Mode”. Press to save the new setting and return to the higher level menu. Press ... -
Page 13: Lcd, Led And Sound Indications
LCD, LED AND SOUND INDICATIONS The Smoke Screen provides onboard status monitoring via an LCD, a multicolour LED and a sounder. Indications displayed are: LCD Message LED Colour Buzzer Sound Relay status change Indication Meaning ● Smoke Screen heating to Heating up permanent. -
Page 14: Action After Every Activation
ID card. It is recommended that the Smoke Screen is checked and the fluid changed annually by the installer or Concept Smoke Screen. Always ensure that the Smoke Screen has sufficient fluid or it will not produce smoke when needed. It is recommended that the installer or Concept Smoke Screen are requested to service/replenish the Smoke Screen if there have been 2 or more activations of the Smoke Screen. -
Page 15: Installer Notes
INSTALLER NOTES Page 15 of 16... - Page 16 Concept Smoke Screen Limited 1-2 North End, Swineshead, Lincolnshire, PE20 3LR United Kingdom Tel: +44 (0) 1205 821111 Fax : +44 (0) 1205 820316 Email: info@smoke-screen.co.uk www.smoke-screen.co.uk Page 16 of 16...


Need help?
Do you have a question about the SENTINEL S70 and is the answer not in the manual?
Questions and answers