
Subscribe to Our Youtube Channel
Related Manuals for Sunbeam Flossy FF5300


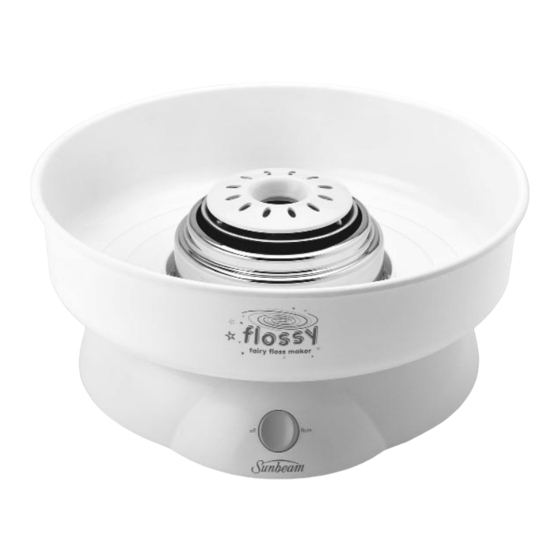
Summary of Contents for Sunbeam Flossy FF5300
- Page 1 Flossy Fairy Floss Maker Instruction Booklet FF5300 Please read these instructions carefully and retain for future reference.
-
Page 2: Table Of Contents
Contents Sunbeam’s Safety Precautions Features of Flossy your Fairy Floss Maker Assembly Instructions Using your Fairy Floss Maker Fairy Floss Measurements How to Make Paper Cones Care & Cleaning Bowl & Body Extractor Head and Assembly... -
Page 3: Sunbeam's Safety Precautions
• Young children should be supervised to ensure that they do not play with the appliance. If you have any concerns regarding the performance and use of your appliance, please visit www.sunbeam.com.au or contact the Sunbeam Consumer Service Line. Ensure the above safety precautions are understood. -
Page 4: Features Of Flossy Your Fairy Floss Maker
Features of ‘Flossy’ your Fairy Floss Maker Bowl Lightweight easy to clean fairy floss bowl. Safety Lid Designed to keep little fingers away from the heating element. Extractor Assembly Head Pour in 1 tablespoon of sugar to produce fun fairy floss. OFF/FLOSS Switch Indicates when the unit is switched off. - Page 5 Fairy Floss Cones Fairy Floss Scoop...
-
Page 6: Assembly Instructions
Assembly Instructions 1.Before using your Fairy Floss Maker for the 4.Assemble the extractor head assembly to first time ensure that all packing material the fairy floss maker ensuring that the is removed. head is fitted correctly and securely. 2.Wash the extractor head assembly and bowl using warm and soapy water, dry thoroughly. -
Page 7: Using Your Fairy Floss Maker
Using your Fairy Floss Maker 1.Set the off/floss switch to the FLOSS 4.After 1-2 minutes, fairy floss will start to position and allow the fairy floss maker to produce fine cobwebs. This forms around warm up for a minimum of 5 minutes. the rim of the bowl. - Page 8 Using your Fairy Floss Maker continued NOTE: If making a number of fairy floss cones, dry sugar may build up around the inside of the bowl near the lip. Remove the dry sugar by scraping clean to prevent floss from catching. Do not use a wet cloth during this process.
-
Page 9: Fairy Floss Measurements
Fairy Floss Measurements AMOUNT OF SUGAR MAKES NOTE: Do not put in more than the required amount of sugar as this will cause the unit to 1 scoop 1 cone vibrate and excessive noise will occur. *If sugar scoop is misplaced use 3 teaspoons of sugar To measure the required amount of sugar use the scoop provided. -
Page 10: Care & Cleaning
Care & Cleaning To clean the bowl & the body To clean the extractor head assembly 1.Set the off/floss switch to the OFF position 1.Set the off/floss switch to the OFF position and remove the plug from the power point. and remove the plug from the power point. - Page 11 © Copyright. SUNBEAM CORPORATION LIMITED 2003. (INCORPORATED IN N.S.W.) A.C.N. 000 006 771 Sunbeam Corporation is a division of GUD Holdings Ltd. For more information or advice on this or any other Sunbeam appliance, visit www.sunbeam.com.au or contact the Sunbeam Consumer Service Line.
- Page 12 Australia 1800 025 059 New Zealand (09) 912 0747 www.sunbeam.com.au is a registered Trademark of Sunbeam is a registered Trademark of Sunbeam Corporation Limited. ACN 000 006 771. Corporation Limited. ACN 000 006 771. © Sunbeam Corporation Limited 2003. © Sunbeam Corporation Limited 2003.
Need help?
Do you have a question about the Flossy FF5300 and is the answer not in the manual?
Questions and answers