Advertisement
Quick Links
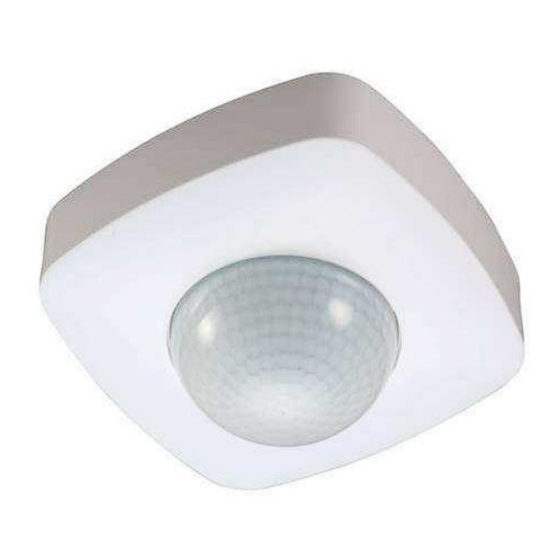
1L-PS04
Instruction
Welcome to use 1L-PS04 PIR Occupancy sensor!
Congratulation on purchasing your new sensor and thank you for the confidence you have
shown in us. You have chosen a high-quality product that has been manufactured, tested and
packed with the greatest care. Please familiarize yourself with these instructions before
attempting to install the product because prolonged, reliable and trouble-free operation will only
be ensured if it is fitted and used properly. We hope your new sensor will bring you lasting
pleasure.
SPECIFICATION:
Power Source: 220-240V/AC
Power Frequency: 50Hz
Ambient Light: <3-2000LUX (adjustable)
Time Delay: Min.10sec±3sec
Max.30min±2min
Rated Load: Max.2000W
Installation Height: 2.2-6m
1000W
FUNCTION:
Can identify day and night: The consumer can adjust working state in different ambient light.
It can work in the daytime and at night when it is adjusted on the "sun" position (max). It can
work in the ambient light less than 3LUX, when it is adjusted on the "moon" position (min).
As for the adjustment pattern, please refer to the testing pattern.
Time-Delay is added continually: When it receives the second induction signals within the first
induction, it will restart to time from the moment.
INSTALLATION ADVICE:
As the detector responds to changes in temperature, avoid the following situations:
Avoid pointing the detector towards objects with highly reflective surfaces, such as mirrors
Detection Range: 360°
Detection Distance: 20m max(<24℃)
Working Temperature: -20~+40℃
Working Humidity: <93%RH
Power Consumption: approx 0.5W
Advertisement

Related Manuals for 1 LEAP Technologies 1L-PS04


Summary of Contents for 1 LEAP Technologies 1L-PS04
- Page 1 Welcome to use 1L-PS04 PIR Occupancy sensor! Congratulation on purchasing your new sensor and thank you for the confidence you have shown in us. You have chosen a high-quality product that has been manufactured, tested and packed with the greatest care. Please familiarize yourself with these instructions before attempting to install the product because prolonged, reliable and trouble-free operation will only be ensured if it is fitted and used properly.
- Page 2 TEST: etc. Turn the TIME knob anti-clockwise on the minimum (10s). Avoid mounting the detector near heat sources, such as heating vents, air conditioning units, light etc. Turn the LUX knob clockwise on the maximum (sun). Avoid pointing the detector towards objects that may move in the wind, such as curtains, tall ...
Need help?
Do you have a question about the 1L-PS04 and is the answer not in the manual?
Questions and answers