Table of Contents
Advertisement
Quick Links
Advertisement
Table of Contents

Related Manuals for EC Line TS-1710BF


Summary of Contents for EC Line TS-1710BF
- Page 1 User Manual TS-1710BF Touch Screen Monitor...
-
Page 2: Table Of Contents
Chapter I: Overview ................2 1.1 Safety Information ....................2 1.2 Electromagnetic Compatibility Statement: ............3 Chapter II: Installation Guide ..............4 2.1 Appearance of TS-1710BF Touch Screen Monitor .......... 4 2.2 The Rear Panel I/O Signs and Description ............4 Chapter III: Instructions for Installation ........... -
Page 3: Chapter I: Overview
1.1 Safety Information TS-1710BF is fully compliance with the relevant requirements of the national standard GB/4943-2001 IT equipment security. Make sure the electricity meets the power requirements (such as voltage, frequency) before installation;... -
Page 4: Electromagnetic Compatibility Statement
1.2 Electromagnetic Compatibility Statement: TS-1710BF is fully compliance with the relevant requirements of the national standards (GB/9254-1998) “The limits and measurement methods of radio disturbance characteristics of information technology equipment” for Class B products. -
Page 5: Chapter Ii: Installation Guide
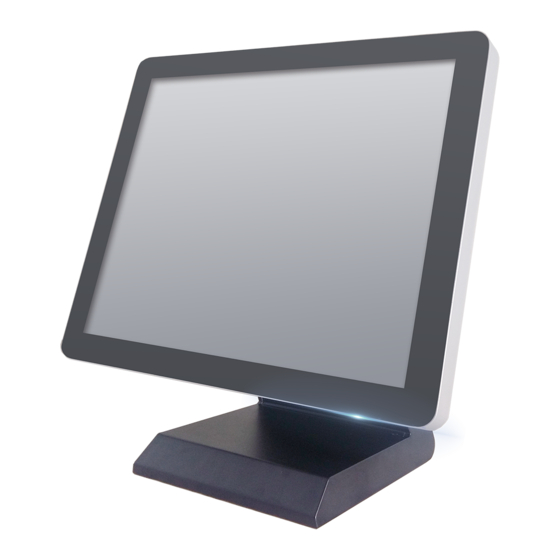
Chapter II: Installation Guide 2.1 Appearance of TS-1710BF Touch Screen Monitor: 2.2 The Rear Panel I/O Signs and Description: A row of the external device connection interface is located at the rear bottom panel of the monitor, such as: power outlet, Line in, VGA and USB interface, detailed as... - Page 6 Enter: Press this button to apply the monitor setting automatically and Exit the OSD menu TS-1710BF touch screen monitor is using the manual handle design which is able to be adjusted within the range of 0 degrees to 90 degrees to make the operation more...
-
Page 7: Chapter Iii: Instructions For Installation
Chapter III: Instructions for Installation 3.1 Touch Screen Driver Installation: Step 1: Open the installer directory in the CD, double-click “Setup.exe” Step 2: Installation started as the following figure shown, click Next to proceed the next step Step 3: Installation in progress... - Page 8 Step 4: Click “install PS / 2 interface driver” and click Next to proceed installation Step 5: For the touch interface is RS232, click “install RS232 interface driver” and click Next to proceed installation. Step 6: When choosing the calibrations, select NONE, click Next to proceed installation.
- Page 9 Step 7: When installing USB touch, please connect the USB controller and USB cable Step 8: When there are two or more touch screen, please tick “Support multi- monitor system”. Step 9: Select the destination location to store the driver, the default path is C: \ Program Files \ eGalaxtouch;...
- Page 10 Step 9.1: Click Next to proceed to installation Step 10: Check the message to create a desktop shortcut icon in the following figure Step 10.1: After install the driver successfully, identify the USB controller card and RS232 control card as the following two figures shows.
-
Page 11: Related Touch Function Setting
3.2 Related Touch Function Setting 3.2.1 Touch Calibration 3.2.2 Touch Device Line Test... - Page 12 3.2.3 1 or 2 Touch Screen Setting 3.2.4 Touch Device Edge Correction Setting 3.2.5 Touch Device Hardware Information Display...
-
Page 13: Chapter Iv: Common Faults And Exclusion
Chapter IV: Common Faults and Exclusion 1. No display on the screen Power saving mode is on, press any key on the keyboard or move the mouse to deactivation. The pins of the VGA cable connector are bent or lost contact to the VGA interface, change the VGA cable. - Page 14 Manufacturer: EC LINE Thank you very much for using EC Line product For service, please contact service@ecline.com.hk www.eclinepos.com...
Need help?
Do you have a question about the TS-1710BF and is the answer not in the manual?
Questions and answers