Advertisement
Quick Links
Model
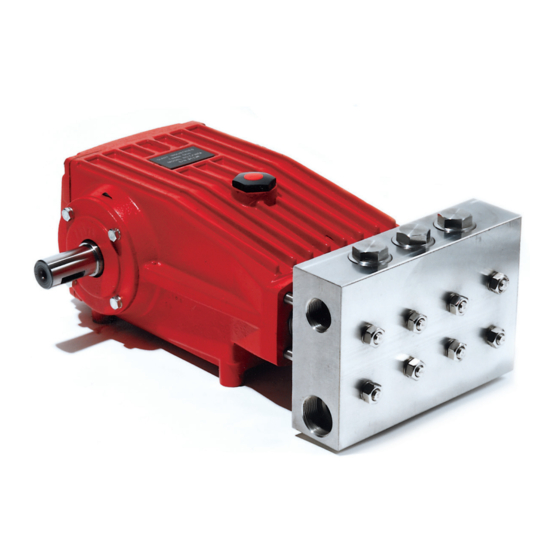
LP200-SS
Updated 01/20
Triplex Ceramic
Plunger Pump
Operating Instructions/
Repair and Service Manual
Contents:
Installation Instructions:
LP200-SS Specifications:
Exploded View / Kits:
Parts List/Kits:
Repair Instructions:
Torque Specifications:
Pump Mounting Selection Guide: page 9
Trouble Shooting:
Maintenance/Spare Parts List:
Dimensions:
Warranty Information:
page 2
page 3
page 4
page 5
pages 6-9
page 9
page 10
page 10
page 11
back page
Advertisement

Summary of Contents for Giant LP200-SS
- Page 1 Model Triplex Ceramic Plunger Pump Operating Instructions/ LP200-SS Repair and Service Manual Contents: Installation Instructions: page 2 LP200-SS Specifications: page 3 Exploded View / Kits: page 4 Parts List/Kits: page 5 Repair Instructions: pages 6-9 Torque Specifications: page 9 Pump Mounting Selection Guide: page 9...
- Page 2 It is the re- sponsibility of the equipment manufacturer and/or operator to ensure that all pertinent safety regulations are adhered to. NOTE: Contact Giant Industries for Service School Information. Phone: (419)-531-4600...
- Page 3 Model LP200-SS Specifications Metric Volume ..................19.0 GPM ........72.1 LPM Discharge Pressure ..............3000 PSI ......... 200 Bar Inlet Pressure ................-4.35 to 90 PSI ...... -0.3 to 6.2 Bar Speed ............................Up to 1000 RPM Plunger Diameter ................1.10” ..........28 mm Stroke ....................
- Page 4 Exploded View - LP200-SS...
- Page 5 Inlet Port = 13377 (Adapter) / 13376 (Seal) 29C 13031 Tension Screw Discharge Port = 13373 (Adapter) / 13372 (Seal) 29D 07755 Copper Ring LP200-SS Pump Repair Kits Plunger Packing Kits - #9307 Valve Kit #09196 Item Part# Description Qty.
- Page 6 LP200-SS Repair Instructions NOTE: Always take time to lubricate all metal and non-metal parts with a light film of oil before reassembling. This step will help ensure proper fit, at the same time protecting the pump non-metal parts (elastomers) from cutting and scoring.
- Page 7 LP200-SS Repair Instructions TO CHECK SEALS 7) Pull seal sleeves (35) out 6) Loosen the 8 nuts (49A) of guides in crankcase (1). with a 19mm socket and pull off valve casing (43) to the front. 8) Remove the tension spring (42), support ring (41), v- 9) Remove seal case (37) sleeves (40), pressure ring (39), from the seal sleeve (35).
- Page 8 LP200-SS Repair Instructions 12) Tighten the tension screws 13) Place entire manifold/seal (29C) to 310 in.-lbs. (35NM). sleeve assembly over the The plunger pipe (29B) should studs and push firmly until not be strained by over tight- seated against the crank- ening of the tension screw case.
- Page 9 LP 200-SS - Repair Instructions To Dismantle Gear End After removing valve casing (43) and plunger pipe (29B), drain oil. Remove crankcase cover (4) and bearing cover (14). Loosen connecting rod screws (24A) and push the front of the connecting rod (24) forward as far as possible into the crosshead guide.
- Page 10 Replace plungers Inlet pressure too high Reduce inlet pressure High Crankcase Wrong Grade of oil Giant oil is recommended Temperature Improper amount of oil in crankcase Adjust oil level to proper amount Preventative Maintenance Check List & Recommended Spare Parts List...
- Page 11 Pump Dimensions - Inches(mm)
- Page 12 A Returned Goods Authorization (R.G.A.) number and completed warranty evaluation form is required prior to the return to Giant Industries of all products under war- ranty consideration. Call (419)-531-4600 or fax (419)-531-6836 to obtain an R.G.A. number.


Need help?
Do you have a question about the LP200-SS and is the answer not in the manual?
Questions and answers