Advertisement
VOLTACON UK LIMITED
Burnsall Road Industrial Estate CV5 6BU England
Address :
TEL : +442477675 575 Email : info@voltacon.com
VERSION : 20220927
For the latest version of specification, please refer to www.beny.com or contact to info@voltacon.com
We reserve the right to explain the terms of specification.
Micro Inverters
VOLTACON
VMI500 / VMI550 / VMI600
User Quick
Installation Guide
WWW.VOLTACONSOLAR.COM
Advertisement
Table of Contents

Subscribe to Our Youtube Channel
Related Manuals for Voltacon VMI500


Summary of Contents for Voltacon VMI500
- Page 1 Burnsall Road Industrial Estate CV5 6BU England Address : TEL : +442477675 575 Email : info@voltacon.com VERSION : 20220927 For the latest version of specification, please refer to www.beny.com or contact to info@voltacon.com WWW.VOLTACONSOLAR.COM We reserve the right to explain the terms of specification.
- Page 2 Please Confirm Before Connecting the VOLTACON Microinverter Installation Steps Step 1: Install the LCF Filter Used to Eliminate PLCC Communication Interference 1. Whether the grid voltage at the common connection point conforms to the AC voltage level (Skip When There is No Monitoring Device) on the micro-inverter label.
- Page 3 Step 3: Install the AC Bus a. Pre-arrange the AC bus at a suitable location to connect the Microinverter. Step 4: Install the VOLTACON Microinverter on the Bracket or the Frame of the Solar Module b. When there is an LCF filter, connect one end of the AC bus to the same side of the filter as the EMU connection;...
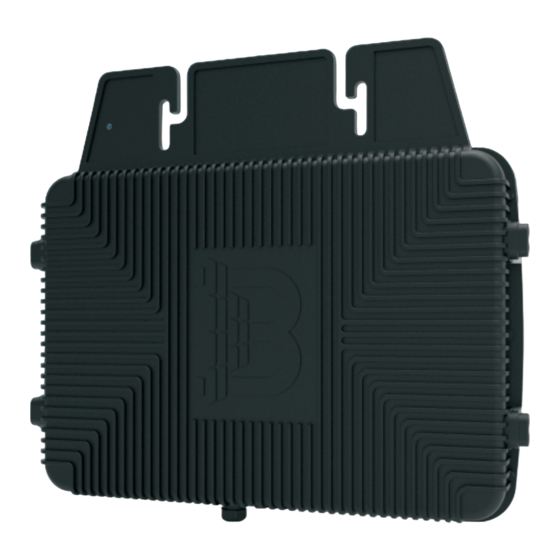
- Page 4 Step 7: Connect the Solar Modules, Connect Each BYM550 to the PV Modules Connector Step 8: Complete the Installation Diagram of VOLTACON Microinverter System Step 6: Install the Waterproof Protective Cover on the End of the AC Bus and the...
- Page 5 Step 9. Get Started To operate the VOLTACON microinverter PV system: 1. Close the AC main circuit breaker connecting the microinverter system. 2. Close the on-grid main circuit breaker, and the system will generate electricity in about 1 minute. c 2022 VOLTACON...
Need help?
Do you have a question about the VMI500 and is the answer not in the manual?
Questions and answers