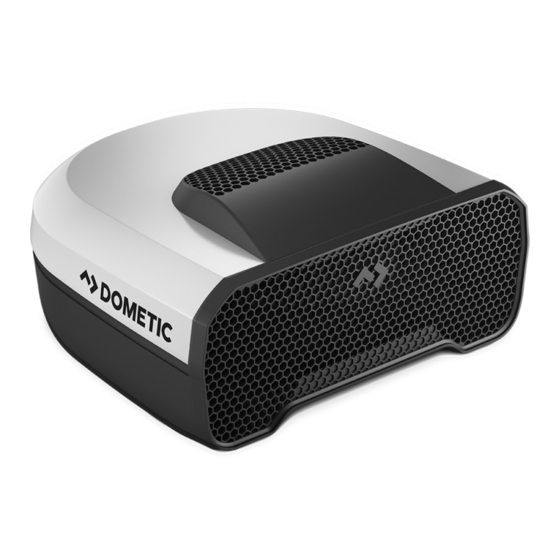
Summary of Contents for Dometic GROUP DRS2
- Page 1 CLIMATE CONTROL DRS2 Dust Reduction System Installation and Operating Manual...
- Page 2 © 2022 Dometic Group. The visual appearance of the contents of this manual is protected by copyright and design law. The underlying technical design and the products contained herein may be protected by design, patent or be patent pending. The trademarks mentioned in this manual belong to Dometic Sweden AB.
-
Page 3: Table Of Contents
Please read these instructions carefully and follow all instructions, guide- Explanation of symbols lines, and warnings included in this product manual in order to ensure that you install, use, and maintain the product properly at all times. These instruc- tions MUST stay with this product. WARNING! By using the product, you hereby confirm that you have read all instructions, Safety instruction: Indicates a hazard-... -
Page 4: Scope Of Delivery
Scope of delivery Item in fig. 1, Quantity Explanation page 4 DRS2 assembly Rubber seal Top roof flange Bottom ceiling flange with ceiling cover, blocking plate and insect filter – Reinforcing battens – 10G x 80 mm self-tapping screws –... -
Page 5: Intended Use
Intended use Technical description The Dust Reduction System 2 (DRS2) is intended The product is intended to provide clean, filtered for installation on the roof of towed vehicles such air entry into the vehicle and avoid dirty air being as caravans, camper trailers and horse floats. It is sucked in from other sources. -
Page 6: Installation
Installation • Ensure the caravan roof shape is suitable for the product (fig. 2, page 6) Notes on installation • Compatible with a roof thickness from 30 mm to 65 mm. CAUTION! Risk of injury • Compatible with an opening size from Improper installation of the product can 290 x 290 mm to 400 x 400 mm. - Page 7 Caravan - can be installed in any position Pop-top - must be installed at front ≤ 300 mm Installing the DRS2 • Using the existing roof hatch openings in the vehicle (chapter “Installing in an existing There are two ways of installing the system: opening”...
- Page 8 Making a new opening Installing in an existing opening 1. Use a clean, dry cloth to wipe around the underside perimeter of the top roof flange to remove any dust or residues. 2. Remove the backing paper of the self adhesive foam seal and fit onto the bottom surface of the top roof flange.
- Page 9 Fitment of bottom ceiling flange NOTICE! Damage hazard Overtightening of the screws can cause Screw Screw Spacer Roof thick- damage to the threads and lead to distor- 10G x 10G x length ness (mm) tion of the product. 60 mm 80 mm (mm) To avoid compromised fastening use a...
-
Page 10: Operation
5. Ensure that the joint has not overly deformed Operation and caused gaps between the bottom roof flange and ceiling. If this occurs, increase the Ventilation while driving total length of the sleeves by 5 mm, or Observe the following notes: unscrew by half a turn. - Page 11 1. To fit the blocker plate, open the interior ceil- ing cover by pulling on the edge marked “PULL HERE TO OPEN”. 2. Remove blocker plate from the ceiling cover, which is held by magnetic strips. 3. Insert the blocker plate upwards. 4.
-
Page 12: Maintenance
Maintenance Changing the filter 1. Depending on the discoloration, tap the filter Inspecting the filter lightly to remove excess dust. It can continue The time for the filter to reach full capacity can vary to be used for some more time. greatly based on the road conditions: Driving Filter inspection... - Page 13 Cleaning debris inside of the DRS2 After a long period of time, the product may accu- mulate some dust and debris. 1. Remove the debris from inside the filter and fil- ter holder by following the steps in chapter “Inspecting the filter” on page 12.
- Page 14 Cleaning the insect screen ➤Often visually check the insect screen for dust, insects and debris and clean it if any are present. 1. Remove the insect screen from the ceiling cover by carefully pulling it off. (fig. g, page 14) 2.
-
Page 15: Warranty
Technical data DRS2 Ref. no Dust Reduction System 2 9620008568 Ref. no. dust filter 9600025580 fig.


Need help?
Do you have a question about the DRS2 and is the answer not in the manual?
Questions and answers