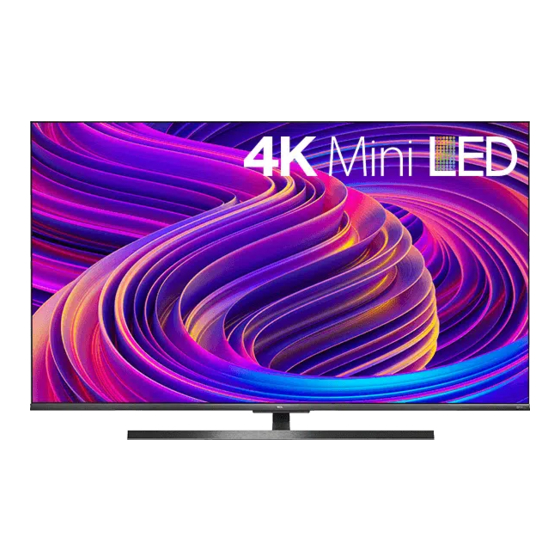
Summary of Contents for TCL X10 Series
- Page 1 Quick start guide Hi! Let’s get started. Like us on Facebook www.tcl.com/au X10 series Customer Support:1300 738 149...
-
Page 2: What's In The Box
What’s in the box Remove your TV from the box Be careful, it’s heavy! AV IN adapter cable Batteries Remote Control VESA Adapter Screws Power cable User manual Wall Screw Warranty Card Quick Start Guide Stand parts Stand Screws Stand Screws Clips (for 65X10) (for 75X10) -
Page 3: Mount The Stand
Mount the stand Remove the stand cover from the TV rear cabinet. Assemble the stand bar and neck with 3 screws. Put the stand cover back into place. Screw the table stands tightly. Some TV’s may be supplied without the table stand attached. This will give you the choice to either mount your TV to the supplied table stand; or to a wall using an appropriate wall mount bracket (wall mount bracket sold separately). - Page 4 * Tie the string tightly. * Make sure that you use a suitable string, wire or chain that has a breaking weight that exceeds the total weight of the television. If you are unsure, please contact TCL Customer Support who can assist.
-
Page 5: Wall Mounting
Wall mounting 300mm 300mm... - Page 6 Wall mounting Screw off the four screws on the back of the TV. Screw the four VESA adapter screws into the holes. Screw the VESA bracket tightly onto the back cover. Ready to be mounted to the wall. * If you want to mount the TV to the wall, please purchase an appropriate wall mount bracket. * Refer to the instructions of the wall mount bracket to hang the TV on the wall.
- Page 7 Connect ANTENNA IN DIGITAL AUDIO OUT (OPTICAL)
- Page 8 AV IN adapter HDMI HDMI(ARC) DIGITAL AUDIO OUT (OPTICAL)
- Page 9 HDMI USB 2.0...
- Page 10 Connect Smart TV NETWORK 802.11...
-
Page 11: Initial Setup
Initial setup Sold Separately Follow the on screen instructions to finish the initial setup, then you're all set and ready to go! *Figures and illustrations in this manual are for reference only and may differ from actual product appearance. Product design and specifications may be changed without notice. - Page 12 Copyright © 1992-2019 Dolby Laboratories. All rights reserved. The Bluetooth® word mark and logos are registered trademarks owned by Bluetooth SIG, Inc. and any use of such marks by TCL is under license. Other trademarks and trade names are those of their respective owners.


Need help?
Do you have a question about the X10 Series and is the answer not in the manual?
Questions and answers