Advertisement
Available languages
Available languages
Quick Links
EN
INSTRUCTION
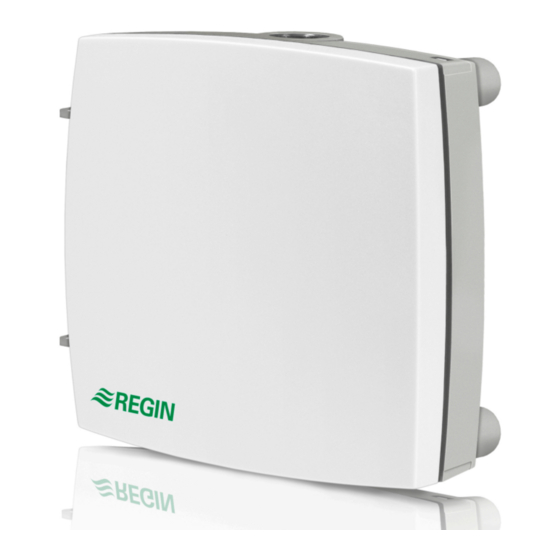
TG-R6EW
IN20017 REV. B, 2019-05-28
C C a a u u t t i i o o n n ! ! Read and understand the instruction before using the product.
Technical Data
Power supply
CR123A 3V lithium battery x 2
Battery life
5 years
1
Frequency
868 MHz
Protection class
IP54
Measuring range, temperature
-40...+50 °C
Measuring range, temperature (ex-
-50...+75 °C
ternal PT1000)
Accuracy, temperature
±0.2 K
Dimensions (WxHxD)
90 x 85 x 35 mm
1. Battery life is calculated with 288 wake-ups and 120 value updates per day.
Installation
1. Open the cover by pressing the locking tab carefully with a
screwdriver.
2. Insert two CR123A lithium batteries in the battery compartments.
3. Pair the receiver and sensor if necessary. See description in the
variable list for the receiver RCW-M32.
4. Ensure that the receiver and sensor are paired by pressing the Test
button shortly while studying the LED indications. See Handling.
5. Make a signal strength test as described under Handling.
6. Connect the external PT1000 sensor if used.
7. Mount the sensor on a wall using the mounting holes.
8. Snap on the cover.
-
+
1
-
+
2 (x4)
4
6
Number
Description
1
Battery compartments
2
Mounting holes
3
Test button
4
LED light
5
DIP switches
6
Terminal for external PT1000 sensor
Wiring
DIP switch
Description
1
Frequency
OFF = 868.6375 MHz (used in Europe)
ON = 868.2375 MHz (used in China)
2
Internal/external sensor
OFF = Internal
ON = External
Settings
The temperature is measured at an adjustable time interval called wake
up time. If a measured value changes more than the specified limit it will
send a signal to the receiver. The sensor will always send a signal to the
receiver every 95 - 110 minutes. If the receiver does not receive a signal
from the sensor within a specified time interval it will indicate out of
signal.
TG-R6EW
For default time values, limits and how to modify them see the variable
list for the receiver.
N N o o t t e e ! ! Changing the time intervals will influence the battery life time.
Handling
Signal strength test
Test the signal strength to optimise the installation:
ON
1. Push the Test button (approx. 7 s) on a paired sensor until the LED
5
first shines with a solid light. After that the LED behaviour will
1 2
depend on the connection quality.
– Long flash with short pause = Very good connection
(-20...-50 dB)
– Short flash with short pause = Good connection (-50...-90 dB)
– Flash with long pause (1 s) = Bad connection (< -90 dB)
3
– No LED = Out of range or time-out for test sequence
2. Test in different locations to optimise the connection before
installing the unit.
The test sequence lasts for 1 minute.
LED indications
– 3 flashes (when Test button is pressed): The sensor is not paired with
the receiver.
– Flashing (when Test button is pressed): The sensor is paired with the
receiver.
– Flash every 4 seconds: Batteries need to be replaced.
Function
The outdoor temperature sensor is designed to work together with
Regin's wireless receiver RCW-M32 with Modbus communication.
This product carries the CE-mark. More information is available at
www.regincontrols.com.
Contact
AB Regin, Box 116, 428 22 Kållered, Sweden
Tel: +46 31 720 02 00, Fax: +46 31 720 02 50
www.regincontrols.com, info@regincontrols.com
1
Advertisement

Related Manuals for Regin TG-R6EW


Summary of Contents for Regin TG-R6EW
- Page 1 1. Open the cover by pressing the locking tab carefully with a Settings screwdriver. AB Regin, Box 116, 428 22 Kållered, Sweden The temperature is measured at an adjustable time interval called wake Tel: +46 31 720 02 00, Fax: +46 31 720 02 50 2.
- Page 2 Kontakt Inställningar 6. Koppla in den externa PT1000 givaren om den används. AB Regin, Box 116, 428 22 Kållered, Sverige Temperaturen mäts vid ett reglerbart tidsintervall som kallas wake up 7. Montera givaren på en vägg genom att använda monteringshålen.
- Page 3 H H i i n n w w e e i i s s ! ! Die Veränderung der Zeitintervalle hat einen direkten Einfluß Kontakt auf die Batterielebenszeit. Regin Controls Deutschland GmbH, Haynauer Str. 49, 12249 Berlin, Deutschland Bedienung Tel: +49 30 77 99 4-0, Fax: +49 30 77 99 4-13 www.regincontrols.de, info@regincontrols.de...
- Page 4 N N B B ! ! Il est possible de rallonger la durée de vie des piles en modifiant les intervalles de temps. AB Regin, Box 116, 428 22 Kållered, Sweden Tel: +46 31 720 02 00, Fax: +46 31 720 02 50 www.regincontrols.com, info@regincontrols.com...
Need help?
Do you have a question about the TG-R6EW and is the answer not in the manual?
Questions and answers