Advertisement
Quick Links
GetStartedGuide.md
Connect Smoke Safety Basic Kit to your Azure IoT
services
Table of Contents
Introduction
Prerequisites
Prepare the Device
Connect to Azure IoT Central
Integration with Azure IoT Explorer
Additional links
Introduction
About this document
This document describes how to connect the Smoke Safety Basic Kit to Azure IoT Hub using the Azure IoT
Explorer with certified device application and device models.
IoT Plug and Play certified device simplifies the process of building devices without custom device code. Using
Solution builders can integrated quickly using the certified IoT Plug and Play enabled device based on Azure
IoT Central as well as third-party solutions.
This getting started guide provides step by step instruction on getting the device provisioned to Azure IoT
Hub using Device Provisioning Service (DPS) and using Azure IoT Explorer to interact with device's capabilities.
Prerequisites
You should have the following items ready before beginning the process:
For Azure IoT Central
Azure Account
Azure IoT Central application
For Azure IoT Hub
Azure IoT Hub Instance
Azure IoT Hub Device Provisioning Service
Azure IoT Public Model Repository
Prepare the Device.
Development Environmental setup
1 / 12
6/3/2021
Advertisement

Subscribe to Our Youtube Channel
Related Manuals for Develco Squid.link 2X


Summary of Contents for Develco Squid.link 2X
- Page 1 GetStartedGuide.md 6/3/2021 Connect Smoke Safety Basic Kit to your Azure IoT services Table of Contents Introduction Prerequisites Prepare the Device Connect to Azure IoT Central Integration with Azure IoT Explorer Additional links Introduction About this document This document describes how to connect the Smoke Safety Basic Kit to Azure IoT Hub using the Azure IoT Explorer with certified device application and device models.
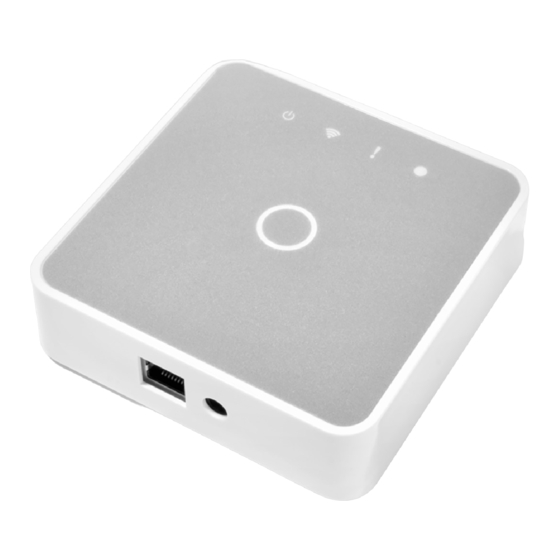
- Page 2 Device builders should either pre-install device code or make the binary download-able. Capabilities of the device The Squid.link 2X Gateway has options for ZigBee, Z-Wave, Wireless M-Bus, Bluetooth Low Energy (BLE), and WLAN HAN networks. Communication with servers and e.g. smartphones can be established via WLAN, Ethernet (to local modem) or cellular networks.
- Page 3 GetStartedGuide.md 6/3/2021 1. Enter the IP address of the gateway. 2. Enter ”gw-xxxx.local” in a browser where xxxx is the last 4 characters of the gateway serial number (preceding zero must be removed, e.g. 0366 => ”gw-366.local”) The gateway serial number is included on the product label of the gateway as shown below.
- Page 4 GetStartedGuide.md 6/3/2021 Enter the last 8 characters of the installation code as the password. The installation code is included on the product label of the gateway. Note: Do not include any blank spaces and do not use capital letters for the password. After connecting to the access point, open an internet browser, and enter the IP 192.168.2.10 into the address bar.
- Page 5 GetStartedGuide.md 6/3/2021 The API doc is also available directly on the gateway or Internet. It can be accessed at the following URLs: http://{hostname}/api-docs/interactive/index.html#/ http://api.squid.link/ The interactive documentation will allow you to try out the API calls directly from the browser. The API can be accessed over HTTP or by connecting to a WebSocket or a raw socket.
- Page 6 GetStartedGuide.md 6/3/2021 Configuring Squidsmartapp Azure IoT Handler This section demonstrates how to configure the Azure IoT Handler by using the required parameters, to connect to an Azure IoT Hub, through an Azure Device Provisioning Service. First step is to go to /config/azureiot of the Squidsmart api and press Try it out and paste config information and then execute buttons.
- Page 7 GetStartedGuide.md 6/3/2021 This section describe how to connect to Azure IoT Central. 1. Create your app. 2. Insert the application name and choose your pricing plan. 3. To configure a device to connect to Azure IoT Central you need the following ID scope: In your IoT Central application, navigate to Administration >...
- Page 8 GetStartedGuide.md 6/3/2021 az extension add --name azure-iot az iot central device compute-device-key --device-id sample-device-01 --pk Make a note of the generated device key, and the ID scope for this application and flash it on the device 4. Another way in which you can retrieve the key is by creating a device (please note that you can use the Gateway Serial Number as the deviceId).
- Page 9 GetStartedGuide.md 6/3/2021 5. After creating the device, you can find the Scope ID, the Device ID and the primary key in the "Connect" section at the top right. 6. After making the PUT call with this information, you will be able to see the raw data within the page after a few minutes via the API (please note that the deviceKey in the PUT request is the while the registrationId is the deviceId yuo provided).
- Page 10 GetStartedGuide.md 6/3/2021 Mechanism: Symmetric Key Registration ID: ${gateway serial number} IoT Hub Device ID: gw-${gateway serial number} Now please follow the same steps as connecting to the Azure IoT Central noting that the registrationId will be the serial number of the gateway and the deviceKey will be the individual enrollment primary key (open the individual enrollment to be able to copy it).
- Page 11 GetStartedGuide.md 6/3/2021 Opening the Explorer, in the HomePage, clicking on the tab "IoT Plug and Play settings", you will be able to configure the repository containing the public model. Click on "Add", select "Public Repository" and then save. Next, clicking on the tab "IoT Hubs" you will be able to add a connection. Just paste into the window that will pop up the Connection string you retrieved from the Hub.
- Page 12 Clicking on the tab "IoT Plug and Play components" you will be able to check the Plug and Play model retrieved from the public repository. Additional Links Import the Plug and Play model Configure to connect to IoT Hub Squid.link 2X Technical Specifications 12 / 12...
Need help?
Do you have a question about the Squid.link 2X and is the answer not in the manual?
Questions and answers