Table of Contents
Advertisement
Quick Links
USER
MANUAL
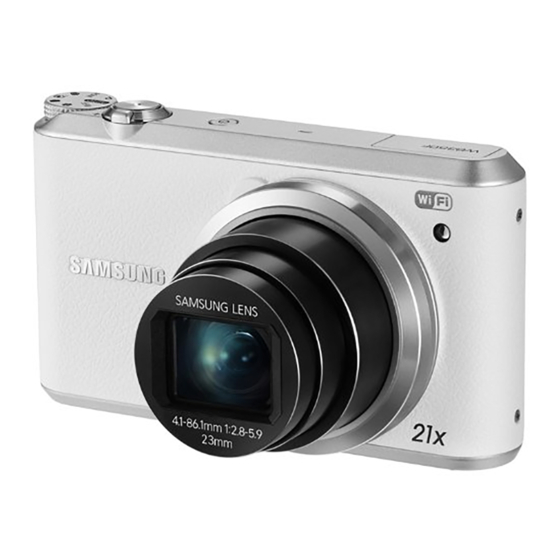
WB350F/WB351F/WB352F/WB2014F
Click a topic
This user manual includes detailed usage instructions for
your camera. Please read this manual thoroughly.
Basic troubleshooting
Basic functions
Playback/Editing
Appendixes
Quick reference
Extended functions
Shooting options
Wireless network
Index
Contents
Settings
Advertisement
Table of Contents


Need help?
Do you have a question about the WB351F and is the answer not in the manual?
Questions and answers