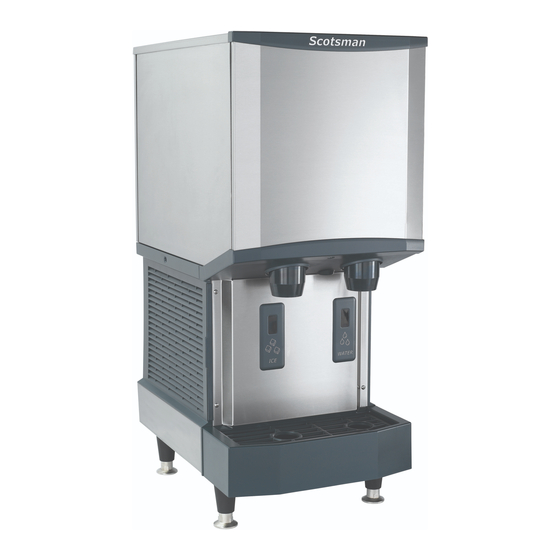
Scotsman HID312 Instructions
Button activated dispensing conversion kit
Hide thumbs
Also See for HID312:
- User manual (92 pages) ,
- Technical service instructions (76 pages) ,
- Service manual (41 pages)
Advertisement
Remove Touch-Free Sensors:
1. Remove the upper front panel: remove the single screw in the trim strip at the center bottom of upper front
panel and set screw aside for reassembly, swing bottom of panel forward and lift off the unit.
2. Remove both the upper and lower plastic trim pieces from the upper front panel by removing the 2 screws
holding the upper plastic trim to the panel and the 4 screws on the lower trim piece, saving the trim pieces
and all 6 screws and white plastic spacers for reassembly.
3. Turn off machine with on/off button and then unplug or shut off power to machine at breaker.
Note: Parts are susceptible to damage by electrostatic discharge (ESD). Discharge static electricity by
touching metal chassis of machine before removing controller cover and handling wiring harness.
4. Loosen screw holding controller cover, remove cover, and set aside for reassembly.(figure 4 on back side
of page)
5. Disconnect sensors from the control board, being careful to depress each lever to disconnect. (figure 5)
6. Remove the lower splash panel: remove all four screws in the corners and set screws aside for
reassembly. Rest panel on the drip tray.
7. Gently pull the wiring harness out of the machine and then remove the splash panel, sensors, and harness
together in one piece and discard.
Install New Buttons:
8. Using the 6 original screws and spacers, secure the original trim pieces to the new upper panel.
9. Remove upper half of self adhesive label (controller info) and apply it on the inside of the right panel, above
the controller. Remove lower half of self adhesive label (wiring diagram and cleaning instructions) and
apply it on the back of the new upper panel, above the buttons.
10. Install new lower splash panel using the 4 original screws.
11. Connect new wiring harness to board, resting panel and button assembly on the drip tray. (figure 11)
12. Remove screw located on floor of machine between bin insulation and control board and reinstall with the
P-clip on wiring harness. (figure 12a-b)
13. Replace controller cover, routing wiring harness through relief at bottom and secure by tightening screw.
(figure 13)
14. Restore power to machine and press on/off button to turn machine on. Test both buttons to confirm ice and
water dispensing.
15. Hang upper front panel on machine, being careful not to pinch wiring harness, and secure with single screw
in trim strip at center bottom of panel.
HID - Button Activated Dispensing Conversion Kit
INSTRUCTIONS
Advertisement
Table of Contents

Summary of Contents for Scotsman HID312
- Page 1 INSTRUCTIONS HID - Button Activated Dispensing Conversion Kit Remove Touch-Free Sensors: 1. Remove the upper front panel: remove the single screw in the trim strip at the center bottom of upper front panel and set screw aside for reassembly, swing bottom of panel forward and lift off the unit. 2.
- Page 2 Conversion Kit Contents: HID312 (A41164-021) A40219-004, 19-0503-11 (2), 02-5135-01, 02-5135-02, 02-5135-03 (2), Front Panel and Button Assembly 11-0639-01, 11-0639-02, 12-3164-01, 12-3164-02, 03-3870-01 (12) Lower Splash Panel A40220-003 Labels 17-3489-02 HID525 (A41164-022) A40219-005, 19-0503-11 (2), 02-5135-01, 02-5135-02, 02-5135-03 (2), Front Panel and Button Assembly...


Need help?
Do you have a question about the HID312 and is the answer not in the manual?
Questions and answers