Linksys WRT54G Quick Installation Manual
Instant wireless series wireless-g broadband router
Hide thumbs
Also See for WRT54G:
- User manual (1020 pages) ,
- Quick installation manual (100 pages) ,
- Configuration note (9 pages)
Table of Contents
Advertisement
Quick Links
This Quick Installation is meant to help you install the product quickly and easily. For detailed instructions on installation,
configuration, and further setup options, please consult the User Guide.
Instant Wireless
®
Series
W W i i r r e e l l e e s s s s - - G G B B r r o o a a d d b b a a n n d d R R o o u u t t e e r r
There are two ways to configure
the Router. Choose one of the fol-
lowing:
Run the Setup CD-ROM - It is
•
strongly recommended that you
use the Setup CD-ROM to install
the Router. Insert the Setup CD-
ROM into the CD-ROM drive, and
follow the on-screen instructions.
Use this Quick Installation guide -
•
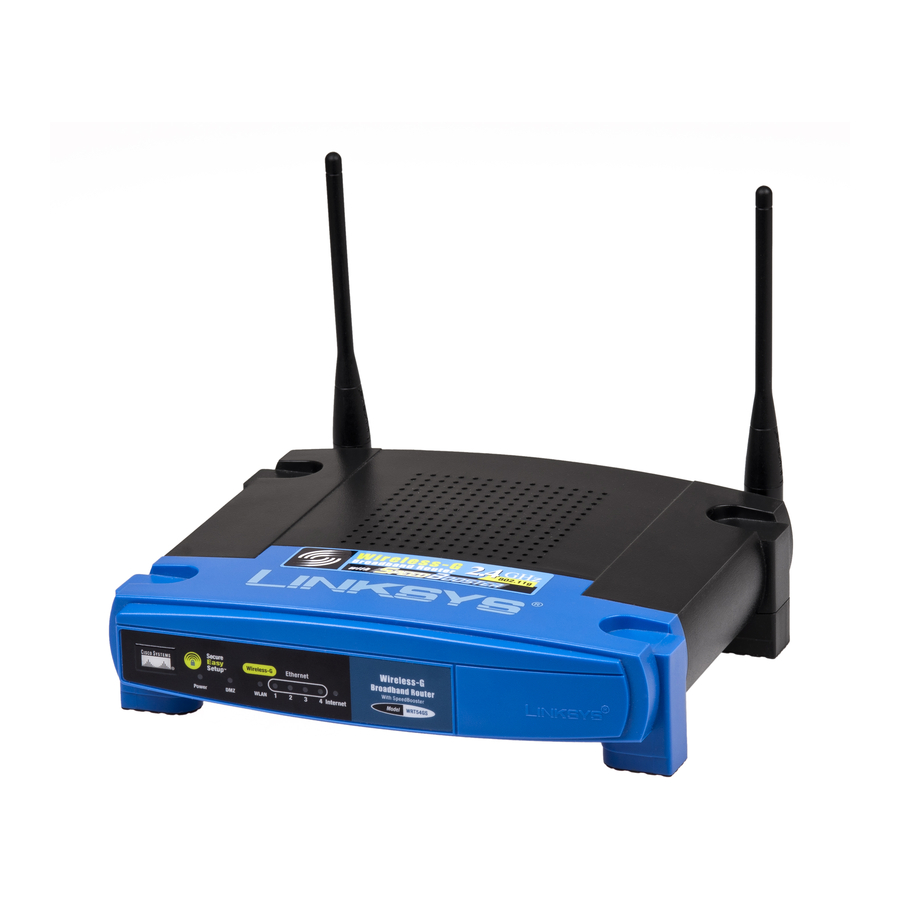
WRT54G
If you wish, you can use the
Router's web-based utility to install
Package Contents
the Router. Proceed to Step 1, and
• One Wireless-G Broadband Router (1)
follow the Quick Installation's
• One Power Adapter (2)
instructions.
• One Category 5 Ethernet Network Cable (3)
• One Setup CD-ROM with User Guide (4)
• One Quick Installation
• One Registration Card
Application Diagram
This application diagram shows a typical scenario for the Wireless-G
Broadband Router. Steps 1, 2, and 3 will explain how to connect the Router to
a PC with an Ethernet adapter, configure the PC(s), and configure the Router's
basic settings.
Notebook with
Wireless-G Adapter
Notebook with
Wireless 802.11b Adapter
Cable or DSL Modem
Router
PC with
Ethernet
Adapter
Connect the Wireless-G
Broadband Router
A. Before you begin, make sure that you have the setup information for your
specific type of Internet connection. The installation technician from your
ISP should have left this information with you after installing your broad-
band connection. If not, you can call your ISP to request the settings.
B. Make sure that all of your network's hardware is powered off, including the
Router, PCs, and cable or DSL modem.
C. Connect one end of an Ethernet net-
work cable to one of the LAN ports
(labeled 1-4) on the back of the
Router, and the other end to an
Ethernet port on a PC.
Repeat this step to connect addition-
al PCs or other network devices to
the Router.
C
D. Connect a different Ethernet network
cable from your cable or DSL
Modem to the Internet port on the
Router's rear panel. This is the only
port that will work for your modem
connection.
D
E. Power on the following devices in this order: cable or DSL modem, Router,
and PCs.
F. Make sure the Power and Internet Link/Act LEDs on the front panel light
up green.
The Diag LED will light up red for a few seconds when the Router goes
through its self-diagnostic test. This LED will turn off when the self-test is
complete. If it does not turn off, refer to "Appendix A: Troubleshooting" of
the User Guide on the Setup CD-ROM.
Proceed to Step 2.
Configure the PCs
Before setting up the Router, make sure your PCs are configured to obtain an
IP (or TCP/IP) address automatically from the Router.
For Windows 98, Millennium, and XP using the default interface, refer to the
User Guide on the Setup CD-ROM or your Windows documentation.
The following instructions apply only to Windows 2000 or XP using the
Classic interface (in which the icons and menus look like previous Windows
versions).
A. Click the Start button. Select Settings and click the Control Panel icon.
Double-click the Network and Dial-up Connections icon.
B. Select the Local Area Connection
icon for the applicable Ethernet
adapter (usually it is the first Local
Area Connection listed). Double-
click the Local Area Connection.
Click the Properties button.
B
Continued on back
Advertisement
Table of Contents

Related Manuals for Linksys WRT54G


Summary of Contents for Linksys WRT54G
- Page 1 Router. Insert the Setup CD- ROM into the CD-ROM drive, and follow the on-screen instructions. Use this Quick Installation guide - • WRT54G If you wish, you can use the Router’s web-based utility to install Package Contents the Router. Proceed to Step 1, and •...
- Page 2 Disable: If you want to disable wireless networking, select Disable. F. Customize the SSID and Channel settings as needed. For added security, you should change the default SSID (linksys) to a unique name and enable WEP encryption in step G.
Need help?
Do you have a question about the WRT54G and is the answer not in the manual?
Questions and answers