Advertisement
Quick Links
5. Replacing the needle
(1) Remove the needle from the membrane filter.
Dispose of the spent needle according to local rules.It cannot be reused.
(2) Attach a new needle.
6. Replacing the membrane filter
(1) Remove the needle from the membrane filter.
(2) Remove the membrane filter from the check valve.
(3) Attach the new membrane filter.
(4) Attach the needle.
7. Replacing the check valve
(1) Remove the membrane filter and needle from the
check valve.
(2) Remove the check valve from the samplig tube
with fitting.
(3) Attach the new check valve onto the samplig tube
with fitting.
(4) Attach the membrane filter and needle.
7. Replacing the oxygen sensor
(1) Remove the main cover.
(2) Turn the sensor counterclockwise and
pull it straight out.
(3) Pull the sensor out of the probe.
At this time, confirm that the O-ring for housing is
properly mounted on the groove.
(4) Align the new sensor with the insertion hole
on the probe, and insert it.
(5) Turn the sensor clockwise and align it to the
mark on the housing.
(6) Mount the main cover.
1-1, Ishida, Toyooka-cho, Gamagori-shi, Aichi 443-0011 JAPAN
* Order the needle (Model:NN-2116R-12 / vertical
hole type, 12-pc. set)
Membrane filter
* Order the menbrane filter
(RO-MF,5-pc. set)
Check valve
Hold the rotating
section with fingers
so that it does not
spin while removing
the membrane filter.
* Order the check valve
(RO-CV, 3-pc. set)
Sampling tube
with fitting
* Order the oxygen sensor
(WAGNIT® Model:WA-SGF).
Oxygen
Main cover
sensor
Probe
Housing
O-ring for
housing
https://www.iijima-e.co.jp/
RO105STS-0310E
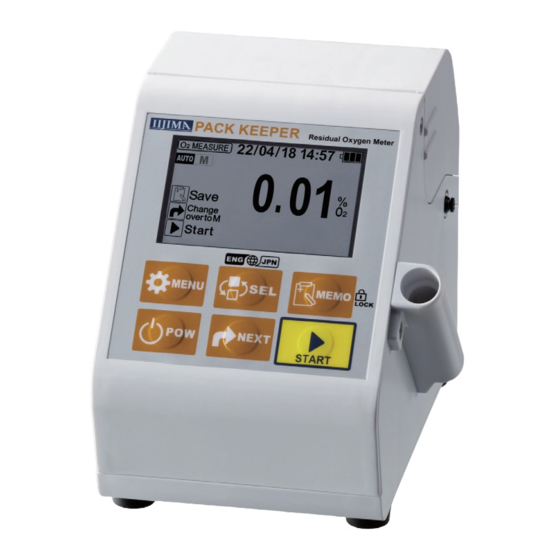
Residual Oxygen Meter
PACK KEEPER
PACK MASTER®
Model:RO-105KS
Model:RO-105S
Handy
User's Guide
1. Calibrating the span
-
Once a day, calibrate the span before taking the first measurement. (There is no need to calibrate before each
measurement.)
- Ideally, calibrate when the oxygen sensor temperature and temperature sensor temperature are sufficiently
stable, such as first thing in the morning, indoors before turning on the air-conditioning.
1. Release the needle to the atmosphere.
2. Press
.
The Menu screen opens.
3. Press
.
4. Hold down
for 1 second or longer.
The calibration starts, and the Stability Decision screen opens.
A beep sounds, "CAL complete" appears (approx. 1 second), and then the O
screen opens. The calibration process is completed.
Progress bar
The calibration value is saved even if the power is turned OFF, the batteries are removed,
or AC adaptor is disconnected.
If the "Sensor Error" message appears, refer to the section "Error Messages" in the operation
manual enclosed with the product, and confirm and remedy the situation.
Residual Oxygen
Carbon Dioxide Meter
PACK LEADER
Model:RO-105LS
<Note>
This is a handy user's
<Handling and Maintenance Information>
guide. Please refer to the instruction
Information and videos on this product's
manual enclosed with the product
handling methods and maintenance, etc.,
for more details on the operation
are available on the IIJIMA ELECTRONICS
and precautions.
website.
MEASURE
2
/
Advertisement

Related Manuals for Iijima PACK KEEPER RO-105KS


Summary of Contents for Iijima PACK KEEPER RO-105KS
- Page 1 Check valve (1) Remove the needle from the membrane filter. for more details on the operation are available on the IIJIMA ELECTRONICS and precautions. website. (2) Remove the membrane filter from the check valve. 1. Calibrating the span (3) Attach the new membrane filter.
- Page 2 2. Measurement 4. Checking for clogging * Only the PACK LEADER (RO-105LS) can simultaneously measure and display the O concentration and CO concentration. 1. Attach enclosed adhesive rubber over the air space, and insert the needle. If the value fluctuates and does not stabilize, or if the “Negative pressure detected” error message appears, the needle or tube, etc., may be clogged.
Need help?
Do you have a question about the PACK KEEPER RO-105KS and is the answer not in the manual?
Questions and answers