Advertisement
Introduction
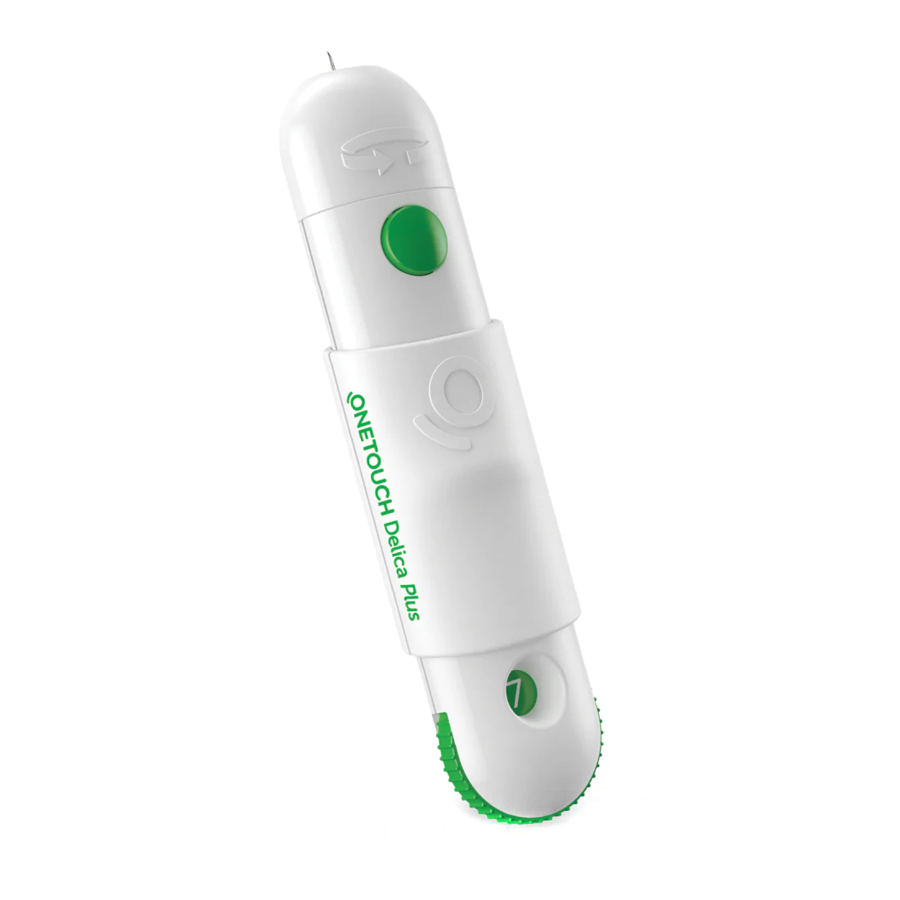
The OneTouch® Delica® Plus Lancing Device provides a safe, easy way to obtain a drop of capillary blood from the fingertip.
Before using this device, please read these Instructions for Use.
Your OneTouch® Delica® Plus Lancing System does not include the materials needed to perform Alternate Site Testing (AST) and should not be used to test on the forearm or palm.
The device has 13 depth settings. The setting you choose must be deep enough to get a round drop of blood large enough for the meter to provide a blood glucose result. (See your User Guide that came with your system for information on the proper blood sample size.)
NOTE:
The OneTouch® Delica® Plus Lancing Device uses
OneTouch® Delica® or OneTouch® Delica® Plus Lancets. Use a new, sterile lancet each time you test. Lancet reuse can dull or bend the tip of the lancet, causing damage to your skin, scarring and greater pain.

Keep the lancing device away from young children. The lancing device, cap, lancets and lancet protective covers are choking hazards.
Overview

- Release button
- Slider control
- Depth indicator
- Depth wheel
- Lancing device cap
- Protective cover
To reduce the chance of infection:
- Make sure to wash the puncture site with soap and water before sampling.
- Never share a lancet or lancing device with anyone. For single patient use only.
- Always use a new, sterile lancet - lancets are for single use only.
Do Not Reuse. - Keep your lancing device clean.
- Do Not use lancets after the expiration date printed on the lancet packaging.
Preparing your lancing device
- Remove the lancing device cap
Remove the cap by rotating it and then pulling it straight off the device.

- Insert a sterile lancet into the lancing device
Align the lancet as shown here, so that the lancet fits into the lancet holder. Push the lancet into the device until it snaps into place and is fully seated in the holder.
Twist the protective disk one full turn until it separates from the lancet. Save the protective disk for lancet removal and disposal. See Removing the used lancet.


- Replace the lancing device cap
Place the cap back onto the device; turn the cap or push the cap straight on to secure it. Ensure the cap is aligned as shown in the image.

- Adjust the depth setting
The device has 13 puncture depth settings (each dot shown between numbers 1 to 7 on the Depth Wheel indicates an additional available depth setting). Adjust the depth by turning the depth wheel. Smaller numbers are for a shallower puncture and larger numbers for a deeper puncture.


NOTE:
Try a shallower setting first and increase the depth until you find the one deep enough to get a blood sample of the proper size (see your meter instructions).
- Cock the lancing device
Pull the slider back until it clicks. If it does not click, it may already have been cocked when you inserted the lancet.
Sampling blood from the fingertip
Choose a different puncture site each time you test. Repeated punctures in the same spot may cause soreness and calluses.
Before testing, wash your hands and the sample site with warm, soapy water. Rinse and dry completely. Contaminants on the skin may affect results.
- Puncture your finger
Hold the lancing device firmly against the side of your finger. Press the release button. Remove the lancing device from your finger.

- Get a round drop of blood
Gently squeeze and/or massage your fingertip until a round drop of blood forms.


NOTE:
If the blood smears or runs, Do Not use that sample. Dry the area and gently squeeze another drop of blood or puncture a new site.

Apply the sample
Apply the blood sample following the instructions in your Meter or System Guide for proper sample application.
Removing the used lancet
NOTE:
This lancing device has an ejection feature, so you do not have to pull out the used lancet.
- Remove the lancing device cap
Remove the cap by rotating it and then pulling it straight off the device.

- Cover the exposed lancet tip
Before removing the lancet, place the lancet protective cover on a hard surface then push the lancet tip into the flat side of the disk.

- Eject the lancet
Holding the lancing device directed downwards, push the slider forward until the lancet comes out of the lancing device. If the lancet fails to eject properly, cock the device then push the slider control forward until the lancet comes out.

- Replace the lancing device cap
Place the cap back onto the device; turn the cap or push the cap straight in to secure it.
Ensure the cap is aligned as shown in the image.


Discard the used lancet carefully after each use to avoid unintended lancet stick injuries. Used lancets may be considered biohazardous waste in your area. Be sure to follow your healthcare professional's recommendations or local regulations for proper disposal.
Storing your lancing device
There are no special storage conditions. Store with the carrying case that came with your system.
Cleaning your lancing device and cap
Refer to the User Guide or Owner's Booklet that came with your meter for cleaning and disinfecting. If there are no instructions provided for this lancing device and cap in the User Guide or Owner's Booklet, follow the instructions below.
To clean these items, wipe them with a soft cloth dampened with water and mild detergent. Do Not immerse the lancing device in any liquid.
To disinfect these items, prepare a solution of one part household bleach to nine parts water. Wipe the lancing device with a soft cloth dampened with this solution. Immerse the cap only in this solution for 30 minutes. After disinfecting, rinse briefly with water and allow both to air dry.*
*Follow manufacturer's instructions for handling and storage of bleach.
OUR COMMITMENT TO YOU:
Our goal is to provide you with quality healthcare products and dedicated customer service. If you are not fully satisfied with this product, or if you have questions about the use of any OneTouch®product, contact Customer Service. OneTouch® Customer Service PH: (632) 7368 8736 – GMA, 1-800-1-888-7954 – PLDT Toll free,
2327 – SMS for Globe, 0917-8902327 – SMS for other networks, 0917-8782218 – call / SMS from 7:30 AM to 4:30 PM, Monday through Friday or visit us at www.OneTouchAsia.com/ph/en/ OneTouch® Customer Service VN: +84 28 38214817 (HCMC),
+84 24 39349049 (HN), toll free 1800599915. 8:30 AM to 5:30 PM, Mon – Fri. If you cannot reach Customer Service, contact your healthcare professional for advice.
Documents / ResourcesDownload manual
Here you can download full pdf version of manual, it may contain additional safety instructions, warranty information, FCC rules, etc.
Advertisement


Need help?
Do you have a question about the Lifescan Delica Plus and is the answer not in the manual?
Questions and answers