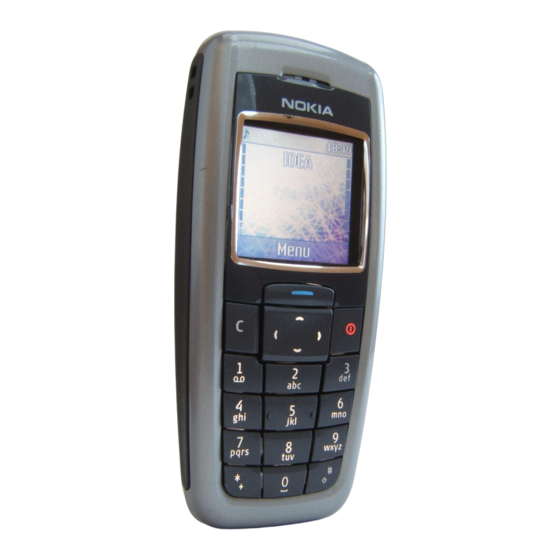
Nokia 2600 User Manual
Hide thumbs
Also See for 2600:
- User manual (184 pages) ,
- Manual do utilizador (75 pages) ,
- Guía del usuario (39 pages)
Table of Contents
Advertisement
Quick Links
Advertisement
Table of Contents

Related Manuals for Nokia 2600


Summary of Contents for Nokia 2600
- Page 2 Nokia 2600 User Guide Note: Spanish translation follows page 60 of the English guide. Portuguese translation follows page 122 of the Spanish guide. Nokia 2600 User Guide Copyright © 2004 Nokia...
- Page 3 The information contained in this user guide was written for the Nokia 2600 product. Nokia operates a policy of ongoing development. Nokia reserves the right to make changes to any of the products described in this document without prior notice.
- Page 4 *29/170245 5442521 5760568 5956625 6084962 6201876 *29/170246 5444816 5782646 5956633 6088746 6219560 5446364 5794142 5960354 6094587 6240076 5479476 5802465 5960389 6097964 6240079 5487084 5805084 5963901 6105784 6249584 5493255 5805301 5966374 6108553 6259312 Nokia 2600 User Guide Copyright © 2004 Nokia...
- Page 5 NOTES Copyright © 2004 Nokia...
-
Page 6: Table Of Contents
Extras............. . .32 Nokia 2600 User Guide... - Page 7 Nokia one-year limited warranty........
-
Page 8: For Your Safety
Only qualified personnel may install or repair this product. ENHANCEMENTS AND BATTERIES Use only approved enhancements and batteries. Do not connect incompatible products. WATER-RESISTANCE Your phone is not water-resistant. Keep it dry. Nokia 2600 User Guide Copyright © 2004 Nokia... -
Page 9: About Your Device
The wireless device described in this guide is approved for use on the GSM network (the Nokia 2600a phone is approved for the GSM 900/1800 networks and the Nokia 2600b phone is approved for the GSM 850/1900 networks). Contact your service provider for more information about networks. -
Page 10: About Your Phone
• GET HELP Find phone information We recommend that you have the following available before contacting the Nokia Customer Care Center or the service provider. The information is on the type label (1) on the back of the phone under the battery. -
Page 11: Insert The Sim Card And Battery
Carefully lift the SIM card holder using the finger grip (3), and open the flip cover. Insert the SIM card, ensuring that the beveled corner (4) is on the upper right side and that the gold-colored contact is facing downward. Copyright © 2004 Nokia... -
Page 12: Charge The Battery
Disconnect the charger from the phone and the ac outlet. If Not charging appears, wait for a while, disconnect the charger, reconnect it, and retry. If charging still fails, contact your dealer. Nokia 2600 User Guide Copyright © 2004 Nokia... -
Page 13: Parts Of The Phone
Keypad (9) Use the 0 through 9 keys to enter numbers and characters. Use the and # keys for various purposes depending on the function. • Charger connector (10) • Headset connector (11) • Microphone (12) Copyright © 2004 Nokia... -
Page 14: Display And Standby Mode
Hold the phone as you would any other telephone with the antenna pointed up and over your shoulder. Nokia 2600 User Guide Copyright © 2004 Nokia... -
Page 15: Change Covers
Align the top of the front cover (4) with the top of the phone, and press the front cover to lock it into place (5). Align the back cover with the back of the phone, and press it into place. Copyright © 2004 Nokia... -
Page 16: Basic Operations
Select the key you want (2–9), and select Assign > Assign to call or Assign to SMS. Select the name or number you want. To use 1-touch dialing, press and hold the corresponding number key. Nokia 2600 User Guide Copyright © 2004 Nokia... -
Page 17: Answer A Call
You can use automatic keyguard to lock the keypad when there have been no keypresses for a certain period of time. You can also use security keyguard to require the security code to unlock the keypad. See “Phone settings” on page 28 for more information. Copyright © 2004 Nokia... -
Page 18: In-Phone Help
15 seconds. Select More or scroll down to continue reading the text. Select Back to exit, or wait a few seconds to return to the current menu. Check with your service provider for more information. Nokia 2600 User Guide Copyright © 2004 Nokia... -
Page 19: Text Entry
To enter a special character, press and hold , scroll to the character you want, and select Insert. In traditional text entry, you can also enter some punctuation marks and other special characters by pressing 1 repeatedly. Copyright © 2004 Nokia... -
Page 20: Menu Functions
Before the message is sent, the Nokia 2600 phone tells you if the message exceeds the maximum length allowed for one message. To cancel sending, select Cancel, or save the message in the inbox.
Need help?
Do you have a question about the 2600 and is the answer not in the manual?
Questions and answers