
Related Manuals for Oster BLSTPBRG


Summary of Contents for Oster BLSTPBRG
- Page 1 BLSTPBRG MODEL Instruction Manual Oster Ice Crushing Beehive Performance Blender READ ALL INSTRUCTIONS BEFORE USING THIS APPLIANCE BLSTPBRG_21EM2.indd 1 BLSTPBRG_21EM2.indd 1 7/21/21 12:43 7/21/21 12:43...
-
Page 2: Important Safeguards
I M PO RTA N T S A FE GUA R D S When using electrical appliances, basic safety precautions should always be followed to reduce the risk of fire, electric shock, and/or injury to persons including the following: READ ALL INSTRUCTIONS BEFORE USING THIS PRODUCT. To protect against electric shock, do not place or immerse cord, plugs, or appliance in water or other liquid. -
Page 3: Grounded Plug
16. Always operate blender with cover in place. Always wait until all moving parts have stopped before removing any lid or cover. 17. When blending hot liquids, remove center piece of two-piece cover (if a two- piece cover is provided). Beware of steam. Do not blend boiling liquids. 18. -
Page 4: Appliance Description
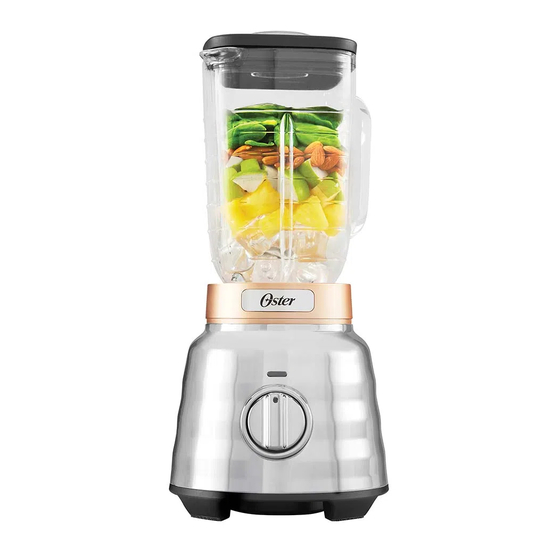
APPL IA NC E DE SCRI PTIO N 1. Filler cap 5. Revolutionary ice-crushing blade 2. Jar lid 6. Threaded jar bottom 3. 7-Cup Glass Jar 7. Motor base 4. Locking sealing ring 8. Rotary dial with 3 speeds -3 - BLSTPBRG_21EM2.indd 3 BLSTPBRG_21EM2.indd 3 7/21/21 12:43... -
Page 5: Ge Tt I Ng To K N Ow
GE TT I NG TO K N OW YO UR O ST ER ® BLEN DER Introducing the Oster Ice Crushing Beehive Performance Blender! Inspired by the classic Oster blender, this design ® features more durable and powerful features. YOUR BLENDER INCLUDES THE FOLLOWING TECHNOLOGY AND FEATURES: •... - Page 6 ASSEMBLING THE JAR 1. Turn jar upside down so the small opening is at the top. (Figure 1) 2. Place Blade into Threaded Jar Bottom (Figure 2). 3. Place sealing ring over blade assembly. Carefully press and tuck sealing ring into locking groove (Figure 3).
-
Page 7: Blending Tips
MANUAL CONTROLS 1. Turn dial to desired speed and blend ingredients to desired consistency. 2. Turn dial to the off “O” position to stop the blender and turn blender off. 3. To use the PULSE function: • To use PULSE if dial is on the off to the left of the dial position, turn dial to speed 1 for a brief desired length of time and turn it right back to the off “O”... -
Page 8: After Use
C A RING FO R AN D MA IN TA IN I NG YOUR O S TE R B L EN D E R ® AFTER USE: 1. Lift the jar straight up from the base, remove the lid and empty the jar. -
Page 9: Year Limited Warranty
3 YE AR L IMITE D WA R R A NT Y Sunbeam Products, Inc. (collectively “Sunbeam”) warrants that for a period of three years from the date of purchase, this product will be free from defects in material and workmanship. - Page 10 © 2021 Sunbeam Products, Inc. All rights reserved. Three years limited warranty – please see insert for details. www.oster.com P.N. 2165748 Rev. A / NWL0001314213 Printed in Mexico GCDS-OST1698717-JC BLSTPBRG_21EM2.indd 9 BLSTPBRG_21EM2.indd 9 7/21/21 12:43 7/21/21 12:43...
Need help?
Do you have a question about the BLSTPBRG and is the answer not in the manual?
Questions and answers