
Related Manuals for Eert C Mount

Summary of Contents for Eert C Mount
- Page 2 C Mount Auto Focus Industrial Camera User Manual Contents Camera matching device ....................4 Camera installation instructions ..................4 Menu interface ........................5 Control interface ....................... 5 Measurement interface ..................... 6 Detailed control interface ....................7 Language mode ......................7 Lock menu .........................
- Page 3 C Mount Auto Focus Industrial Camera User Manual 4.18 FBL ........................... 20 4.19 Anti-screen flicker ....................20 4.20 Black and White mode .................... 20 4.21 Default ........................20 4.22 VersionNumber ....................... 20 Detailed measurement interface ..................20 Assist Tool ........................ 21 5.1.1...
-
Page 4: Camera Installation Instructions
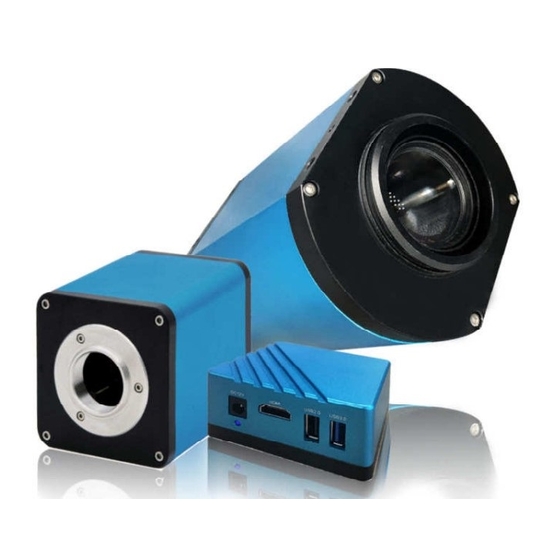
Backend matching:With HDMI and support 1080P @ 60Hz or 1080P @ 50Hz display 2 Camera installation instructions 1. Connect industrial to C mount lens 2. Connect the monitor and industrial camera with HDMI cable 3. Connect mouse 4. Please use the power adapter provided by our company to power the camera www.eertelectronics.nl... - Page 7 Click the upper left corner of the menu to select the language mode.Simplified Chinese,English,Traditional, and Japanese are available Always show menu when "blocked" When "Open", move the mouse to the upper left area menu display, move out of the upper left area menu to hide.
- Page 11 Set the number of horizontal and vertical lines Hold the left button, you can drag the crosshairs. Note: Do not press and hold at the intersection of the horizontal and vertical lines. Double-click a single crosshair to set its color and position, center and delete...
- Page 12 After inserting the USB flash drive for a few seconds, the icon of the successful insertion of the USB flash drive is displayed in the upper right corner of the display. At this time, you can click to take a photo...
- Page 21 Setting line Width and color Setting Text size and color...
- Page 24 Click the delete icon to delete this group of calibrations Pull down the calibration list and select the calibration...
- Page 25 List of measurement data...
- Page 26 When the data in the measurement data list is selected, the image color becomes the inverse color of the set color...
Need help?
Do you have a question about the C Mount and is the answer not in the manual?
Questions and answers