Advertisement
Quick Links
Advertisement

Summary of Contents for Arlo Solar Panel
- Page 1 Solar Panel Quick Start Guide...
-
Page 2: What's In The Box
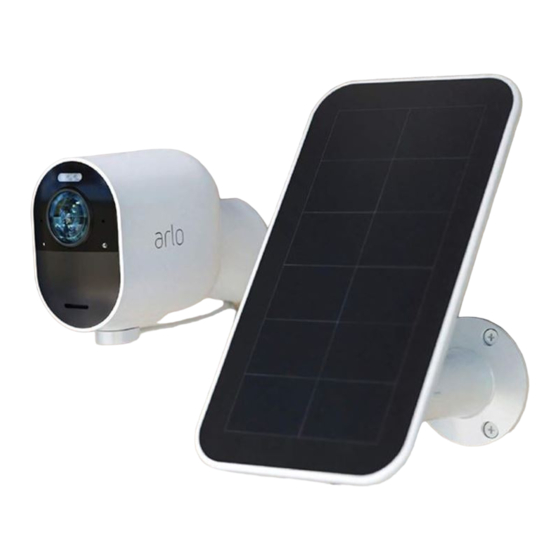
Solar panel Mount Screws (3) Quick Start Guide Thank you for choosing the Arlo Solar Panel. and power cable Keep reading for important info to help you get your new Arlo Solar Panel up and running. If you need help, contact Arlo before returning your product to the store. - Page 3 Similarly, the same panel might produce more energy in one geographic location and less in The amount of energy that the solar panel produces is affected by how much sunlight the solar another. In both situations, the difference is based on the amount of sunlight that the solar panel panel receives, weather conditions, and dust or debris.
- Page 4 Place the mount near where your Arlo device is mounted. Attach your solar panel to the mount. Secure the mount with the screws provided in the package. Adjust the angle of the solar panel on the mount to receive maximum sunlight.
- Page 5 Connect your camera Choose a location for your camera and then install the outdoor camera mount. Slide the wind bracket onto the solar panel cable. The wind bracket supports the connection of the cable to your camera. Remove the USB port cap from the camera.
- Page 6 Connect the cable connector to the USB port on your camera and press in firmly. For an Arlo Go camera, press the tab on the cable connector into the bottom of the USB port Arlo Go Arlo Pro and Arlo Go...
- Page 7 Screw your camera onto its mount and adjust the mount to your preferred angle. screw threads. Arlo Pro and For Arlo Pro and Arlo Pro 2 cameras, thread the extension bolt through the wind bracket Arlo Pro 2 and into the camera screw threads.
- Page 8 Arlo Cameras with Solar Panels Connect your Arlo Security Light Choose a location for your Arlo Align the wind bracket hole with the Arlo Go Arlo Pro and Security Light and then install the security light threads. Arlo Pro 2 outdoor security lIght mount.
- Page 9 Plug the cable into the micro USB port on Close the wind bracket on top of the Attach the light to the mount. Adjust the mount to position your light your light and press in firmly. power adapter cable. at the preferred angle.
-
Page 10: You're Done
You’re Done! Arlo Security Light with a Solar Panel Congratulations! Your Arlo Solar Panel is set up and ready to go. To view useful tutorial videos, find troubleshooting tips, or get support, visit https://www.arlo.com/support/. - Page 11 ©2018 Arlo Technologies, Inc. Arlo, Arlo logo, and Every Angle Covered are trademarks of Arlo Technologies, Inc. App Store is a service mark of Apple Inc., registered in the U.S. and other countries. Google Play and the Google Play logo are trademarks of Google Inc.


Need help?
Do you have a question about the Solar Panel and is the answer not in the manual?
Questions and answers