Advertisement
Advertisement
Table of Contents

Related Manuals for Arlo solar panel


Summary of Contents for Arlo solar panel
- Page 1 Solar Panel Quick Start Guide...
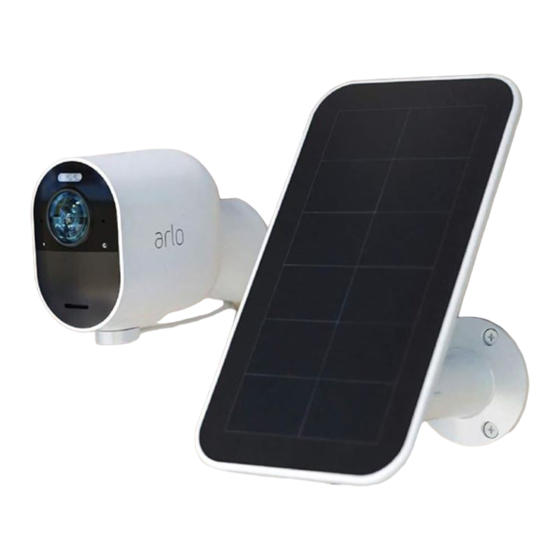
- Page 2 What’s Included Solar panel Mount Screws (3) Welcome Thank you for choosing the Arlo Solar Panel. Getting started is easy. Quick Start Guide Power cable...
- Page 3 Similarly, the same panel might produce more energy in one geographic location and less in The amount of energy that the solar panel can produce is affected by how much sunlight the another. In both situations, the difference is based mainly on the amount of sunlight that the solar panel receives, weather conditions, and dust or debris.
- Page 4 Place the mount near your Arlo Pro or Arlo Go camera. Attach your solar panel to the mount. Secure the mount with the screws provided in the package. Adjust the angle of the solar panel on the mount to receive maximum sunlight.
- Page 5 Align the power cable end with the clips on the solar panel back. Connect the other end of the cable to your Arlo camera. Pinch the clip on the connecter and insert the cable end into the port on the solar panel. Arlo Pro...
- Page 6 You’re Done! Congratulations! Your Arlo system is set up and ready to go. To view useful tutorial videos, find troubleshooting tips, or get support, visit https://www.arlo.com/support/.
- Page 7 Si ce produit est vendu au Canada, vous pouvez accéder à ce document en français canadien à arlo.com/docs. (If this product is sold in Canada, you can access this document in Canadian French at arlo.com/docs.) For the current EU Declaration of Conformity, visit http://kb.netgear.com/11621.
Need help?
Do you have a question about the solar panel and is the answer not in the manual?
Questions and answers