Table of Contents
Advertisement
Quick Links
I N S T R U C T I O N M A N U A L
M A N U E L D ' I N S T R U C T I O N S
M A N U A L D E I N S T R U C C I O N E S
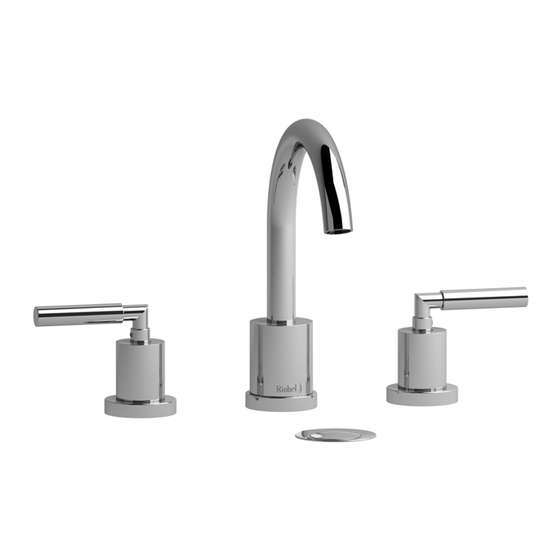
Widespread Basin Tap
Robinet de lavabo 8"
Llave de Lavabo con dos Asas
HELPFUL TOOLS
For safety and ease of installation, the use of
these helpful tools is recommended.
OUTILS UTILES
Pour des raisons de sécurité et de facilité
d'installation, l'utilisation de ces outils utiles
est recommandée.
HERRAMIENTAS ÚTILES
Por seguridad y facilidad de instalación, se
recomienda el uso de estas útiles
herramientas.
Adjustable Wrench
Safety Glasses
Hex Wrench
Screwdriver
Clé Hexagonale
Clé adjustable
Lunettes de sécurité
Tournevis
Llave Hexagonal
Llave ajustable
Gafas de seguridad
Destornillador
A D I S T I N C T I V E M E M B E R O F T H E H O U S E O F R O H L
U N M E M B R E D I S T I N C T I F D E H O U S E O F R O H L
INS-ZO08 - 1/21 - Rev 00
M I E M B R O D I S T I N T I V O D E L A F A M I L I A H O U S E O F R O H L
Advertisement
Table of Contents

Summary of Contents for Riobel Sylla SY08LC
- Page 1 I N S T R U C T I O N M A N U A L M A N U E L D ’ I N S T R U C T I O N S M A N U A L D E I N S T R U C C I O N E S Widespread Basin Tap Robinet de lavabo 8”...
- Page 2 Parts List Handles (x2) Spout Base & Gasket Escutcheon Kit (x2) Spout Mounting Spindle Template Hardware Cartridges (x2) Widespread Hose Tee Valve Body Mounting Valve Body (x2) Hardware Kit (x2) Widespread Hose (x2) Spout Supply Lines (x2) Liste des pièces Poignée (x2) Quincaillerie de montage Anneau de base (x2)
- Page 3 Top view Vue de dessus Vista superior Align Aligner Alinear 1. Install spout (F) and spout base & gasket (G) into sink hole. Install spout attach kit (H), Tee (I) and secure to sink. 1. Installez le bec (F) et l’anneau de base du bec (G) dans l’ouverture du lavabo. Installer la quincaillerie de montage (H), et le raccord en T (I) et fixez-le à...
- Page 4 Cold Froide Frio Chaude Caliente 1. Install assembled Valve Bodies (x2) (J) into sink holes as illustrated. Use the Template (C) to 1. Install the attach kits (x2) (D) onto threads of the valve spindle bodies (x2) (J). ensure correct height and clearance for handle install. 1.
- Page 5 Closed position hot water Closed position cold water Position fermée eau chaude Position fermée eau froide Posición cerrada agua caliente Posición cerrada agua fría 90° 90° Top View Align Vue de dessus Aligner Vista superior Alinear 1. Tighten the 4 screws of kit (E) with Phillips screwdriver as illustrated. 1.
- Page 6 Cold Froide Frio Chaude Caliente more de plus 1. Run hot and cold water for 5 seconds. 1. Attach hot & cold supply lines (L) to shut off valves. Tighten by hand, then 1/4 turn more with adjustable wrench. Turn on water and check for leaks. 1.


Need help?
Do you have a question about the Sylla SY08LC and is the answer not in the manual?
Questions and answers