Advertisement
Quick Links
ASSEMBLY INSTRUCTIONS
Before You Begin:
Please identify all component parts and hardware pieces required before you begin. Carefully remove all of the
components from the packaging and set aside for assembly. Assemble on a soft surface to prevent scratching
during assembly.
Caution:
Tighten all components securely before use. Failure to do so may result in personal injury.
DO NOT use any sharp objects to open plastic wrapped components as damage to product or components may
result.
Warning:
CHOKING HAZARD - Small Parts. Adult Assembly Required.
DO NOT ALLOW CHILDREN TO CLIMB ON FURNITURE
Serious or fatal injuries can occur from furniture tipping over. You must install Tipping Restraint Hardware (where
included) to help prevent the unit from tipping and causing accidental injury, instability, death or damage. The
tipping restraint is intended only as a safety measure, it is not a substitute for proper adult supervision.
To help prevent furniture from tipping over it must be permanently attached to the wall. Anti-Tip Safety Wall
Straps suitable for the unit weight and wall materials (if not included) should be purchased and installed.
Customer Service Email: CustomerExperience@belnick.com | Phone: 866-552-2810
125 LBS
75 LBS
ZG-037-LTGY-GG / ZG-037-GY-GG / ZG-037-OAK-GG
Thank you for your purchase!
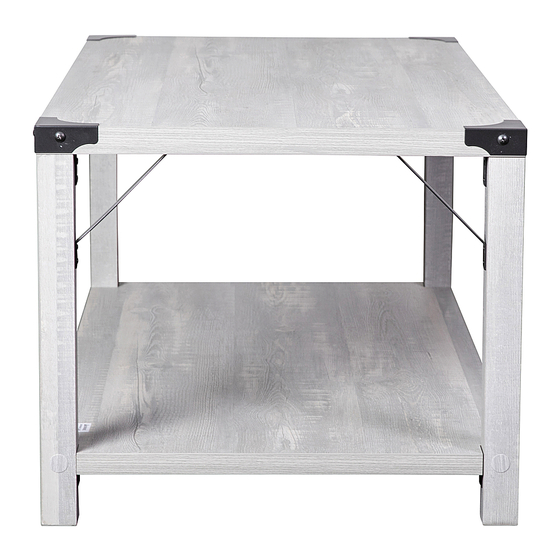
Coffee Table
Advertisement

Related Manuals for Belnick ZG-037-LTGY-GG


Summary of Contents for Belnick ZG-037-LTGY-GG
- Page 1 To help prevent furniture from tipping over it must be permanently attached to the wall. Anti-Tip Safety Wall Straps suitable for the unit weight and wall materials (if not included) should be purchased and installed. Customer Service Email: CustomerExperience@belnick.com | Phone: 866-552-2810 ZG-037-LTGY-GG / ZG-037-GY-GG / ZG-037-OAK-GG...
- Page 2 Congratulations! You just purchased a piece of happiness. At Belnick, we believe you can transform your spaces into the most inspired places with furnishings that are the perfect combination of form, function and style. As original innovators of online furniture retail, we offer the best selection of popular, contemporary styles at cool, comfortable prices.
- Page 3 Easy Sourced Assembly Please visit https://www.belnick.com/warranty for complete warranty information. Read this manual before using this product. Failure to follow the instructions and safety precautions in this manual can result in serious injury or death. Keep this manual in a safe location for future reference.
- Page 4 Safety and Care Advice Important – Please read these instructions fully before starting assembly • Check you have all the • During assembly do not stand • To reduce components and tools listed on or put weight on the product, the likelihood of the following pages.
- Page 5 Components - Fittings Please check you have all the panels listed below Note: The quantities below are the correct amount to complete the assembly. In some cases more fittings may be supplied than are required. Male Camlock x 6 Female Camlock x 6 Wood Dowel x 4 bo x 4 Allen Key x 1...
- Page 6 Using Camlocks Step 1 Step 2 DO NOT OVER TIGHTEN. Connect the male Push the male camlock NE PAS SERRER EXCESSIVEMENT. camlock as diected in into the entry hole. the assembly instructions using a scewdriver . Step 4 Step 3 Insert the female Turn the female camlock camlock as shown in the...
- Page 7 Assembly Instructions Front Leg Rear Leg Rear Leg Front Leg...
- Page 8 Assembly Instructions Step 1 Step 2...
- Page 9 Assembly Instructions Step 3 Step 4...
- Page 10 Assembly Instructions Step 5 Step 6...
- Page 11 Assembly Instructions Step 7 Step 8...
- Page 12 Assembly Instructions Step 9 Step 10...
- Page 13 Assembly Instructions Step 11 Step 12...
- Page 14 Assembly Instructions Step 13 8,47 Step 14...
- Page 15 Assembly Instructions Step 15 Assembly is complete.
Need help?
Do you have a question about the ZG-037-LTGY-GG and is the answer not in the manual?
Questions and answers