Advertisement
What's in the Box

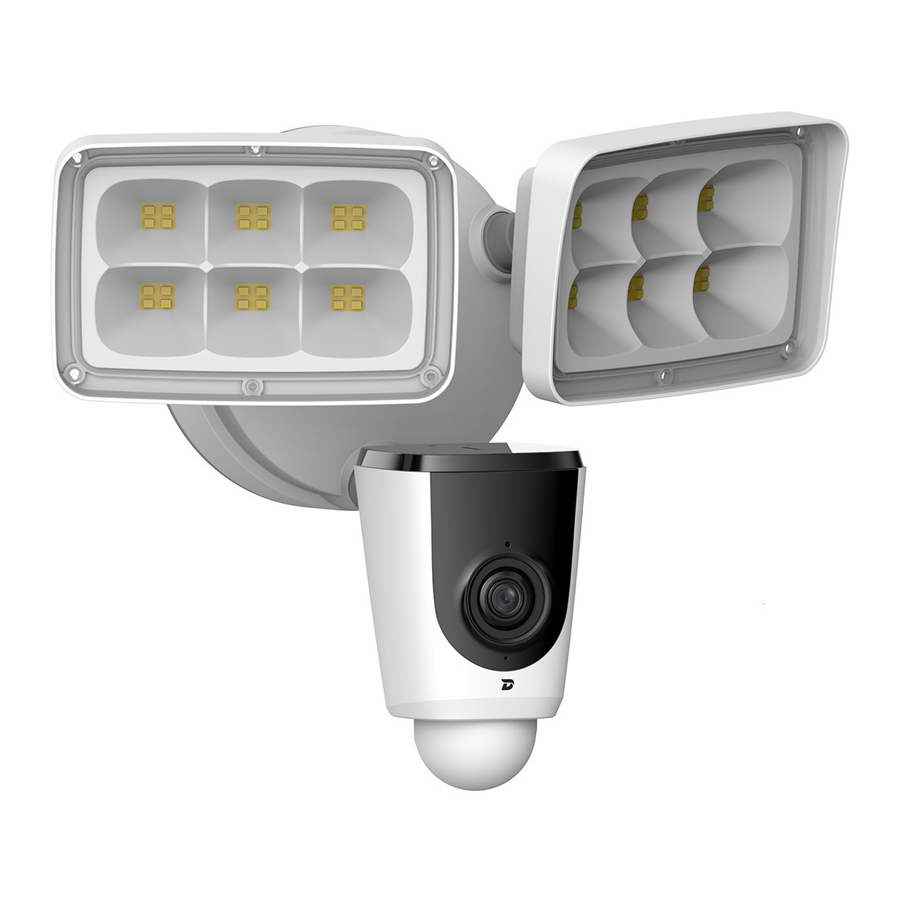
Flooder Camera ×1

Mounting Plate ×1

Mounting Hardware ×1

Quick Start Guide ×1

Installation Hook ×1

Mounting Screw ×1

Bracket Screws ×4

Wire Nuts ×3
Assembly

- Junction Box (not included)
- Mounting Plate
- Bracket Screws
- Locking Camera Collar
- Mounting Screw
Application
With the Flooder Camera installed at 10 feet With the Flooder Camera installed at 10 feet (3m) from the ground, the PIR motion (3m) from the ground, the PIR motion sensor is capable of detecting humans up to sensor is capable of detecting humans up to 33 feet (10m). For consistent detection, the 33 feet (10m). For consistent detection, the PIR motion sensor should be parallel with PIR motion sensor should be parallel with the ground. the ground.

Know your Flooder


| LED Indicator Status | Device Status |
| Off |
|
| |
| Red light on |
|
| |
| Green light flashing |
|
| Green light on |
|
| Red light flashing |
|
| Green and Red light flashing |
|
NOTE:
If a camera reset is needed, press and hold the reset button for 10 seconds.
Camera Installation

Risk of electrical shock.
- Be sure to disconnect the power at the fuse or circuit breaker before installation.
- Verify that the supplied voltage is correct. Connect the Flooder camera to a 100 ~240VAC 50/60 Hz power source.
- Properly ground the Flooder camera.
- We strongly suggest you hire a licensed electrician to install the camera.
Risk of fire.
- Do not connect near combustible or flammable surfaces.
NOTE:
- Do not connect the Flooder camera to a dimmer switch or timer.
- Step 1
With power off at the breaker, remove the existing floodlight from the junction box. Disconnect the existing wires and inspect the surfaces to ensure a water tight seal. - Step 2
Install the mounting plate:
With junction box
Place the mounting plate to the junction box.
Without junction box
Install the mounting plate to the middle of the opening with the provided mounting hardware.


NOTE:
- If there is a mounting plate attached to your junction box, remove before installation.
- If you do not have an existing junction box, you will need to hire a licnsed electrician to install one. Also be sure to comply with your local codes.
Step 3
Turn the adjustment knobs to loosen the Flooder lights. Adjust the light to access the mounting screw.
Step 4
Use the installation hook to attach the Flooder camera to the mounting plate. This will free up both hands during the installation.

Step 5
Connect the bare copper wire from the Flooder camera to the existing ground wire using the supplied wire nuts.

Step 6
Connect the power wires.
The white wire from the Flooder camera is the neutral wire. Connect this wire to the existing neutral wire.
The black wire from the Flooder camera is the hot wire. Connect this wire to the reserved hot wire.

Step 7
When all wires are securely fastened, mount the Flooder camera to the mounting plate using the provided mounting screw.

Step 8
Adjust the light and lens angles.
Be sure and keep the PIR Motion Sensor parallel to the ground to ensure optimal detection.

Using the Dash App
Step 1
Power on the Flooder camera.
Step 2
Download the Dash App from Google Play or App Store.
NOTE
If the App has been previously installed be sure it is up to date.
Step 3
Open the Dash App, and register a new account.
Step 4
When the Flooder camera has completely powered on, the indicator light will flash green.
Step 5
Connect your smart phone to your 2.4 GHz Wi-Fi network, and then follow the steps below to finish adding the Flooder.

NOTE:
- Repeat step 5 to add multiple Flooder cameras.
- If the Flooder camera Wi-Fi adoption fails, factory reset the camera and repeat step 5.
Disclaimer
This guide is for informational purposes only. A qualified & licenced electrician is recommended for the installation of the Flooder Camera.
About the Guide
- All designs and software mentioned here are subject to change without prior written notice.
- All trademarks and registered trademarks mentioned are the properties of their respective owners.
- Please visit our website or contact your local installer for more information.

Documents / ResourcesDownload manual
Here you can download full pdf version of manual, it may contain additional safety instructions, warranty information, FCC rules, etc.
Download IC Realtime DASH FLOODER - 2MP WiFi Outdoor Floodlight Camera Manual
Advertisement

Need help?
Do you have a question about the DASH FLOODER and is the answer not in the manual?
Questions and answers