Table of Contents
Advertisement
Quick Links
Advertisement
Table of Contents

Related Manuals for Waves CA3000-MX


Summary of Contents for Waves CA3000-MX
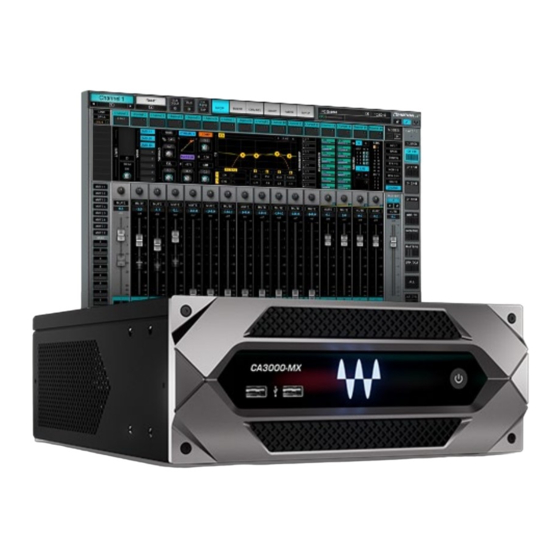
- Page 1 Waves CA3000-MX Commercial Audio Mixer Getting Started Guide...
- Page 2 The CA3000-MX couples a powerful digital audio processing engine with an install-ready version of the industry-proven Waves eMotion LV1 mixer. The mixer supports up to 32 stereo inputs, 24 stereo aux mix outputs plus LRCM outs, and a 12x8 stereo matrix.
-
Page 3: Connections And Controls
Connections and Controls Front Panel Power switch Hold for five seconds to shut down. 2 USB-2 ports Fan grill Do not block fan grills on front or back panels. Waves CA3000-MX / User Guide... -
Page 4: Real Panel
110–240 VAC, 65W, auto-switching 4 USB-3 ports 1 HDMI port The HDMI port and the DisplayPort can be used interchangeably, depending on display connections 1 DisplayPort and adaptors. The ports support resolutions from 1280x768 to 1920x1080. Waves CA3000-MX / User Guide... - Page 5 Gigabit Ethernet port, EtherCON EtherCON connector: either this port or the standard connector RJ-45 connector (see “5” above) may be used for connection to the Dante network. This connector is the factory-configured Dante network port. Waves CA3000-MX / User Guide...
-
Page 6: Hardware Connections
3. Connect up to two displays to the video ports. There is one HDMI port and one DisplayPort. 4. Connecting the CA3000-MX to a Dante network: Connect one of the LAN Ethernet ports to the switch on the Dante audio network. The EtherCON connector is the factory-configured Dante network port. This port assignment can be changed in the Dante Virtual Soundcard (DVS) configuration window. -
Page 7: Routing Setup
OWER ROTECTION It is highly recommended that the Waves CA3000-MX is installed in a rack with a power protection device, such as an Uninterruptible Power Supply (UPS). The UPS should include a power status notification mechanism – typically a USB connection and software driver for the protected device. - Page 8 Routing Dante Channels to the CA3000-MX Using Dante Controller The CA3000-MX appears on the Dante Controller application as a 16x16 or 32x32 channel device (depending on product option purchased). The Routing View window is a common way to create audio routes in Dante, as shown below.
- Page 9 Routing Dante Channels to CA3000-MX Mixer Channels Now you’re ready to route the Dante channels in LV1. Dante channels can be selected as input sources or output destinations for each channel. Channel input and output routing is done in the LV1 Channel view or Patch view. In the following example, we will route rack input from a Dante channel to a single channel in the Channel view.
- Page 10 Confirm the routing in the Dante Controller for the network audio devices that will be connected to and from the CA3000-MX. Please refer to the eMotion LV1 Native product documentation at www.waves.com for instructions about setting up and using the audio mixer. Download user guides for Waves plugins from the Waves Download Pages.
-
Page 11: Specifications
Width: 22 cm / 8.7 in Windows 10 Depth: 28.4 cm / 11.2 in auto-switching; Waves LV1 Native Height: 8.6 cm / 3.4 in C13-type connector Audinate Dante Virtual Soundcard Weight: 3.3 Kg / 7.4 lb Waves CA3000-MX / User Guide...
Need help?
Do you have a question about the CA3000-MX and is the answer not in the manual?
Questions and answers