Advertisement
4D-F10
Suitable for ages over 14
Quadcopter operating instructions
English
In order to meet the requirements of the aeronautical radio station's
electromagnetic environment (various of aero models and UAV are not
allowed to fly within the range of 10 km on each side of center line and
20km on both ends of the airport runway and in the) and civil aviation
routes and airlines. Using various models and drones in the no-fly zone
issued by the relevant state departments is prohibited.
Advertisement
Table of Contents

Related Manuals for 4DRC 4D-F10


Summary of Contents for 4DRC 4D-F10
- Page 1 4D-F10 Suitable for ages over 14 Quadcopter operating instructions English In order to meet the requirements of the aeronautical radio station's electromagnetic environment (various of aero models and UAV are not allowed to fly within the range of 10 km on each side of center line and 20km on both ends of the airport runway and in the) and civil aviation routes and airlines.
- Page 2 Warning 1. The packaging and instructions contain important information and should be kept. 2. With this aircraft, you are responsible for ensuring that no harm will be caused to the personal and property of others. 3. Commissioning and installing of aircraft must be strictly in accordance with the operating instructions, and attention shall be paid to the distance between the aircraft and the user or other people shall be 2 to 3m to prevent the aircraft from bumping into the head, face and body of people and causing injury in flying and landing, etc.
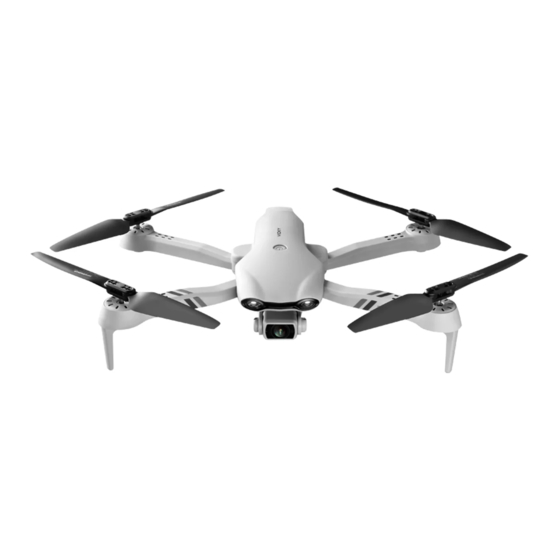
- Page 3 1. List of accessories included: Operating USB charging Aircraft ×1 Fan blade ×2 Lithium battery ×1 Screwdriver ×1 Instructions ×1 cable ×1 2. Name of each part of aircraft: Battery Fan blade clip Motor Shell Fan blade LED lights Camera Bottom camera 3.
- Page 4 4. Unfolding steps of the aircraft: (It is in the storage state when it leaves the factory) 1. Unfold the aircraft according to the steps 5. Lithium battery charging instructions: 5.1 Buckle the battery lock of the aircraft. 5.2 Remove the battery. USB power Desktop PC Mobile power USB adapter...
-
Page 5: Remote Control Battery Installation
6. Name of each part of the remote control: Description of remote control indicator: Press the One-key Headless return mode emergency pause button at Fine adjustment (press and the same time hold)/speed gear Photo / Video (long Power Indicator press) Right stick Left stick GPS switch (long... - Page 6 "4DRC_6K_GPS " in the wireless network search list and connect; after connection, exit the setting option. ② Open the software icon "4DRC PRO " in mobile phone to enter the control interface. (Try to stay away from other signal source environments when flying).
- Page 7 Multipoint flight 3D stereo Follow Reverse the lens Orbit Unlock Find the plane Gesture photo Speed gear Music Touch joystick Lens switching Novice mode Flight distance, default 30m, (20m-2000m) Flight altitude, default 30m, (10m-120m) Note: After being proficient in flight operation, it is necessary to close the novice mode and set the flight distance and altitude before the aircraft can fly further! 10.
- Page 8 11. Preparation instructions before flight 11.1 Turn on the power of the aircraft and place it on the horizontal plane. At this time, the aircraft placed on the horizontal plane will automatically enter the code-matching state, and the front white light and the red light of fuselage will flash.
- Page 9 Figure 1 Figure 2 11.5 Geomagnetic calibration operation Figure 3 1. Long press the 2. Rotate horizontally clockwise to 3. Rotate clockwise with the tail of the geomagnetic calibration pick up the aircraft, rotate aircraft is upward -pick up the aircraft, until the front clockwise until the front white light with its nose being vertically down,...
- Page 10 11.6 Star search status (In GPS mode by default) The remote control is in GPS mode and the GPS light is always on, which means that the GPS is in the state of star searching. When the red tail light of the aircraft flashes quickly, it means that the star searching succeeded, and the remote controller will emit a beep.
-
Page 11: Normal Mode
Figure 8 Figure 9 11.9 Normal mode The aircraft enters the normal mode 11.10 Start / stop (common mode needs to be turned on for indoor operation) Figure 10 Figure 11 1. Long press the GPS button on the 2. Push the left and right joysticks on the remote remote control, GPS indicator of the remote control outward to unlock (Figure 11) control will enter normal mode (Figure 10) -
Page 12: Control Method
Before flying, please perform the following steps in the above order: open (refer to 11.1) → link to WIFI (refer to 11.2) → remote control to start frequency Warning matching(refer to 11.3) → horizontal calibration (refer to 11.4) → geomagnetic calibration (refer to 11.5) →... -
Page 13: Headless Mode
When the aircraft is in 1m from the ground, the aircraft will become unstable due to Warning the influence of its own blade vortex, which is called "ground effect response". The lower the height of the aircraft, the greater the effect of the ground effect response. 13. - Page 14 Runaway return: When the signal of the remote controller is interrupted for about 4s, the aircraft will automatically return to the place where there is a Warning signal and stop. Low battery return: when the aircraft is in low battery electricity, it will forcefully return to a place that is 20m above the take-off point.
-
Page 15: Gesture Recognition
13.5 Orbital flight mode In GPS mode, click "More Features" icon in the APP control interface (Figure 25) to enter the orbit flight mode (Figure 26), the aircraft will automatically orbit in a radius (Figure 27), and the radius can be adjusted on the APP (Figure 28). At this time, push the right direction joystick to fly left or right (Figure 29) at the default speed, the orbital speed can be adjusted. - Page 16 Yeah gesture photo In about 3m front of the aircraft lens, make Yeah gesture with one hand in horizontal position; after the aircraft successfully recognizes the gesture, count down 3 seconds and take photos. Palm gesture video-recording In about 3m front of the aircraft lens, put five fingers together and lift one hand to horizontal position;...
Need help?
Do you have a question about the 4D-F10 and is the answer not in the manual?
Questions and answers