Advertisement
Quick Links
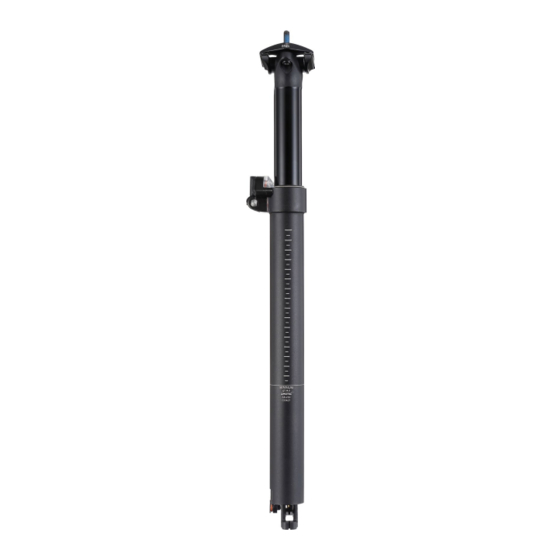
MERIDA TEAM TR
DROPPER SEATPOST
ASSEMBLY AND OPERATING INSTRUCTIONS
EN
DE
ABOUT USER MANUAL
• Read and follow the instructions.
• Keep the instructions.
• Read and follow the safety instructions.
SAFETY INSTRUCTIONS
RISK OF INJURY THROUGH IMPROPER ASSEMBLY!
• Do not assemble the seat post yourself. Do not change defective parts yourself.
• Have assembly / repairs carried out by a bicycle mechanic only.
SERIOUS INJURIES FROM DISMANTLING PRESSURIZED PARTS!
The seat post is high filled.
• Do not disassemble the seat post.
• Do not unscrew the upper protective cap of the seat post.
• Make sure that the protective cap is always firmly tightened.
RISK OF ACCIDENT FROM IMPROPERLY ATTACHED ACCESSORIES!
It could impair the function, lead to functional loss and lead to riders falls, accidents and
injuries.
• Do not mount clamps, saddlebags, luggage racks, mudguards or similar items to the seat
post.
DELIVERY CONTENTS
Version A8-170mm
Version A8-230mm
A
C
B
A
Dropper post
D
Barrel nut
B
Cable
E
M4 Flat screw
C
Remote lever
F
Cable end cap
TOOL REQUIRED
Allen Key 2,5/4/5 mm
MERIDA INDUSTRY CO., LTD.
P.O. Box 56
Yuanlin Taiwan R.O.C.
Phone: +886-4-8526171
Fax: +886-4-8527881
1
ASSEMBLY
WARNING!
SERIOUS INJURIES MIGHT CAUSED BY IMPROPER ASSEMBLED SEAT POST.
• Do not assemble the seat post yourself.
• Comply with the specifications of the bicycle frame manufacturer.
• Never exceed the permitted tightening torques.
BEFORE ASSEMBLY
The seat post is only designed for the following inside diameter of the seat tube: 30.9; 31.6;
34.9 (mm). The diameter is indicated on the product with laser engraving.
• Make sure that the seat post is the correct size.
1 − PREPARE THE BIKE FRAME
• Make sure that the inside diameter of the seat tube matches exactly the installation
dimensions of the seat post (see technical data).
• Clean the inside wall of the seat tube. If possible, remove any burrs from the edges
of the seat tube.
• Metal seat tubes (aluminum, steel): use suitable assembly grease.
• Carbon seat tubes: use a suitable assembly paste.
2 − REMOTE LEVER INSTALLATION
• Mount the Remote lever
• Tighten the lever (max. 3 Nm) with an Allen key (4 mm).
3 − BOWDENZUG MONTIEREN
• Slide the cabl
cable should be fixed in the barrel nut
D
• Attache the barrel nut
• Pull the cable
• Pull the cable down so far that the cable can slide into the actuator lever (1 to 5).
• Lay the outer cable through the frame without kinks.
F
• Slightly loosen the flat screw on the remote lever
E
• Feed the cable through the lever's barrel adjuster until the end of the outer cable seat
in the lever.
• Tighten the flat screw until the cable is firmly clamped.
• Cut off the excess length of the inner cable.
• Put the end cap
ASSEMBLY STEPS
1
D
B
Cable cutter
6
GO TO
www.MERIDA-bikes.com
C
on the left side of the handlebar
B
D
through the open side of the barrel nut
to the end. The nipple of the
D
.
D
into the slotted opening of the actuator lever.
B
down.
C
F
on the cable end and tighten it lightly.
2
3
4
A
D
B
7
max. 3 Nm
max. 3 Nm
E
F
C
2
5
Advertisement

Related Manuals for Merida TEAM TR DROPPER SEATPOST


Summary of Contents for Merida TEAM TR DROPPER SEATPOST
- Page 1 TOOL REQUIRED Allen Key 2,5/4/5 mm Cable cutter MERIDA TEAM TR DROPPER SEATPOST max. 3 Nm max. 3 Nm ASSEMBLY AND OPERATING INSTRUCTIONS MERIDA INDUSTRY CO., LTD. GO TO P.O. Box 56 Yuanlin Taiwan R.O.C. www.MERIDA-bikes.com Phone: +886-4-8526171 Fax: +886-4-8527881...
- Page 2 • Release the remote lever when the desire saddle height is reached. of defects, please contact your MERIDA dealer. In the event of a warranty claim, MERIDA & CENTURION Germany GmbH reserves the right to supply the current successor model in the RAISE THE SADDLE available colorway should the respective higher quality model be unavailable.
Need help?
Do you have a question about the TEAM TR DROPPER SEATPOST and is the answer not in the manual?
Questions and answers