Advertisement
Quick Links
Installation and operating
instructions
Saddle/Seatpost
Thank you for purchasing a MERIDA component.
About these instructions
Carefully read and follow these installation and operating
instructions before use. Keep these instructions for future
reference.
Danger
Indicates essential safety instructions.
These instructions are valid for the following
MERIDA components:
5
3
1
2
1. Suspension seatpost
2. Reducing sleeves
3. Classic seatpost
4. MERIDA EXPERT CC seatpost
5. Quick release
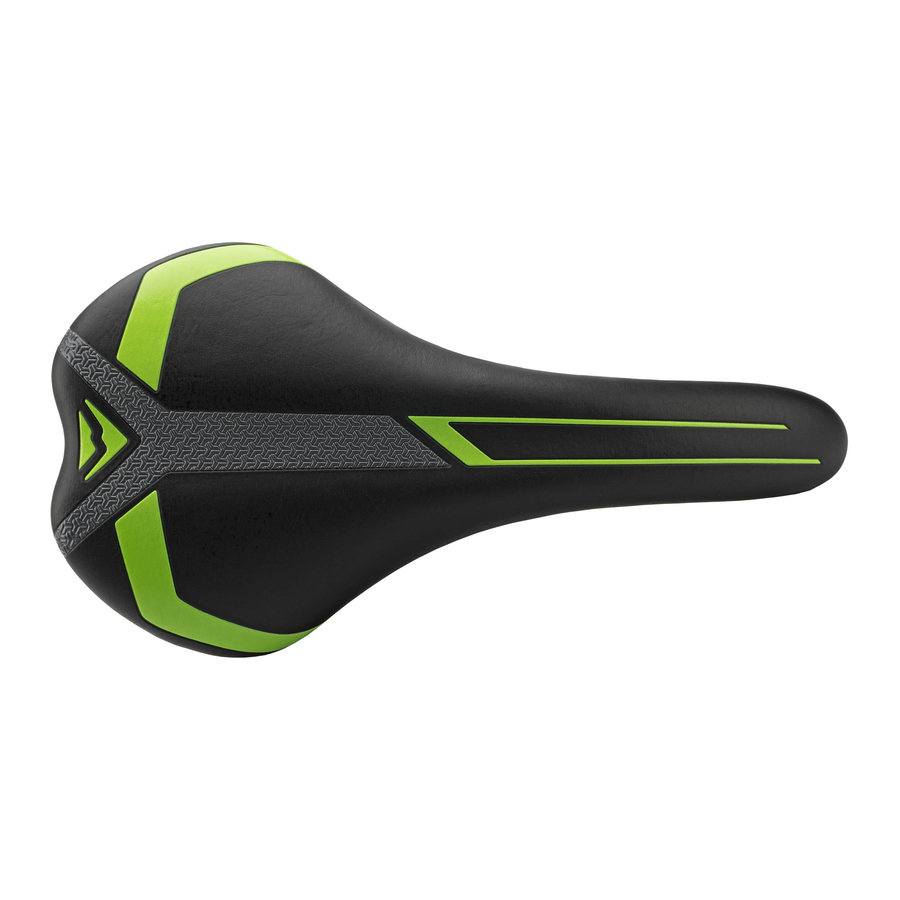
6. Saddle
Special features
The material is very durable and has a low weight. Have
your bicycle inspected by your dealer following accidents
or other incidents.
1. Intended use
The majority of MERIDA components are designed for
use on racing, trekking, and mountain bikes, and their
typical use.
Danger
Replace the component following
a heavy impact.
Danger
If the component shows external signs
of damage, you should no longer ride
using this component.
Danger
Each of the following instructions must
be strictly observed. Non-observance
of these instructions may lead to the
failure of the components.
Before your first ride
Note
The seatpost must glide smoothly into
the frame. However, it must not be
able to tilt back and forth.
Never modify MERIDA components. Do not file or drill
and holes in components as this damages their structure
and voids the warranty.
Only use MERIDA parts with each other to achieve
optimum function and component durability.
Carbon
After being overstressed, a previously damaged carbon
component may fail without warning.
If your MERIDA carbon component has been exposed to
such high stress, take your bicycle to your MERIDA
dealer. For safety reasons, carbon components can
never be repaired and must always be replaced
immediately.
Carbon components must never be exposed to high
temperatures. Therefore, never have them painted.
Avoid storage near to heat sources. Carbon components
have a limited life cycle. Therefore, replace them at
regular intervals, as a precaution.
Ensure that clamp areas of carbon parts are completely
free of grease and lubricant.
2. MERIDA Saddles
Assembly
To mount the saddle, loosen the fixing bolts of the saddle
clamp just a few turns. If the saddle rails are too far apart,
do not force the rails into the clamp grooves.
6
4
Position the surface of the saddle parallel to the ground.
Gently tighten the bolts of the saddle clamp. You will find
the next steps in "SETTING THE CORRECT SEAT
POSITION".
MERIDA EXPERT CC seatpost special features
Short bolt
Direction of motion
With this model, the individual components must be
mounted in the correct combination and orientation.
See also "SETTING THE FORE-AFT POSITION AND
TILT OF SADDLE."
3. MERIDA seatposts
MERIDA seatposts differ mainly in terms of the clamping
mechanism. The diameter of the post and its length are
important – see also "SETTING THE CORRECT SEAT
POSITION" in this regard.
Danger
Never mount pannier racks or trailer
coupling on carbon posts.
Mounting bracket
Long bolt
Flange
Yoke (rear flange)
1
Assembly
The difference between the (greater) internal diameter of
the seat tube and the (smaller) external diameter of the
seatpost should be between 0.05 mm and 0.1 mm.
Note
The seatpost must glide smoothly into
the frame. However, it must not be
able to tilt back and forth.
If necessary, deburr the seat tube.
If a MERIDA aluminum seatpost is mounted in a frame
made of aluminum, titanium, or steel, the inside of the
seat tube must be greased.
With carbon components, the inside of the seat tube and
the post itself must be completely free of lubricants. Use
a special carbon assembly paste for the assembly.
Note
The seatpost must glide smoothly
into the frame. However, it must not
be able to tilt back and forth.
Now slowly slide the post into the seat tube, no farther
than is necessary.
Do not rotate the post in the frame.
Slide the seatpost at least so far that the marking for the
minimum insertion depth (min. insertion, stop, etc.) is
inside the seat tube. For frames with seat tubes that
extend upward, the seatpost may need to be lowered
farther. Refer to the bicycle/frame manufacturer's
instructions.
Special features of MERIDA EXPERT CC
seatposts
in
front
During assembly, make sure that the label "in front" is
pointing in the direction of motion.
Danger
If a clamping surface is made of
carbon, neither the frame nor the post
may come into contact with lubricants!
Use a special carbon assembly paste
for the assembly.
Advertisement

Related Manuals for Merida Procraft Sattel


Summary of Contents for Merida Procraft Sattel
- Page 1 2. MERIDA Saddles If necessary, deburr the seat tube. Assembly If a MERIDA aluminum seatpost is mounted in a frame These instructions are valid for the following To mount the saddle, loosen the fixing bolts of the saddle made of aluminum, titanium, or steel, the inside of the MERIDA components: clamp just a few turns.
- Page 2 Slide the reducing sleeve into the frame so that the slot is the closed lever and trying to rotate it. For seatposts with 2-bolt yoke clamps, loosen both fixing congruent with that of the frame. Then see “MERIDA bolts and move the saddle forward and backward to the SEATPOSTS/ASSEMBLY”.
-
Page 3: Technical Specifications
Fax: +886-4-8527881 We also grant a manufacturer’s guarantee on all www.merida-bikes.com MERIDA components (from the date of purchase, to the first purchaser) of 5 years on material and workmanship. 5th Edition, February 2017 In case of defects, please contact your MERIDA dealer.
Need help?
Do you have a question about the Procraft Sattel and is the answer not in the manual?
Questions and answers