Advertisement
Quick Links
VERSION # 20-09-04
1 / 13
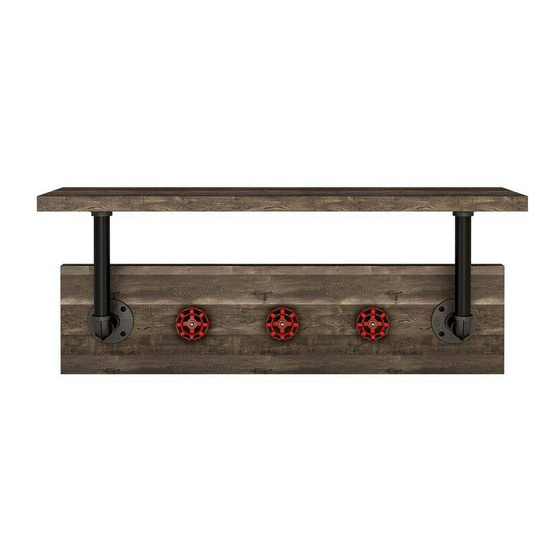
MODEL #
YNJ-2084C25
Questions?
GIVE US A CALL: 1-888-980-5122
MON-FRI 8:30AM-5:30PM (PST)
TOOLS REQUIRED
Phillips
Screwdriver
(Not Included)
2 - People
Recommended
ASSEMBLY RATING
EASY
The Assembly Rating is a
5-point system showing the
level of effort needed to
assemble a specific product.
DIFFICULT
Advertisement

Related Manuals for Furniture of America YNJ-2084C25


Summary of Contents for Furniture of America YNJ-2084C25
- Page 1 MODEL # YNJ-2084C25 Questions? GIVE US A CALL: 1-888-980-5122 MON-FRI 8:30AM-5:30PM (PST) TOOLS REQUIRED Phillips Screwdriver (Not Included) 2 - People Recommended ASSEMBLY RATING EASY DIFFICULT The Assembly Rating is a 5-point system showing the level of effort needed to assemble a specific product.
- Page 2 2 / 13...
- Page 3 3 / 13...
- Page 4 ASSEMBLY CARE ADVICE FAILURE TO FOLLOW THE GUIDELINES BELOW MAY RESULT IN INJURY AND/OR PROPERTY DAMAGE. Position each part correctly Turn clockwise to tighten and and insert screws or bolts into only tighten when step is their respective holes. completed or when instructed to do so.
- Page 5 WALL SHELF YNJ-2084C25 PARTS 2PCS 4PCS 3PCS 2PCS 2PCS HARDWARE ACCESSORIES 3PCS 3PCS 3PCS 4PCS 8PCS 16PCS 4SETS 1" 0.59" 0.47" 0.59" 0.2" 5 / 13...
-
Page 6: Get Ready
GET READY Please group boards as below. 2PCS 2PCS 2PCS 4PCS 3PCS Body 6 / 13... - Page 7 Part x1PC Part x1PC Hardware x4PCS Hardware x8PCS Front Please ensure that the orientation of the brackets (#4) are the same as the diagram above on each side of panel (#A). Please ensure that the orientation of the brackets (#4) are the same as the long diagram below on each side of panel (#B).
- Page 8 Part x2PCS Part x2PCS Part x2PCS Part x4PCS Part x1PC Hardware x8PCS Front 8 / 13...
- Page 9 Part x1PC Shorter Hardware x8PCS Longer Bottom view of panel (#B) The #B sticker on panel Front (#B) helps indicate the top orientation of the panel. Please be very cautious of panel (#B), the shorter/longer distance between bracket to end of panel(#B).
- Page 10 Front Please notice that the brackets on the panels are oriented all the same. Down below in the diagram shows the measurements as reference to placing the markings on the wall for where you want to wall mount the product. 6.69"...
- Page 11 Note: The plastic inserts (#A1) are intended for concrete or cement block walls only. For drywall or hollow walls, substitute with a wood insert anchor (not included). Please refer to page 3 on wall mounts. Use power drill (not included) to drill holes onto the marks on the wall.
- Page 12 ASSEMBLY COMPLETED Please ensure the furniture rests on an even and flat surface. If the produst wobbles or feels loose,double-check all bolts and/or screws are properly tightened and secured. Each valve Keep this handy! Please retain this instruction manual and any order-related information for future reference.
- Page 13 13 / 13...
Need help?
Do you have a question about the YNJ-2084C25 and is the answer not in the manual?
Questions and answers