Sign In
Upload
Download
Table of Contents
Contents
Add to my manuals
Delete from my manuals
Share
URL of this page:
HTML Link:
Bookmark this page
Add
Manual will be automatically added to "My Manuals"
Print this page
×
Bookmark added
×
Added to my manuals
Manuals
Brands
PHILODO Manuals
Scooter
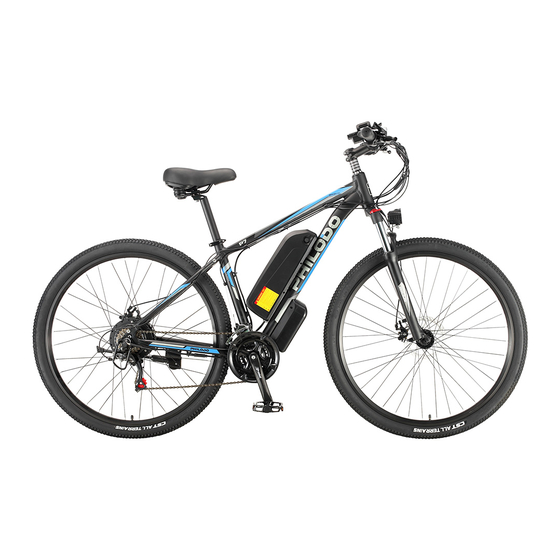
P7
Owner's manual
PHILODO P7 Owner's Manual
Hide thumbs
1
2
Table Of Contents
3
4
5
6
7
8
9
10
11
12
13
14
15
16
17
18
19
20
21
22
23
24
25
26
27
28
29
30
page
of
30
Go
/
30
Contents
Table of Contents
Troubleshooting
Bookmarks
Table of Contents
Table of Contents
Contents
Product Safety Notice
Warning Message
Package Contents
Product Overview
Assembly
Recommended Torque Values
Serial Number
Charge Your E-Bike
Preparing to Ride
Operate Your E-Bike
Troubleshooting
Error Codes
Safety
Warranty & Disclaimer
Advertisement
Quick Links
1
Table of Contents
2
Assembly
3
Charge Your E-Bike
4
Operate Your E-Bike
5
Troubleshooting
6
Error Codes
Download this manual
OWNERS MANUAL
Philodo P7
Philodo H7
EN
JP
DE
FR
IT
V1.0 | 2022
www.philodo.com
Table of
Contents
Previous
Page
Next
Page
1
2
3
4
5
Advertisement
Table of Contents
Need help?
Do you have a question about the P7 and is the answer not in the manual?
Ask a question
Questions and answers
Related Manuals for PHILODO P7
Scooter PHILODO H8 Owner's Manual
All wheel drive e-bike (33 pages)
Scooter PHILODO JUMBO Owner's Manual
(43 pages)
Scooter PHILODO H7 Owner's Manual
(30 pages)
This manual is also suitable for:
H7
Table of Contents
Print
Rename the bookmark
Delete bookmark?
Delete from my manuals?
Login
Sign In
OR
Sign in with Facebook
Sign in with Google
Upload manual
Upload from disk
Upload from URL


Need help?
Do you have a question about the P7 and is the answer not in the manual?
Questions and answers