Table of Contents
Advertisement
Quick Links
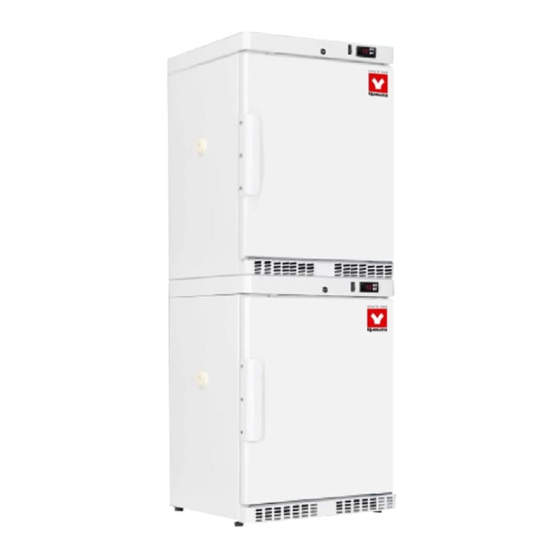
LAB FREEZER / REFRIGERATOR COMBINATION
RFC201 / RFC301
INSTRUCTION MANUAL
•
Thank you for purchasing RFC201/301 Laboratory Freezer /
Refrigerator Combination of Yamato Scientific.
•
To use this unit properly, read this "Instruction Manual" thoroughly
before using this unit. Keep this instruction manual around this unit
for referring at any time.
WARNING: Carefully read and thoroughly understand the important
warning items described in this manual before using this unit.
MODEL
- FIRST EDITION –
Yamato Scientific America Inc.
Santa Clara, CA
Advertisement
Table of Contents

Related Manuals for Yamato RFC201

Summary of Contents for Yamato RFC201
- Page 1 MODEL INSTRUCTION MANUAL - FIRST EDITION – • Thank you for purchasing RFC201/301 Laboratory Freezer / Refrigerator Combination of Yamato Scientific. • To use this unit properly, read this "Instruction Manual" thoroughly before using this unit. Keep this instruction manual around this unit for referring at any time.
-
Page 2: Important Safeguards
IMPORTANT SAFEGUARDS WARNING: Keep ventilation openings in the appliance’s cabinet or in the built-in structure clear of obstruction. WARNING: Do not use other mechanical devices or other means to accelerate the defrosting process than those recommended by the manufacturer. WARNING: Do not damage the refrigerant system. WARNING: Do not use electrical appliances inside the refrigerated storage compartment unless they are of a type recommended by the manufacturer. -
Page 3: Before Your First Use
Before your first use This appliance is for indoor use only. On receipt, check to ensure that the appliance has not been damaged during transport. Transport damage should be reported to the local distributor before the appliance is put to use. Wash the cabinet and inner lining with a mild unscented detergent and wipe it dry. -
Page 4: Electrical Connection
Electrical Connection The technical information for the appliance can be seen on the rating plate on the right inner wall of the refrigerator compartment. Important: Wiring and connections in power supply systems must be in accordance with all applicable (local and national) electrical codes. Consult these code lengths and sizes prior to cabinet installation. -
Page 5: Installation And Start-Up
Installation and Start-up Placement For safety and operational reasons, the appliance must not be installed outdoors. The appliance should be placed on a level surface in a dry, well ventilated room (max. 75% relative air humidity). Never place the appliance close to sources of heat such as ovens or radiators, and avoid placing it in direct sunlight. - Page 6 The appliance viewed from above If the appliance is placed beside a wall, there must be sufficient room for the freezer door to be opened wide enough to allow the drawers to be pulled out Spacers The spacers on the rear of the appliance ensure sufficient air circulation.
- Page 7 Setting up It is important that the appliance be absolutely level. To level the appliance, remove the kick plate below the door and screw the adjustable feet up or down (figs. 8 and 9). If necessary, it is possible to adjust the back feet before the upright is installed. Use a spirit level to check that the appliance is absolutely level.
-
Page 8: Reversing The Doors
Reversing the Doors The doors can be changed from right-hinged to left-hinged and vice versa as follows: 1. Lay the upper hinge. 6. Lift off appliance on its 3. Move the plastic plugs to where the the lower back with the upper hinge was fitted. -
Page 9: Operation And Function
Operation and Function fig. 12 Refrigerator section The thermostat button can be set from 1 (min.) to 7 (max.). A suitable setting must be found by trial and error. Start by setting the button to 4. Check the temperature, then adjust the setting upwards or downwards as required. - Page 10 Glass shelves The shelves are made of tempered glass and can be repositioned within the cabinet. To move the shelves, the door must be opened 90°. To remove a shelf, pull it forwards and lower it. The shelf can then be removed and placed in the desired position. From the top and downwards.
- Page 11 Defrosting Automatic defrosting of refrigerator section The refrigerator is defrosted automatically. Defrost water runs through a pipe and is collected in a tray above the compressor where the heat generated by the compressor causes it to evaporate. The defrost water tray should be cleaned at intervals. Defrosting the freezer The items stored and the humidity of the air gradually cause frost and ice to form in the freezer.
-
Page 12: Cleaning And Maintenance
Cleaning and Maintenance Cleaning Disconnect the power supply before cleaning the inside of the cabinet. The cabinet is best cleaned using warm water (max. 150°F) with a little mild detergent. Never use cleaning agents that scour. Use a soft cloth. Rinse with clean water and dry thoroughly. -
Page 13: Warranty Information
This product warranty does not apply to products purchased from unauthorized resellers/distributors. Yamato reserves the right to inspect the product under claim before having an obligation to repair or replace the defective unit covered by this warranty. All costs of shipping to Yamato for inspection shall be borne solely by the purchaser. - Page 14 In Case of Request for Repair If the failure occurs, stop the operation, turn OFF the power switch, and unplug the power plug. Please contact the sales agency that this unit was purchased, or Yamato Scientific's sales office. ◆ Model Name of Product <...
Need help?
Do you have a question about the RFC201 and is the answer not in the manual?
Questions and answers