D-Link DCS-6915 Quick Installation Manual
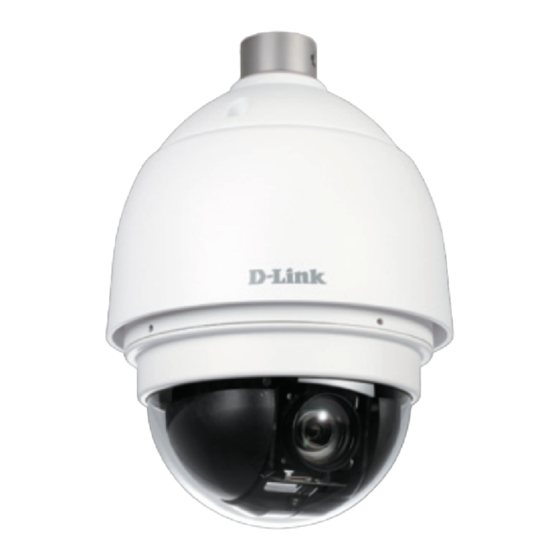
High speed dome network camera
Hide thumbs
Also See for DCS-6915:
- User manual (69 pages) ,
- Brochure & specs (4 pages) ,
- Technical specifications (4 pages)
Table of Contents

Related Manuals for D-Link DCS-6915


Summary of Contents for D-Link DCS-6915
- Page 1 HigH Speed dome Network Camera DCS-6915 Quick Installation Guide+ Краткое руководство по установке+ Guía de Instalación Rápida+ Guia de Instalação Rápida+ 快速安裝指南+ Petunjuk Pemasangan Cepat+...
-
Page 2: Package Contents
Quick Installation Guide DCS-6915 HIGH SPeed dome NetwoRk CameRa Package Contents If any of the items are missing, please contact your reseller. dome Network Software Cd waterproof Collar Screwdriver Camera Lubricant Screws Power Cable Power adapter mini Pendant System Requirements •... -
Page 3: Hardware Overview
Hardware Overview Mounting Point:this part of the cap is used to mount the dome camera enclosure. Cap:this cap covers the Connection Panel. Optical Cover:this clear dome protects the camera apparatus from. Mounting Point Optical Cover Dome Camera Reset Button:the button can be used to reset the system or restore the factory default settings. - Page 4 Hardware Overview Alarm I/O:Support two digital alarm outputs and four digital alarm inputs. Audio I/O:Support one audio input and one audio ouput. Micro SD card slot:Support micro sd card storage. Alarm I/O Reset Button Audio I/O RJ45 connector Power Socket Micro SD card slot Connections Panel...
-
Page 5: Hardware Installation
Hardware Installation STEP 1 Unpack the dCS-6915 and remove the dome camera unit. STEP 2 Remove the protective cover and Pe sheet. STEP 3 apply some lubricant on the cover’s waterproof seal to make the installation process smoother. attach the optical cover to the camera body. - Page 6 Hardware Installation STEP 6 Insert the Power connector into the opening on the cap. STEP 7 Connect the 3-pin connector to the slot on the camera enclosure. the connector will lock into place. STEP 8 Connect the power cable to the power adapter. STEP 9 Connect one end of the Cat 5 ethernet cable to the RJ-45 connector of the camera enclosure, and the other end of the cable to your...
-
Page 7: Software Installation
Software Installation Insert the dCS-6915 Cd into the Cd-Rom drive. If the Cd autorun function does not automatically start on your computer, click windows Start > Run. In the Run command box ® type “D:\autorun.exe”, where d: represents the drive letter of your CdRom. If it does start, proceed to the next screen. - Page 8 to start the installation click Next. Note: The installation may take several minutes to complete. Click Next Click Finish to complete the installation. Click Finish...
- Page 9 Setup wizard will appear and show the maC address of the dCS-6915 and an IP address (which may or may not be correct depending on what you have your dCS-6915 connected to). If you have a dHCP server on your network, there will be a valid IP address displayed here.
-
Page 10: Viewing Your Internet Camera
Viewing Your Internet Camera Click the button labeled Link to access the web configuration. the Setup wizard will automatically open your web browser to the IP address of the dCS-6915, in this example it is:http://192.198.0.20. Your camera may have a different IP address. -
Page 11: Standard Or Mini Pendant Mount
Standard or Mini Pendant Mount Follow the steps below to mount the camera enclosure with the pendant mount. STEP 1 make a cable entry hole on the wall to recess the cables. alternatively, cables can be threaded through the cable entry hole on the mounting plate. - Page 12 TECHNICAL SUPPORT You can find software updates and user documentation on the d-Link website. Tech Support for customers in D-Link Middle East - Dubai, U.A.E. Australia: tel: 1300-766-868 Plot No. S31102, 24/7 technical Support Jebel ali Free Zone South, web: http://www.dlink.com.au P.o.Box 18224, dubai, U.a.e.
- Page 13 TECHNICAL SUPPORT Iran Unit 5, 5th Floor, No. 20, 17th alley , Bokharest St. , argentine Sq. , tehran IRaN Postal Code : 1513833817 tel: +98-21-88880918,19 +98-21-88706653,54 073-796-2797 General Inquiries: info.ir@dlink-me.com tech Support: support.ir@dlink-me.com Morocco m.I.t.C Route de Nouaceur angle RS et Ct 1029 Bureau N°...
-
Page 14: Краткое Руководство По Установке
Краткое руководство по установке DCS-6915 ВЫСОКОСКОРОСТНАЯ КУПОЛЬНАЯ IP-КАМЕРА Комплект поставки Если что-либо из перечисленного отсутствует, пожалуйста, обратитесь к поставщику. Купольная Крышка Cd-диск с Водонепроницаемый Отвертка IP-камера программным уплотнитель обеспечением Смазочное Винты Кабель питания Адаптер питания Мини подвеска средство Системные требования... - Page 15 Обзор аппаратной части Точка крепления: Эта часть крышки используется для крепления корпуса купольной камеры. Крышка: Эта крышка защищает панель с разъемами камеры. Крышка из оптического стекла: Прозрачная крышка для защиты объектива камеры. Точка крепления Крышка Крышка из оптического стекла Купольная камера Кнопка...
- Page 16 Обзор аппаратной части Разъемы ввода-вывода тревожных датчиков: Два цифровых выхода и четыре цифровых входа для подключения внешних тревожных датчиков и устройств. Аудиовход/Аудиовыход: Один аудиовход и один аудиовыход. Слот для карты Micro SD: Поддержка карт micro sd. Разъемы ввода-вывода сигнала тревоги: А...
- Page 17 Аппаратная установка ШАГ 1 Распакуйте коробку для dCS-6915 и извлеките купольную камеру. ШАГ 2 Снимите защитную крышку из оптического стекла и полиэтиленовую пленку. ШАГ 3 Нанесите небольшое количество смазочного средства на водонепроницаемое уплотнение крышки для облегчения процесса установки. Прикрепите крышку из оптического...
- Page 18 Аппаратная установка ШАГ 6 Протяните разъем питания в отверстие на крышке. ШАГ 7 Подключите 3-пиновый разъем к соответствующему слоту на корпусе камеры. Плотно зафиксируйте его. ШАГ 8 Подключите кабель питания к адаптеру питания. ШАГ 9 Подключите ethernet-кабель 5 категории к разъему RJ-45 камеры и...
-
Page 19: Установка Программного Обеспечения
Установка программного обеспечения Вставьте компакт-диск для dCS-6915 в дисковод Cd-Rom. Если запуск диска на компьютере не произошел автоматически, нажмите в ОС windows Start (Пуск) > Run ® (Выполнить). В поле ввода команды введите “D:\autorun.exe”, где d: - имя дисковода Cd-Rom. После этого перейдите к следующему экрану. - Page 20 Нажмите Next (Далее), чтобы начать установку. Примечание: Для завершения установки потребуется несколько минут. Нажмите Next (Далее) Нажмите Finish (Завершить), чтобы завершить установку. Нажмите Finish (Завершить)
Need help?
Do you have a question about the DCS-6915 and is the answer not in the manual?
Questions and answers