
Subscribe to Our Youtube Channel
Related Manuals for Panasonic SB-FS720P


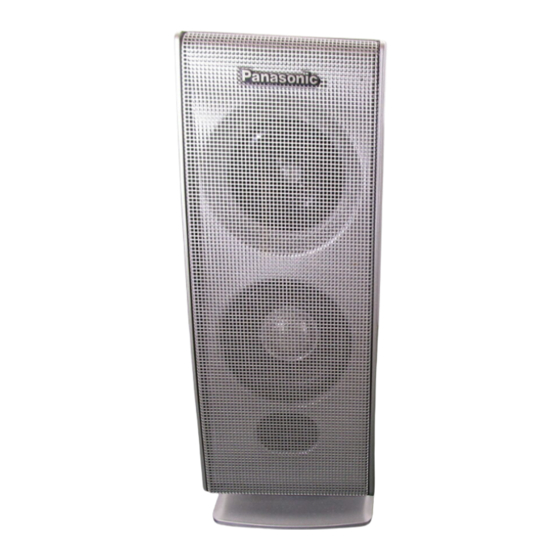
Summary of Contents for Panasonic SB-FS720P
- Page 1 ORDER NO. MD0401011C1 Speaker System SB-FS720P / SB-PC720P SB-FS520P Colour (S)... Silver Type SPECIFICATIONS Specification...
- Page 2 Front speakers (SB-FS720) Type 2 way, 2 speaker system, (Bass reflex) Speaker unit(s) Woofer 6.5 cm (2-1/2”) cone type Tweeter 6 cm (2-3/8”) Ring shaped dome type Impedance Input power (IEC) 70 W (Max) Output sound pressure 80 dB/W (1.0m) level Cross over frequency 6 kHz...
-
Page 3: Disassembly Process
System : SC-HT692P-S Satellite Speaker : SB-H720P-S Subwoofer : SB-WA720P-S SB-HT720P-S consists of :SB-FS520P-S (x 2), SB-FS720P-S (x 2), and SB-PC720P-S (x 1) 2004 Panasonic AVC Networks Singapore Pte. Ltd. All rights reserved. Unauthorized copying and distribution is a violation of law. - Page 4 Step 2: Push the Front Cabinet forward to remove as arrow shown. Step 3: Detach the wires (+) and (-) from the Speaker. Step 4: Remove all the screws from the Speaker.
- Page 5 Step 5: Detach the wires (+) and (-) from the Terminal. Step 6: Remove the screw from Terminal.
- Page 6 Step 7: Remove the Terminal from the Rear Cabinet. 1.2. Disassembly of Speaker (SB-FS520) Step 1: Remove all the screws.
- Page 7 Step 2: Push the Front Cabinet forward to remove as arrow shown. Step 3: Detach the wires (+) and (-) from the Speakers.
- Page 8 Step 4: Remove all the screws from the Speakers. Step 5: Detach the wires (+) and (-) from the Terminal.
- Page 9 Step 6: Remove the screw from the Terminal. Step 7: Remove the Terminal from Rear Cabinet.
- Page 10 1.3. Disassembly of Speaker (SB-PC720) Step 1: Remove all the screws. Step 2: Push the Front Cabinet forward to remove as arrow shown. Step 3: Detach the wires (+) and (-) from the Speaker and Terminal.
- Page 11 Step 4: Remove all the screws from the Speaker. Step 5: Remove the screw from the Terminal.
-
Page 12: Connection Of The Speaker Cables
Step 6: Remove the Terminal from the Rear Cabinet. 2. Connection of the Speaker Cables - Be sure to connect speaker cables before connecting the AC power supply cord. - The load impedance of any speaker used with this unit must be 4 - Be sure to connect the cable from the right speaker to the right terminal and the cable from the left speaker to the left terminal. - Page 13 2. Insert the wire to the rear panel of the unit and close the lever. Notes : - To prevent damage to circuitry, never short-circuit positive (+) and negative (-) speaker wires. - Be sure to connect only positive (red) wires to positive (+) terminals and negative (black) wires to negative (-) terminals.
-
Page 14: Cabinet Parts Location
4. Cabinet Parts Location 4.1. SB-FS720 4.2. SB-FS520... -
Page 15: Replacement Parts List
4.3. SB-PC720 5. Replacement Parts List Notes : - Important safety notice : When replacing any of these components, be sure to use only manufacturer’s specified parts shown in the parts list. - Page 16 - [M] indicates in the Remarks columns indicates parts supplied by PAVCSG. Ref. No.0 Part No. Part Name & Description Remarks <SB-FS720> CABINET AND CHASSIS RFKHBFS720PS REAR CABINET ASS’Y RYBX0057-S FRONT PANEL ASS’Y RGNX0233-S SPEC. SHEET XTB3+10G SCREW RJH5219 TERMINAL XTB3+8G SCREW REEX0346...
- Page 17 Ref. No.0 Part No. Part Name & Description Remarks <SB-FS720> CABINET AND CHASSIS RYBX0053-S FRONT PANEL ASS’Y RGNX0231-S SPEC. SHEET XTB3+12G SCREW RJH5219 TERMINAL XTB3+10G SCREW REEX0343 SPEAKER CORD RKA0072-KJ CAPACITORS ECEA1HAY1R8 1.8uf 50V PACKING MATERIALS RPFX0074 MIRAMAT BAG ACCESSORIES REE1203A-1J SPEAKER CORD (4M) REE1203C-1J...
Need help?
Do you have a question about the SB-FS720P and is the answer not in the manual?
Questions and answers