Advertisement
Quick Links
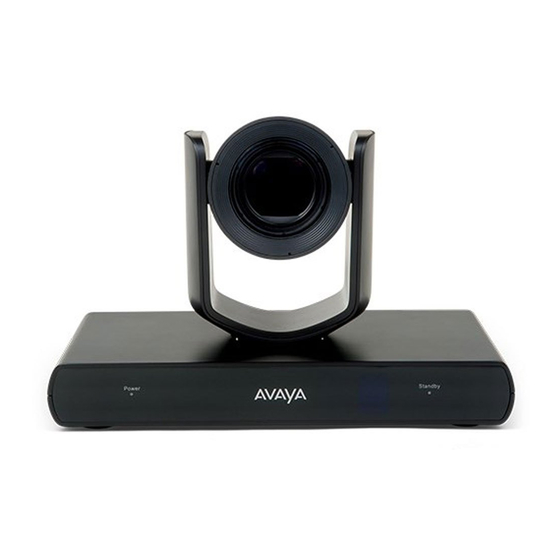
Congratulations on purchasing your
Avaya Room Camera RC100. With its
UltraHD 4k sensor, RC100 provides an
edge quality experience with XT Series,
CU360, and with your laptop
•
XT Series: up to 1080p60
•
CU360: up to 1080p30 in IP mode, and 720p30 in USB
mode
•
Laptop: up to 2160p60 (depending upon the laptop
capabilities)
•
24x Full HD Zoom
•
8x Extra Digital Zoom
•
Optimal horizontal field of view for video conferencing
rooms
QUICK GUIDE
AVAYA ROOM CAMERA
RC100
Package Contents
•
1X Avaya RC100 Camera
•
1X Remote Control
•
2X AAA Type Batteries
•
1X Power Supply
•
1X HDMI Cable
•
1X USB 2.0 Cable
•
1X Wall Mount
•
1X Screws Set
•
1X Lens Cover
•
Documentation
Advertisement

Related Manuals for Avaya RC100


Summary of Contents for Avaya RC100
- Page 1 QUICK GUIDE AVAYA ROOM CAMERA RC100 Congratulations on purchasing your Package Contents Avaya Room Camera RC100. With its • 1X Avaya RC100 Camera UltraHD 4k sensor, RC100 provides an edge quality experience with XT Series, • 1X Remote Control CU360, and with your laptop •...
- Page 2 Using your RC100 as USB Camera for your Laptop Step 1 • Connect the camera to the USB port of your laptop using the provided USB cable. CAUTION: the mains cable is used as a disconnecting device, use therefore an easily accessible outlet located near the device for the power supply connection. Never remove the mains plug while the device is connected.
- Page 3 Using your RC100 with Avaya CU360 Device The Avaya RC100 Camera can be used as USB or IP camera with the CU360. Please follow these steps. 1. Setting up RC100 as IP Camera Step 1 - Connect the Ethernet Cable • Plug one side of the Ethernet cable into the Camera LAN socket and the other side into your IP Network. Step 2 - Connect the Camera Power Supply • Connect the Power Supply plug into the DC IN 12V socket of the Camera and turn on the CU360 unit. Step 4 - Configure the IP Camera Ensure that Enable is set to Yes. From the CU360 main menu: [GUI] Configure > Advanced > I/O Connections > Cameras > IP [WEB] [admin login] Administrator Settings > I/O Connections > Cameras > IP URL: rtsp://admin:@[ip_address]/ch1 From the RC100 menu set the [ip address] with the Camera Remote Control: Menu >...
- Page 4 Connect the VISCA Control Cross cable into the RS232 OUT socket of the first Camera and the RS232 IN of your RC100 Camera. Step 3 - Connect the Camera Power Supply • Connect the Power Supply plug into the DC IN 12V socket of the RC100 Camera and turn on the XT Codec Unit. Step 4 - Configure the Additional Camera • Ensure that Enable and Control Camera are set to Yes. From the main menu: Configure > Advanced > I/O Connections > Cameras > DVI/HD2 Note: You can only use the XT Remote Control to control the Camera. 3. Setting up RC100 as Main or Additional Camera - USB Step 1 - Connect the USB Cable • Plug one side of the USB cable into the Camera USB 2.0 socket and the other side into the XT USB Type-A upper socket. Step 2 - Connect the Camera Power Supply • Connect the Power Supply plug into the DC IN 12V socket of the Camera and turn on the CU360 unit. Step 3 - Configure the USB Camera •...
Need help?
Do you have a question about the RC100 and is the answer not in the manual?
Questions and answers