Advertisement
Table of Contents
Model 315 Wiring and Calibration Instructions
Junction box depicted is for illustration
purposes: not included with sensor.
"Ready to go"
installation kit includes:
Nomenclated terminal plug
6-32 x 1" machine screws (2)
#2 self-tapping screw, white
Proudly
1
MADE IN USA
Wiring Diagram
Screw to secure enclosure cover
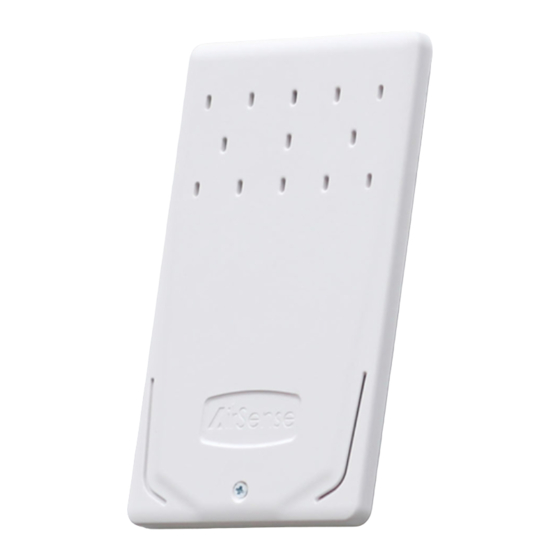
Model 315 enclosure cover
Model 315 enclosure base
Mounting screws to mount
Model 315 in single-gang junc-
tion box
4-wire terminal plug
7 YEAR
OUT
ELECTRONIC
COMPONENTS
WARRANTY
Wiring connections nomenclated on terminal block!
•
Install standard single gang junction box
•
Connect wires to terminal plug
•
Insert terminal plug into mating header
on the back of the AirSense Model 315
PWR
•
Insert the AirSense Model
2
315 CO2 sensor into junction
box
Field-selectable output setting
CO2 Output
CO2
Switch selection
ppm
4 mA
0
Current
Output
12 mA
1,000
Selectable Output Setting
(4-20 mA)
20 mA
2,000
0 Volts
0
Voltage
outputs
Output
5 Volts
1,000
0-10V
10 Volts
2,000
4-20 mA output - R
0 Volts
0
0-10 V output
Voltage
2.5 Volts
1,000
Output
0-5 V output
0-5V
5 Volts
2,000
•
Install 2 mounting
3
4
screws
< 600 Ω
LOOP
Minimum input
resistance 10K Ω
•
Snap on cover and
install screw to secure
enclosure cover
•
Installation complete!
Advertisement
Table of Contents

Subscribe to Our Youtube Channel
Related Manuals for AirSense 315

Summary of Contents for AirSense 315
- Page 1 Snap on cover and • Connect wires to terminal plug 315 CO2 sensor into junction screws install screw to secure • Insert terminal plug into mating header enclosure cover • MADE IN USA on the back of the AirSense Model 315 Installation complete!
- Page 2 CO2 Calibration Procedure CO2 Calibration Indicator LEDs Calibration Process: using the AirSense Model 315-CAL kit Remove the AirSense Model 315 cover plate and install the Calibration Cover Plate. When calibration LEED Attach the clear CO2 calibration gas tube onto the tting marked “1”.
Need help?
Do you have a question about the 315 and is the answer not in the manual?
Questions and answers