Advertisement
Quick Links
Advertisement

Subscribe to Our Youtube Channel
Related Manuals for TRUELOOK Solar Skid

Summary of Contents for TRUELOOK Solar Skid
- Page 1 Solar Skid Assembly Manual Solar Skid Assembly Manual...
-
Page 2: Online Resources
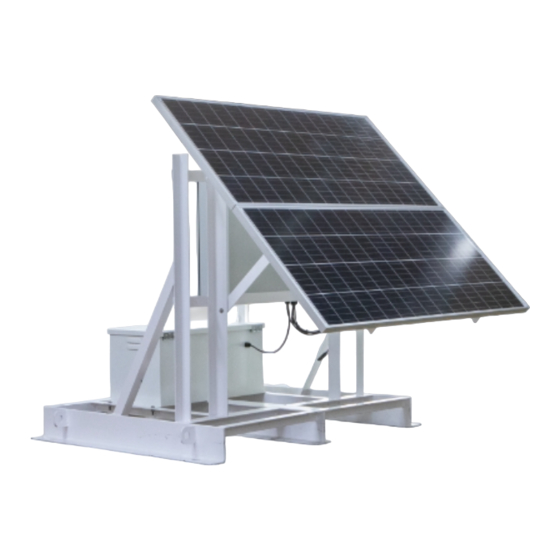
SUPPORT 24/7 Support Your purchase of this TrueLook system includes customer and technical support. If you have any questions regarding the use or configuration of this equipment and software, please don’t hesitate to contact us. Phone 833.878.3566 Email support@truelook.com Office... - Page 3 GETTING STARTED Unboxed Hardware Solar Panels Pole Mount Detail Shows Parts Behind Solar Panels Solar Panel Mounting Frame Position Bar Solar Skid Assembly Manual...
- Page 4 Panels must receive direct sunlight all day. Do not let trees, dirt, structures, or anything else block the sun - at any time of day. Review Solar Panel Positioning Chart (following page) for correct and incorrect panel placements. Solar Skid Assembly Manual...
- Page 5 GETTING STARTED Solar Panel Positioning Chart CORRECT OBSTRUCTED WRONG ORIENTATION WRONG ANGLE Solar Skid Assembly Manual...
- Page 6 Remove the fasteners securing the ends of the solar panel position bars. Do not discard fasteners as they will be reused. DO NOT REMOVE THE SOLAR PANELS. THEY ARE REMOVED ABOVE SO THE FASTENER LOCATIONS ARE VISIBLE. Solar Skid Assembly Manual...
- Page 7 Tilt the solar panel mounting frame so the positioning bar holes align with the corresponding holes on the skid frame (A). Then, reinstall the fasteners in this position (B). DO NOT REMOVE THE SOLAR PANELS. THEY ARE REMOVED ABOVE SO THE FASTENER LOCATIONS ARE VISIBLE. Solar Skid Assembly Manual...
- Page 8 ASSEMBLY STEP 03 Support the vertical pole mount while removing the upper fastener (1/2” hardware) on the pole mount (A). HOLD Solar Skid Assembly Manual...
- Page 9 ASSEMBLY STEP 04 Support the pole mount into a horizontal position and install the galvanized pole. Align both sets of holes and install the provided 1/2” fastener. Solar Skid Assembly Manual...
- Page 10 ASSEMBLY STEP 05 Rotate the pole assembly back into the upright position and reinstall the 1/2” fastener (A). STEP 06 Follow the pole mount instructions from your camera manual to complete installation. Solar Skid Assembly Manual...
- Page 11 Notes Solar Skid Assembly Manual...
-
Page 12: Warranty
Manufacturer’s Warranty up to replacement of a defective webcam so long as you remain continuously subscribed to the TrueLook SAAS that you purchased with such new webcam (the “TrueLook Extended Warranty”); provided, that TrueLook’s maximum liability under the TrueLook Extended Warranty shall be to exchange a...
Need help?
Do you have a question about the Solar Skid and is the answer not in the manual?
Questions and answers