Advertisement
Quick Links
Advertisement

Related Manuals for Greystone CF-RV17


Summary of Contents for Greystone CF-RV17
-
Page 3: Getting Started
Getting Started We appreciate your purchase of the GREYSTONE Gas Range for RVs. Prior to operating your new appliance, please read this manual carefully. This instruction manual contains information for safe use, installation and maintenance of the appliance. You will want to keep this manual handy for future reference. - Page 6 The appliance must be disconnected from the gas supply piping system during any pressure testing of that system at test pressures in excess of 1/2 psi(3.5 kPa).
- Page 11 A gap at the bottom of the oven a minimum of 3/8”will also provide air circulation. The maximum depth of cabinets installed above the cooking top is 13”.If there is range hood below the cabinet, there is no limit for the depth of the cabinet. the vehicle/trailer floor center of the burner,...
-
Page 12: Oven Installation
Cabinet and counter cutout: Model 3 / 4" " a " n g " " 4 6 1 " " 53 / �Sl a x . 盐 " R V " 严 " 沪 " " " a n g e a x . -
Page 14: Electrical Connection
into the metal dip and place it into the range oven, then pull front a little to lock into plac e. (Fig. 6 & Fig. 7) Tighten the screws marked on the picture Fig.1-1. 8. The range oven is completely installed into the cabinet. (Fig. 8) Model without LED light: Connect the wires of oven and lamp to a 12V DC circuit with a... - Page 15 OJ!eration Lighting Oven Match Lighting: 1. Before lighting, check to make sure all the control knobs are turned to OFF position. 2. Make sure the main gas tank valve is open. 3. Open the range door (Fig. 13) 4. Push and rotate the oven control knob counterclockwise to "...
- Page 16 6. Continue to push and hold in the oven control knob for 5 seconds after pilot is lit. Repeat steps 4 and 5 if not lit. 7. Rotate the oven control knob to adjust burner flame to desired Level. (Fig. 16) Electronic Ignition: 1.
- Page 17 5. Rotate the oven control knob to adjust pilot flame to desired Level. The oven pilot has been factory set and requires no further adjustment. Lighting Top Burners &WARNING Top cover must be open when main burner is in operation. Based on safety considerations, the top burner flame size should be adjusted so it does not extend beyond the edge of the cooking utensil.
- Page 18 control knob to adjust the flame level. (Fig 11) Electronic Ignition: 1. Before lighting, make sure the control knobs are turned to OFF position. 2. Make sure that the main gas tank valve is open. 3. Rotate the appropriate burner knob counterclockwise to "HI"...
- Page 19 The Burner Flame: Keep your arms and face away from above the cooking area. Flames should appear similar to the good flame irregular, the oil residue may not be completely burned off, or the Venturi may be clogged or may not be properly positioned over the holes.
-
Page 21: Range Features
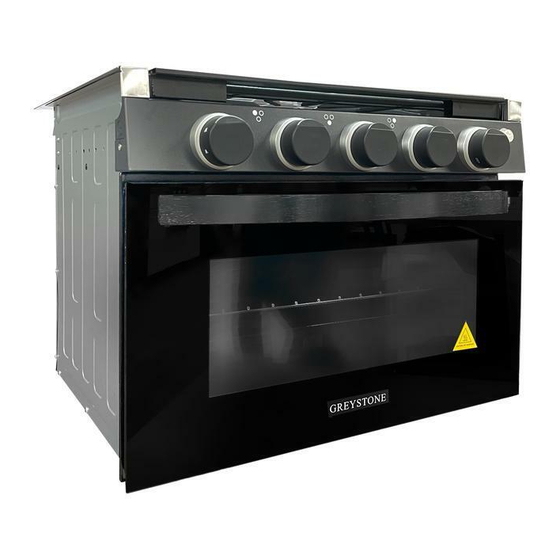
Ran g e Features Optional Glass Cover Gas power Power Grill Ignition Knob Left and Right BTU/HR B urner: 6500BTU Oven Door Burner Control Front B urner: 8000BTU Knob Oven: 7100BTU Oven Control Knob Fuel/Power Propane Inlet Back light 10" WC Min to 8"...
Need help?
Do you have a question about the CF-RV17 and is the answer not in the manual?
Questions and answers
What does Err1 mean?
What the heck? We noticed the cooktop getting hot a smelled and saw flames! This is what we found! The screw is tight…
A Greystone CF-RV17 cooktop could get hot, emit a smell, and produce flames due to several reasons:
1. Obstructed Ventilation – Blocking airflow can lead to overheating.
2. Gas Leak or Improper Combustion – A strong smell may indicate a gas leak or incomplete combustion, which could cause flames to burn improperly.
3. Dirty Burner Ports or Orifices – Food debris or grease buildup can affect gas flow, leading to irregular flames and odor.
4. Use of Improper Cleaning Agents – Certain chemicals may produce strong smells when heated.
5. High Humidity – Moist air can sometimes affect flame color and combustion efficiency.
6. Flammable Materials Nearby – Storing combustible items too close to the cooktop could lead to overheating and fire hazards.
Ensure proper ventilation, clean burner components regularly, and check for gas leaks to prevent these issues.
This answer is automatically generated