Sign In
Upload
Download
Table of Contents
Contents
Add to my manuals
Delete from my manuals
Share
URL of this page:
HTML Link:
Bookmark this page
Add
Manual will be automatically added to "My Manuals"
Print this page
×
Bookmark added
×
Added to my manuals
Manuals
Brands
Bosch Manuals
Oven
HIJN17EW0R
User manual
Bosch HIJN17EW0R User Manual
Hide thumbs
1
Table Of Contents
2
3
4
5
6
7
8
9
10
11
12
13
14
15
16
17
18
19
20
21
22
23
24
25
26
27
28
29
30
31
32
33
34
35
36
37
38
39
40
41
42
43
44
page
of
44
Go
/
44
Contents
Table of Contents
Troubleshooting
Bookmarks
Table of Contents
Table of Contents
Safety
Preventing Material Damage
Environmental Protection and Saving En- Ergy
Familiarising Yourself with Your Appliance
Rapid Heating
Steam-Assisted Cooking
Programmes
Rails
Troubleshooting
Transportation and Disposal
Customer Service
How It Works
Advertisement
Quick Links
Download this manual
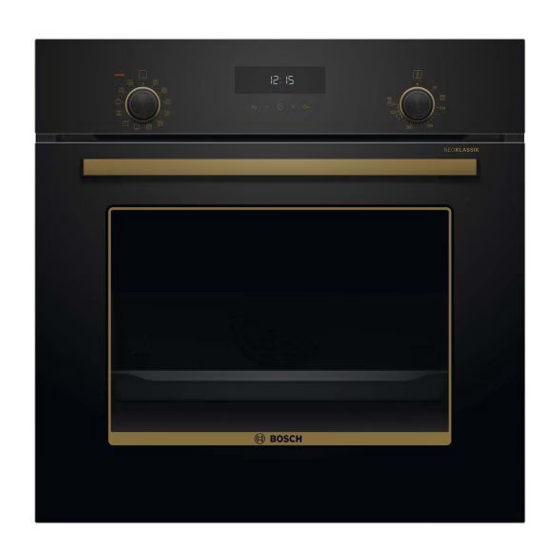
Oven
HIJN17EW0R,
HIJN17EB0R
User manual and installation instructions
[en]
Table of
Contents
Previous
Page
Next
Page
1
2
3
4
5
Advertisement
Table of Contents
Need help?
Do you have a question about the HIJN17EW0R and is the answer not in the manual?
Ask a question
Questions and answers
Related Manuals for Bosch HIJN17EW0R
Oven Bosch Benchmark HBLP451LUC Specifications
Benchmark series 30" single wall oven left swing door (3 pages)
Oven Bosch HEI8056C Assembly Instruction Manual
Electric and induction slide-in ranges (48 pages)
Oven Bosch HIJ517YBOR User Manual And Installation Instructions
(40 pages)
Oven Bosch HIJ517YS0R User Manual And Installation Instructions
(40 pages)
Oven Bosch HIJ517YW0R User Manual And Installation Instructions
(40 pages)
Oven Bosch HIJ557YS0M User Manual And Installation Instructions
(44 pages)
Oven Bosch HIJ557YS0M User Manual And Installation Instructions
(32 pages)
Oven Bosch HIJN17EB0R User Manual
(44 pages)
Oven Bosch HIJ354ES0Z User Manual
(44 pages)
Oven Bosch HIJ557YS3M User Manual And Installation Instructions
(32 pages)
Oven Bosch 500 Series Use And Care Manual
(68 pages)
Oven Bosch 800 series Service Manual
Built-in wall ovens (43 pages)
Oven Bosch 500 Series Service Manual
Built-in wall ovens (41 pages)
Oven Bosch 800 Series Use And Care Manual
(80 pages)
Oven Bosch 500 Series Installation Manual
(28 pages)
Oven Bosch 500 Series Use And Care Manual
(56 pages)
This manual is also suitable for:
Hijn17eb0r
Table of Contents
Print
Rename the bookmark
Delete bookmark?
Delete from my manuals?
Login
Sign In
OR
Sign in with Facebook
Sign in with Google
Upload manual
Upload from disk
Upload from URL


Need help?
Do you have a question about the HIJN17EW0R and is the answer not in the manual?
Questions and answers